Everything You Need to Know About Cold Soak Backpacking Meals
I was thru-hiking the Colorado Trail when I attempted to cold soak my food for the first time. I pulverized the ramen noodles in their package, dumped them into an empty peanut butter container, covered them with water and waited beneath the drooping sun. About a half hour later, I opened the lid to find lifeless noodles bobbing to the surface. It looked like something you’d find in a science lab, limbs splayed in every direction. But I was in the middle of the woods where calories couldn’t be wasted, so I dug into my cup with a grimace. My first bite was surprisingly soft. But it wasn’t bad. I was a little bit more eager for the second bite, which I decided tasted like your typical ramen—only cold. Maybe cold-soak backpacking meals weren’t so bad after all.
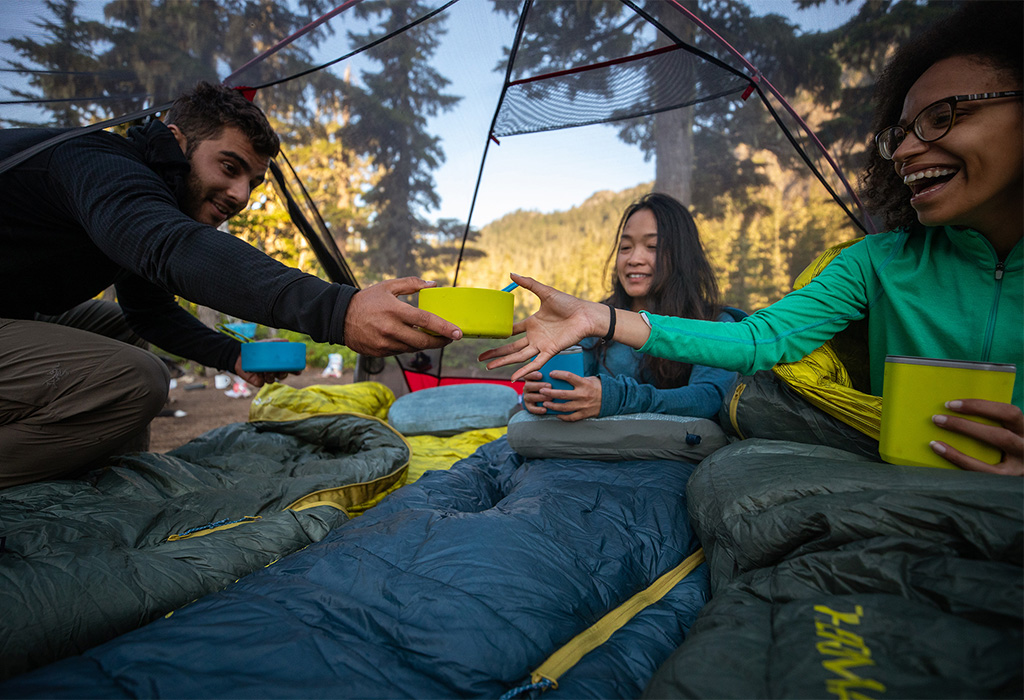
Cold soaking your food is far from glamorous, but it is convenient. Cold soaking is a “no-cook” method of preparing food in the backcountry. Instead of relying on the heat of your stove, you can rehydrate a variety of foods in unheated water for 20 to 30 minutes, resulting in a cold-but-edible meal that can be enjoyed in the backcountry. Besides, when the temperatures rise the last thing many of us want to do is to eat a hot meal. This, and often the weight savings, is why many hikers turn to cold soaking food. Like traditional cook systems, cold soaking has a variety of pros and cons.
Reasons to Go Stoveless
Everyone’s relationship with their stove is different. Some hikers keep it on hand all day long, stopping for a hot chocolate or coffee break in the middle of the day. Others might only use their stoves for dinner. Cold soaking your food might seem like an extreme choice, but it can be a good strategy for those who want to maximize trail time. It also provides the following benefits:
- Weight Savings: A lot of hikers cold soak because they want to ditch the weight of their stove and fuel, which adds up, particularly over a long trip.
- Cost Efficiency: Let’s face it, most stove setups aren’t cheap. And then there’s the reliance on fuel that can run out when you least expect it. Cold-soaking offers an alternative food preparation method for those who are on a budget.
- Fire Restriction Compliance: Then there’s the reality that many hikers face fire restrictions. Depending on the fire restriction, some forests may allow hikers to utilize stoves with an “on/off” switch. But if you don’t want to worry about the specifics, or risk setting your campsite on fire, cold-soaking might offer a good alternative. Cold-soaking your food allows you to safely bypass fire-restricted areas while still providing yourself with an ample number of calories.
- Animal Activity Deterrent: Animal activity has become shockingly aggressive in some parts of the country. Cold soaking your food is generally less fragrant than cooking your food. This can help you to remain less detected by rodents, bears, and other creatures of the woods.
Reasons Not to Go Stoveless
Going stoveless is a good solution for many hikers. But it isn’t for everyone. Here are the main drawbacks:
- Time and Planning: A traditional meal may take 5 to 10 minutes to cook, but backpackers should expect a cold-soak meal to take at least 30 minutes to rehydrate. This means you have to prepare your food earlier than you would if you were using a stove. Those who want to have a cold-soak meal at camp often have to prepare their meal while they’re on trail, which means having enough water or finding a water source, then carrying that water weight while your food soaks. They’ll also often prepare breakfast before they go to bed at night.
- Cold-Soaking Limitations: Not everything can or should be cold-soaked. Rice and pasta, for example, tend to take a long time to rehydrate. And, while they have been successfully rehydrated by a few backcountry unicorns, most hikers find that the resulting meal isn’t very palatable. You’re much more likely to end up with crunchy bits of food that haven’t been fully rehydrated with the cold soaking method. If you don’t want to limit your food options, you may benefit from using a stove.
- Ditching Your Stove Can Be a Safety Hazard: Many people choose to cold soak their food because of the potential weight savings of this system. But ditching your stove can create a safety hazard. Stoves can be used as a secondary water filter. They’re also essential in hypothermic settings since heat can help to raise your core temperature. If you choose to leave your stove at home, you might struggle to keep your water clean and raise your body temperature in a pinch.
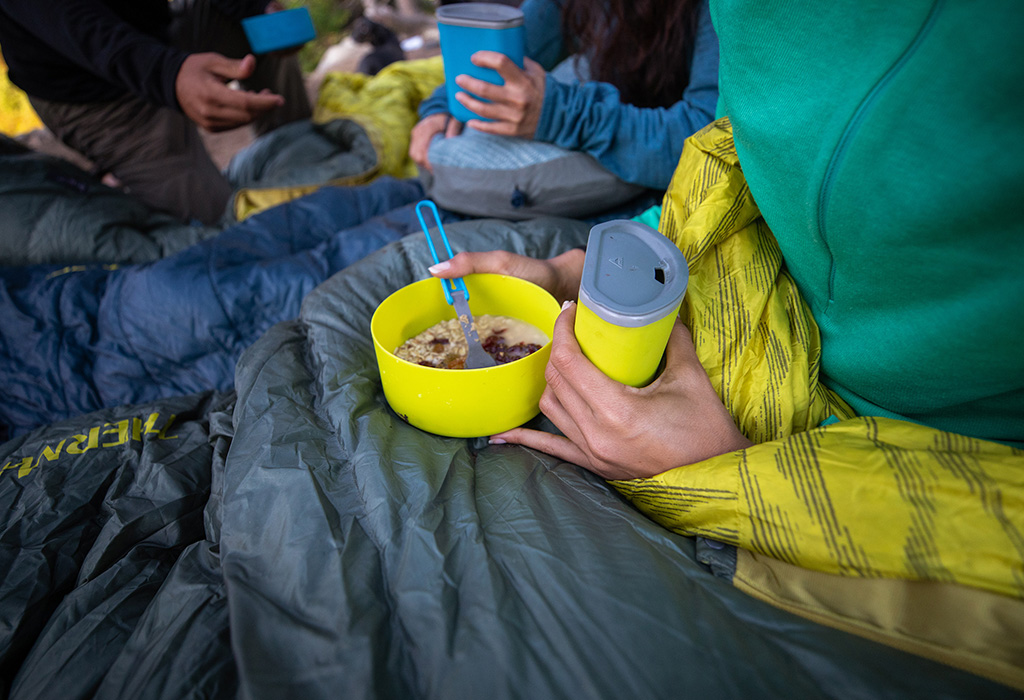
Best Foods for No-Cook, Cold-Soak Backpacking Meals
Some hikers will argue that you can cold soak anything. And, while they’re not technically wrong, the result of the rehydration process must be palatable. The following no-cook backpacking meals are common cold-soaking food picks because of the amount of time it takes to rehydrate them, and because of the delicious result:
Breakfast
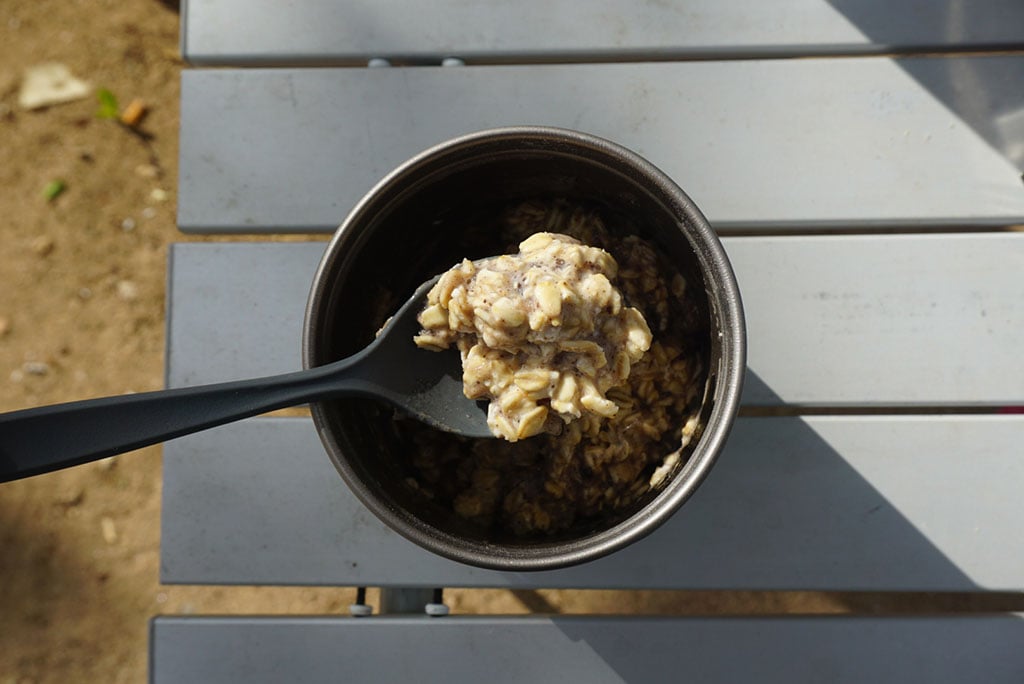
- Oatmeal
- Breakfast powders
- Chia seeds
- Grits
- Powdered milk
Lunch & Dinner
- Refried beans
- Ramen
- Rice noodles
- Instant mashed potatoes
- Couscous
- Soup
- Stuffing & gravy
- Freeze-dried vegetables and fruits
Bonus Foods
- Pudding
- Nutritional yeast
- Powdered butter
- Olive oil
If you’re new to cold soaking, I’d recommend keeping a few items on hand that rehydrate instantaneously like instant mashed potatoes and refried beans. This will help you to stay full even if you somehow botch a complicated meal.
How to Cold Soak
Choosing a Cold-Soaking Jar
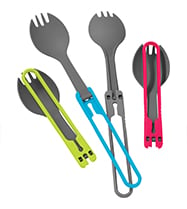
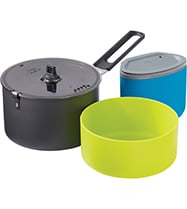
Cold-soak backpacking meals need to be kept in a watertight container because they’re generally ‘cooking’ while you’re hiking, and spilling food all over the rest of your gear is a bad time. There are a few qualities that a cold-soaking container should have; it should be leakproof, come with a twist top, and it should be made with sturdy materials. Many hikers prefer Talenti Gelato jars because they get to eat the ice cream before using the durable, plastic jar. Other hikers use an empty peanut butter jar. Eco-conscious hikers might opt for a mason jar with a metal lid. And the Vargo Titanium Bot is a cookpot with a screw-on lid that can also be used for this purpose (just keep in mind that this particular item isn’t always leakproof).
Water-to-Food Ratio
If you’ve ever made overnight oats, you’ve probably been through the cold-soaking process before. Most foods that require water will give you the water-to-food ratio. But if you don’t have access to this information, or you dehydrate your own backpacking meals, you’ll want to saturate everything in the container, add a little bit of extra water, and then wait at least 30 minutes prior to eating your meal. The key is not to under- or oversaturate your food, because this turns into either a partly crunchy or a soupy mess.
Knowing how to cold soak your food in the backcountry is helpful information for every hiker because you never know when you’ll run out of fuel. For some hikers, it might end up being their go-to food preparation method. And for others, it might just become a survival tool to use in a pinch. Either way, now you know! Happy trails.
Related Posts:
- Homemade Backpacking Meals, Just Add Water
- DIY Dehydrated Backpacking Meals
- Easy Camping Meals for the Family
 About the Author
Mary Beth Skylis has been lucky enough to begin her life of outdoor pursuits on long trails, hiking the 2200-mile Appalachian Trail, the 458-mile Colorado Trail, and part of the Annapurna Circuit. She has feasted her eyes on the snowy Himalayan peaks, watched aggressive rhinos contemplating a charge, and observed Costa Rican monkeys leaping through the air. Her work can be found in Backpacker Magazine, Outside Magazine, and Yoga Journal.
Updated. Originally Published July 21, 2022.