DIY Dehydrated Backpacking Meals
DIY dehydrating is easy. Here are a few tips to get you started, plus 3 recipes.Planning backpacking meals can be tough—especially when you’re trying to fulfill your nutritional needs while keeping your rations at a reasonable weight. Sure, store-bought dehydrated foods are easy and they’re light, but homemade dehydrated backpacking meals are even better.
Any backpacker can master the art of dehydrating foods. Once you get proficient, it becomes fun to experiment with different foods and flavorings. To really master it, you’ll want to have a food dehydrator, which is far more efficient and better at regulating low temperatures than an oven.
3 Tips for DIY Dehydrated Backpacking Meals
1. Time is your friend
This isn’t something you can do the night before your trip. Dehydrating food can take anywhere from 6-15 hours.
It’s important to dry the food slowly because it helps maintain the food’s nutrients and flavor while drying it evenly. You’ll run the dehydrator anywhere between 105-160°F, which is lower than many ovens can maintain consistently.
It’s also important to ensure you dehydrate the food long enough to preserve it. For example, soft or chewy fruits and veggies need to go back in for a while longer.
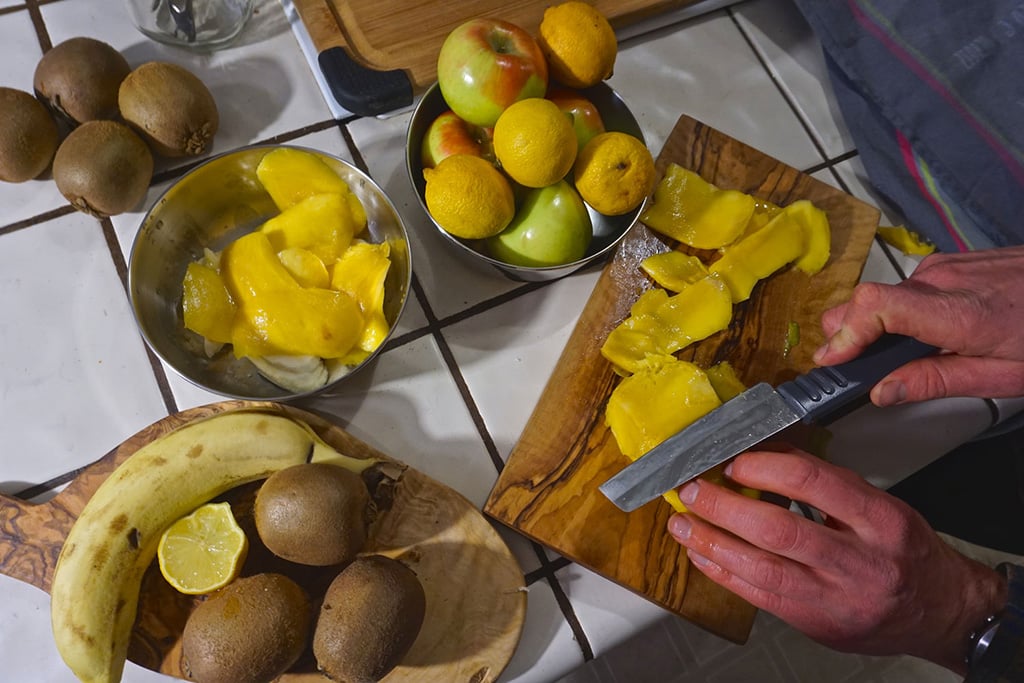
2. Put a priority on prepping
Cleanliness is critical. Make sure your cooking space is clean and your hands are thoroughly washed in order to keep foods from becoming contaminated with bacteria. While this is always important when preparing food, it’s exceptionally so when the food needs to last a long time.
Start with healthy fruits and veggies. Avoid over-ripe, under-ripe, bruised and/or damaged pieces. (If you do have fruit that is too ripe, simply puree it and then dehydrate it in a thin layer on parchment paper; it will turn out like a fruit roll/leather.)
Prevent browning of fruits. Slow down the oxidization process of fruits like apples, bananas, pears and peaches by soaking them in lemon juice for 3 to 5 minutes prior to dehydration. Get them into the dehydrator as fast as possible to minimize the loss of flavor and vitamins.
Season fruits and veggies to add flavor. Seasonings like brown sugar, cinnamon, red chili flakes, salt, pepper and thyme are great.
Foods need to be sliced to a ‘Goldilocks’ thickness—usually a ¼ inch for fruits—so that they don’t break as you remove them from the trays. A mandoline is perfect for slicing foods exactly right and consistently for even drying, just be careful when using one (watch your fingers).
3. Know your temperatures
Fruits and veggies should typically be dried at 135° degrees, and meat jerky from 145° to 160° degrees depending on the meat.
Here is a list of temperatures and times for some common fruits and vegetables.
Fruit – 135° degrees
- Bananas: 6–12 hours
- Apples: 4–10 hours
- Kiwis: 6–12 hours
- Peaches: 6–12 hours
- Pears: 7–15 hours
- Pineapples: 6–12 hours
- Strawberries: 5–11 hours
Vegetables – 135° degrees:
- Carrots: 7–11 hours
- Mushrooms: 4–9 hours
- Onions: 7–11 hours (though, pro tip, it’s better to just buy dried onion from the store unless you want your whole house to smell like onions)
- Potatoes: 6–12 hours
- Tomatoes: 6–12 hours
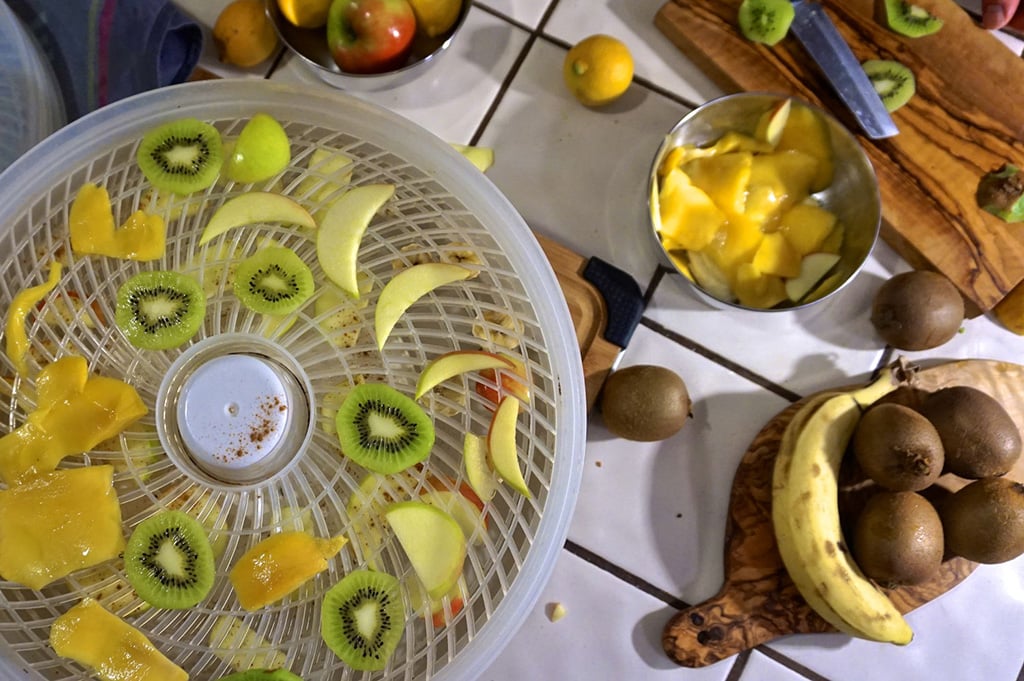
How to dehydrate apples
Apples are one of the easiest fruits to dehydrate, and that’s great considering they make a healthy trail snack yet weigh so little.
Wash apples and decide whether you want to leave the skin on or peel it. Coring the center of the apple will allow for perfect apple O-rings. Otherwise, simply cut thin slices about a ¼-inch thick. Add cinnamon if desired. Soak them in lemon juice to prevent browning, or get them in the dehydrator quickly.
Lay the apple slices on the trays so that they have a little bit of space between them. Sprinkle with cinnamon to taste. Dehydrate at 135° degrees for 4–10 hours depending on desired crispness.
How to dehydrate mangos
Mangos are not only tasty, they’re also an excellent source of Vitamin A, C and E. They’re simple to dehydrate and a great source of energy on the trail. Like apples, wash, peel and cut ¼-inch thick slices. If you plan to dehydrate a lot of mangos, it’s worthwhile to get a mango splitter to cut out the core.
For a little extra flavor and tanginess, dip the mangos in a mixture of lemon, honey, and water. Place the mangos on the trays and dehydrate at 135° for 8–10 hours.
Related Posts:
- Backpacking Food Ideas: Ingredients to Get at the Store
- Cutting Backpacking Food Weight on a Long-Distance Hike
- Smarter Snacking: Fueling for Long Days in the Mountains
Video by Tim & Christine Conners, words and photos by Trevor Husted
 Trevor Husted is a guide and freelance writer who enjoys sharing his writing and teaching experiences with others in the hopes of instilling admiration for adventure, culture, and nature. He has written for many outdoor publications such as Powder, Backcountry Magazine, and The Snowboarders Journal. More of his work can be found at https://trevorhusted.com.
Updated. Originally Published April 13, 2018.