Backpacking Food Ideas: Get Your Ingredients at the Grocery Store
If you’re the kind of outdoor enthusiast who can happily subsist on traditional backpacking food, more power to you. As a child of the ’70s, dehydrated meals and questionable meaty products like Vienna sausages and deviled ham were a staple of my family’s camping trips. Perhaps this is why I was a latecomer to the backpacker cooking party (in my early 30s, I embarked on a two-day sea kayaking trip with only a loaf of bread, a jar of peanut butter and summer sausage for sustenance).
At a certain point in your outdoor evolution, it becomes more pleasurable to elevate the quality of your backpacking food, but that doesn’t have to mean spending a lot of money. Most grocery stores offer staples that let you stock your pack with nutritious prepared foods and raw ingredients.
With pre-planning and pre-portioning, you can keep both cost and weight reasonable. Even better, mealtimes can become something you look forward to for reasons other than mere sustenance.
How much food should I bring?
Backpacking food is all about maximizing nutritional density and ease of preparation with shelf-stable foods while keeping your load as light as possible.
Variables like height, weight, age, gender, fitness levels and terrain aside, the rule of thumb is to allow 2 pounds of food per day. The problem with this generalized approach, however, is the assumption that said foods are nutritionally sound. Two pounds of garbage is just that, and it won’t fuel you properly. Focus on packing wholesome, calorie-dense foods. Pre-portion and weigh each meal if you’re new to backpacking or planning a long trip and remember to consider climate and proximity to fresh water for food prep (and hydration) needs.
What kinds of foods should I take backpacking?
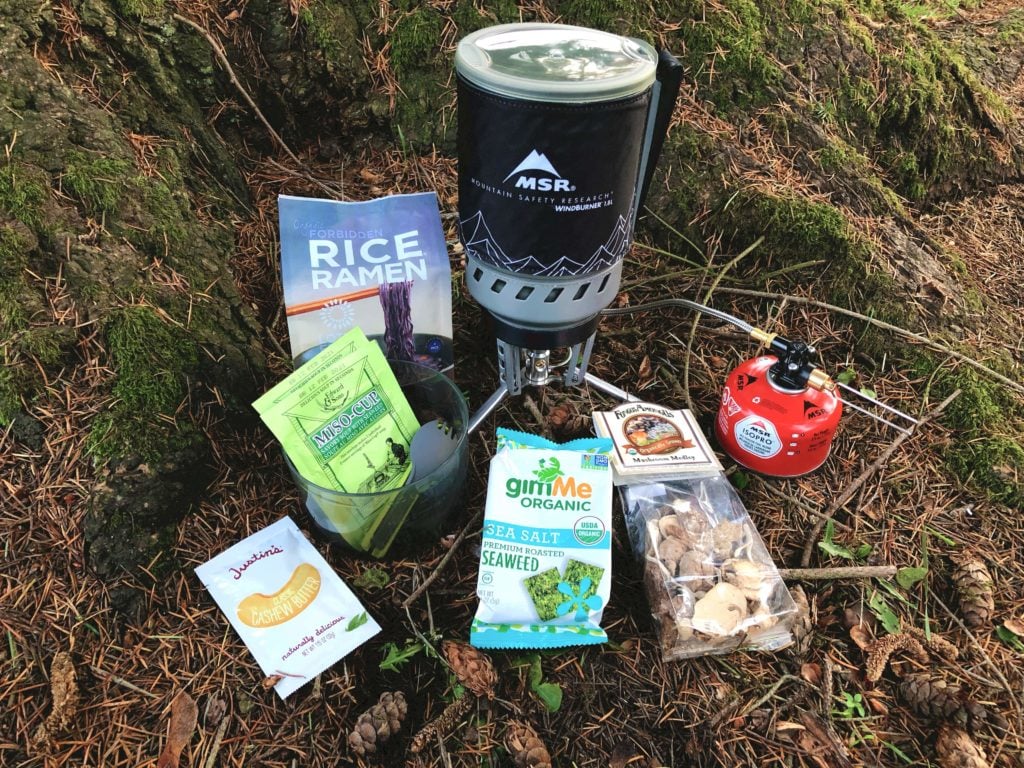
I avoid highly processed foods, which tend to be high in sodium and low in nutrients, but sometimes convenience and stability win out, as with items like instant rice or ramen.
Building Blocks: Protein and Complex Carbs
Emphasize protein and complex carbohydrates like beans and whole grains. Pack more resilient produce like citrus and apples and sturdy greens with thicker/drier leaves (think chard, mustard greens or kale) and carrots to use the first day or two of your trip.
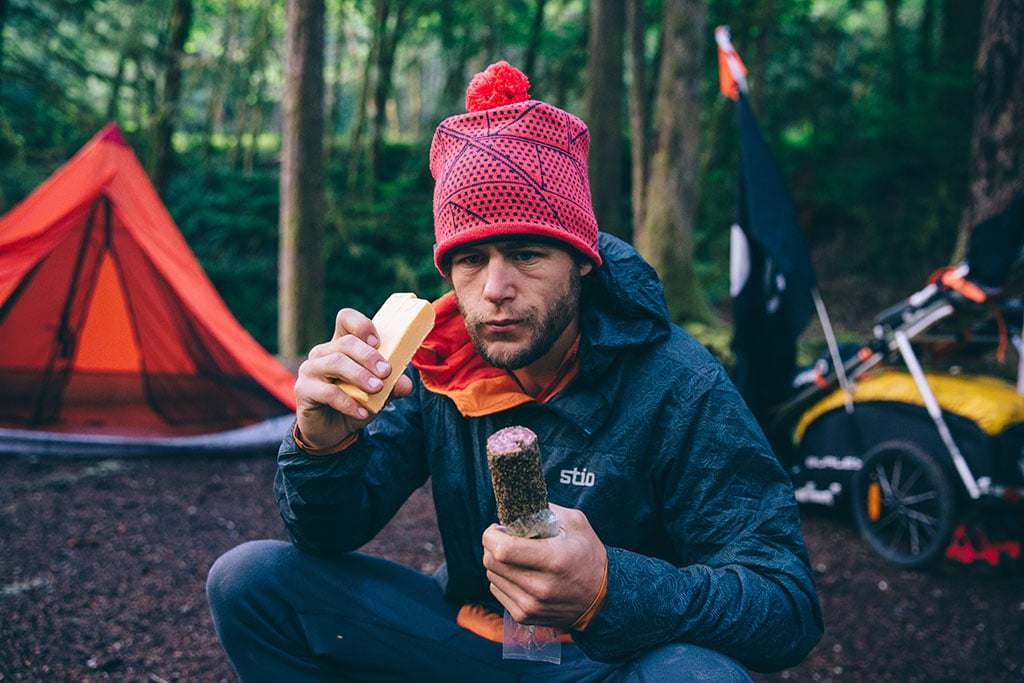
Nut butters/nuts, legumes, cured meats (salami, smoked ham, fish) and vacuum-sealed seafood (sardines, mackerel, oysters, tuna, salmon) are all ideal backpacking foods. Aged cheeses are also good, as long as you consume them within the first couple of days of your trip and the weather isn’t too hot (if you’ve never had to remove melted cheese from your pack, you’re not missing out). Look for aged versions of cheese like gouda or pecorino, which have a low moisture content, or opt for a chunk of Parmigiano Reggiano.
Healthy Fats
Foods like nuts, seeds, eggs, hard cheeses, olives and avocadoes have high levels of unsaturated fat, which is essential for energy and maintaining organ protection and body heat. For long trips, you can also add a tablespoon of monounsaturated oil like coconut, flaxseed, avocado or olive to meals in place of some of the perishables listed above.
Going with the (Whole) Grain
Many whole grains like whole wheat pasta, brown rice, barley, farro, buckwheat groats (kasha) and quinoa require more water and time to cook but pack a higher nutritional and flavor punch than instant rice. Instant oatmeal or multi-grain hot cereal or polenta can pull double duty and be used for savory meals as well as breakfast.
I favor light, fast-cooking, filling base ingredients like couscous, instant polenta, and soba noodles, which are made from buckwheat flour and are often gluten-free (some brands add wheat flour; check the ingredients).
Packing Snacks
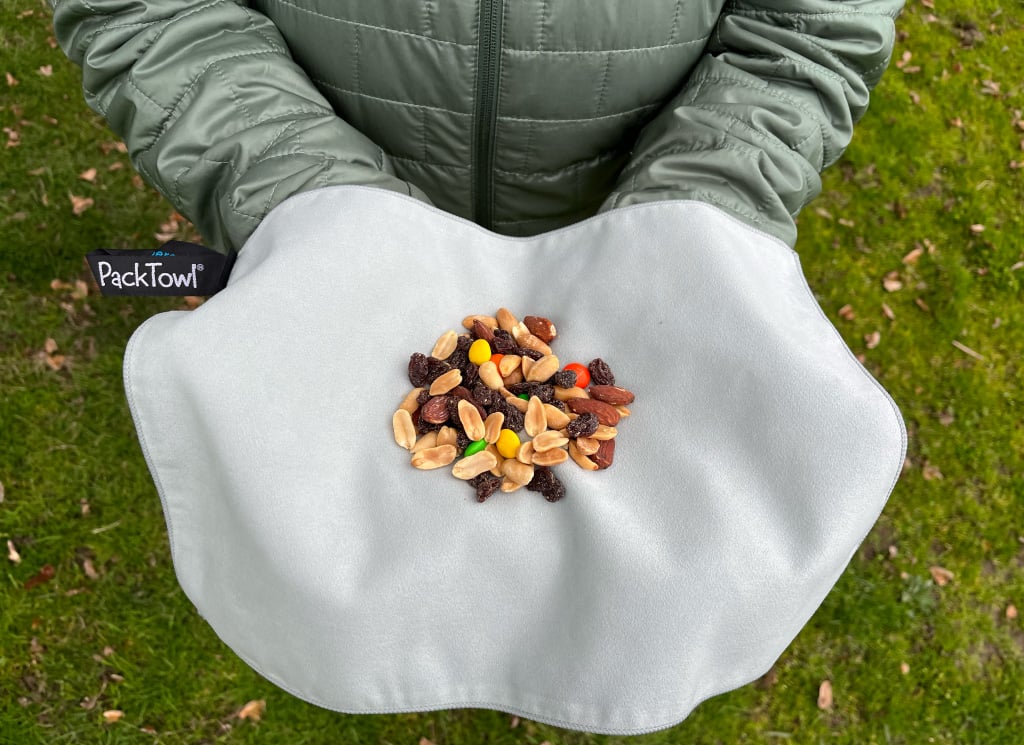
For snacks and treats, items that combine satiety with nutritional clout include dark chocolate-covered nuts or fruit, whole-grain energy bars, dried fruit, fried legumes, and jerky.
Backpacking Food Options from the Grocery Store
Even if I don’t have an upcoming trip, I make a habit of perusing grocery stores and specialty food shops for menu inspiration. Trader Joe’s is my favorite place for inexpensive, versatile items that amp the flavor and nutrition of meals (think sun-dried tomatoes, dried wild mushrooms, vacuum-packed marinated olives). I also love any flavor enhancer in a tube, from anchovy paste and pesto to harissa.
Bulk foods are a more affordable, fresher resource for everything from cereal and nuts to dried fruit, pasta and beans. For condiments, keep an eye out for trial/travel-size items like hot sauce, oils, vinegars and preserves (Cost Plus World Market is my favorite resource, but cheese shops/counters are also good). I may have availed myself of an extra condiment packet or three from delis and fast-food restaurants en route to a trailhead: my advice is to exercise restraint.
Farmers’ markets and farmstands are my favorite sources for everything from dried fruit and nuts to jerky, smoked fish, granola, honey, preserves and baked goods. They’re also a great way to support local growers and try regional foods.
Below, I’ve created some basic shopping lists with menu suggestions, to aid you in building a backpacker pantry.
Breakfast:
- Tortillas
- Instant oatmeal or multigrain hot cereal (Woodstock Organic 5-Grain Cereal)
- Whole grain English muffins
- Instant or pre-cooked polenta (Bellino, San Gennaro)
- Honey, date syrup or real maple syrup
- Powdered or fresh eggs (only if they’re never been refrigerated)
Menu suggestions:
- Savory hot cereal with fried shallots/onion and scrambled egg or salami. For a sweet variation, cook rice in soy or nut milk and sweeten to taste with syrup of choice; stir in coconut flakes and chopped dried fruit.
- Breakfast burritos with smashed black beans, quinoa, and arugula; add tempeh or bacon for extra protein
Lunch:
- Smoked or dry-cured bacon, smoked ham, summer sausage, salami
- Tinned fish, single-serve tuna/salmon pouches (Safe Catch, Wild Planet)
- Aged cheeses or pre-grated cheese
- Dense, small loaves of bread or whole-wheat tortillas (Trader Joe’s European Style Whole Grain Bread)
Menu suggestions:
- Tuna tacos with olives, capers, and harissa
- Smoked ham and aged cheese sandwiches with Dijon and pesto
Dinner:
- Brown rice, millet, quinoa, farro, buckwheat groats, couscous or other grains
- Smoked fish
- Pasta, macaroni & cheese, ramen noodle packets (A-Sha, Lotus Foods)
- Beans or lentils
- Packaged gnocchi
Menu suggestions:
- Thai curry with tempeh, snow peas and carrots
- Couscous with chickpeas, dried apricots, pistachios and spinach
- Polenta wild mushrooms, spinach and cheese
- Penne with tuna, capers and green olives
Seasonings/condiments:
- Kosher or sea salt
- All-purpose seasonings (Trader Joe’s Everything But the Bagel, chili powder, smoked paprika, chili/taco seasoning packets, dried herbs and spices
- Thai Kitchen curry paste
- Siracha/other hot sauce
- Double-duty oils for cooking/vinaigrettes: avocado, macadamia, grapeseed, pecan, pure olive oil
- Nut butter
- Bouillon cubes or instant miso soup
- Apple cider or Sherry vinegar
- Condiment packets, including soy sauce, ketchup, horseradish, Dijon mustard and mayonnaise
- Dried wild mushrooms or sun-dried tomatoes
- Coconut flakes and or/canned coconut milk
- Tubes of anchovy paste, tomato paste, harissa or pesto
- Vacuum-sealed olives (Trader Joe’s Marinated Olives with Lemon & Herbs) or capers
- Fried onions or shallots (available at most grocery stores or Asian markets)
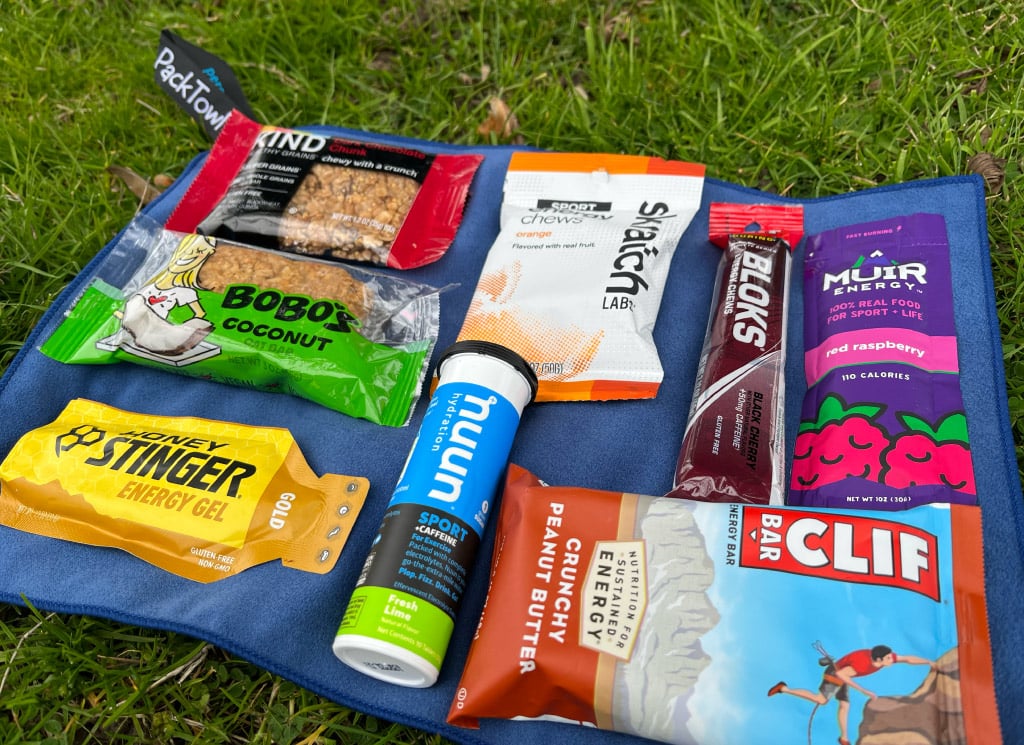
Snacks
- Single-serve nut butters
- Bobo’s Oat Bars
- Chocolate-covered nuts
- Dried fruit or fruit leather
- Fried fava beans, chickpeas, soy nuts or other legumes (Bada Bean Bada Boom, Hippeas)
- Trail mix: I love the bulk offerings at Whole Foods and Sprouts and packaged versions at Trader Joe’s (avoid the big bags filled with single-serving packets, which use a lot of plastic)
- Jerky or summer sausage
- Smoked oysters
- Banana chips
- SunRidge Farms Energy Nuggets
Drinks:
- Single-serving soy or nut milks
- Nuun Hydration tablets
- Instant hot chocolate
- Tea
- Freshly ground coffee
Treats:
- Soft licorice
- Peanut brittle
- Mochi filled with sweet bean paste (available at Asian markets and some grocery stores and online)
- Dark chocolate bars with nuts
- Chocolate-covered dried fruit
- Pound cake (top with dried fruit, shredded coconut and condensed milk or drizzle of liqueur like Grand Marnier or Kahlua, available in 200 ml sizes)
- Biscotti
Backpacking Food Storage
Leak- and animal/insect-proof are the most important rules for backpacking food storage. I stash all liquids in small bottles and place those in a Ziploc® bag that gets sealed inside of a Tupperware®; messy bulk foods are stored similarly. Remember that you need to pack everything out, so bring suitable storage bags for used/odoriferous items.
Invest in a critter-proof bag or canister and hang it from a tree if you’re in an area with bear activity. To prevent mayhem caused by dexterous paws (looking at you, raccoons) and sharp teeth and never sleep in your tent, or leave it unattended, with food in it. There may not be bears around, but a mouse can ruin your trip by chewing a hole in your nice tent in search of those wonderful smells.
I hoard small condiment, food and spice bottles and jars and use them for packing seasonings, liquids, and pastes. Alternatively, 1-ounce containers work well and MSR makes moisture-resistant, BPA-free shakers. Sturdy, flat, Tupperware-style containers in various sizes take up less space in your pack and you can nest them when your food is used up.
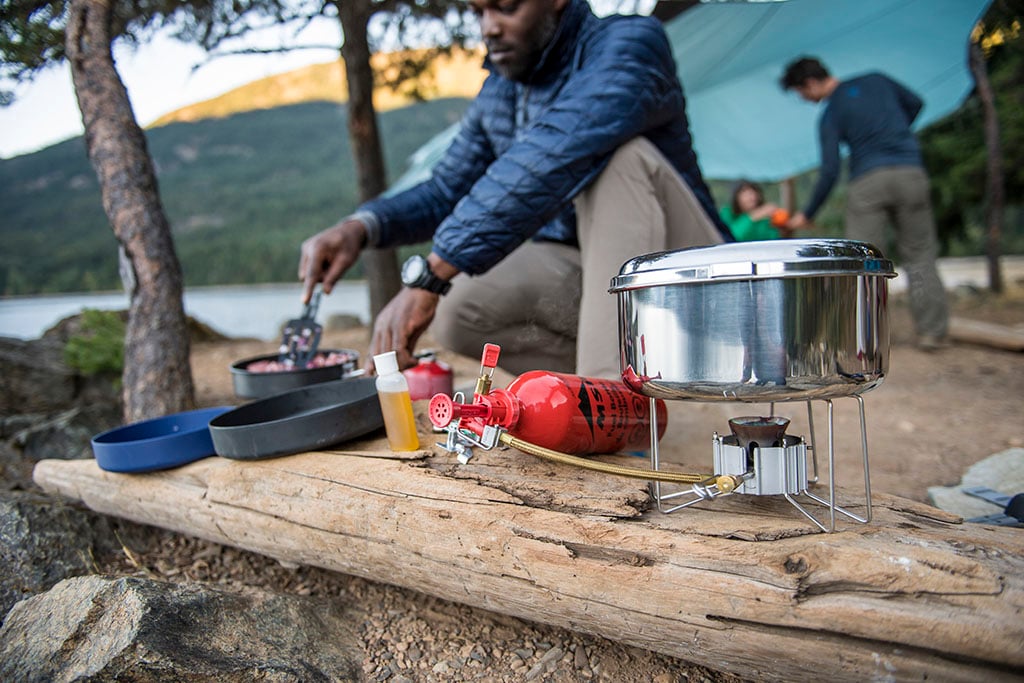
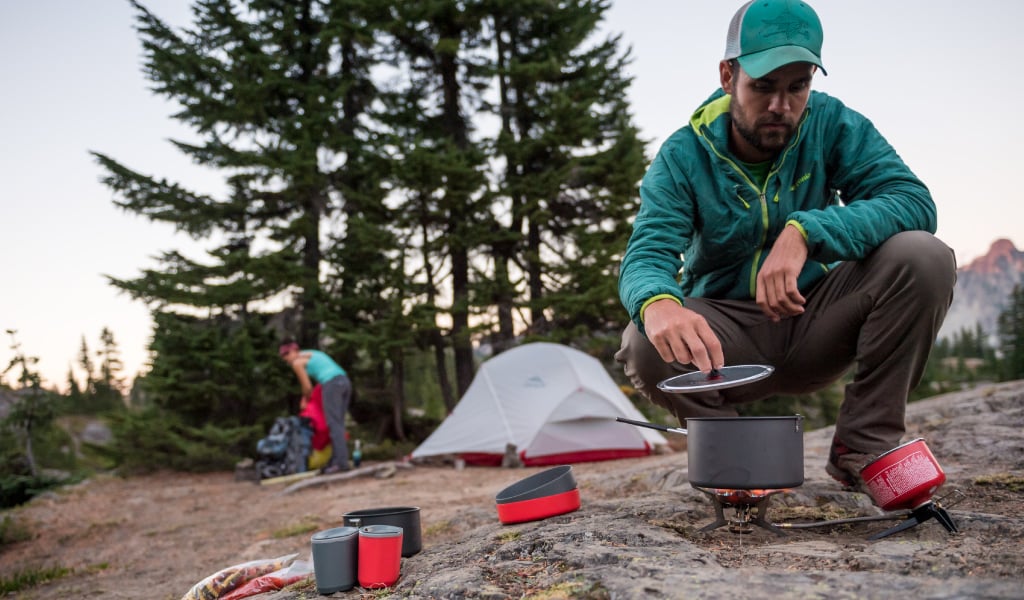
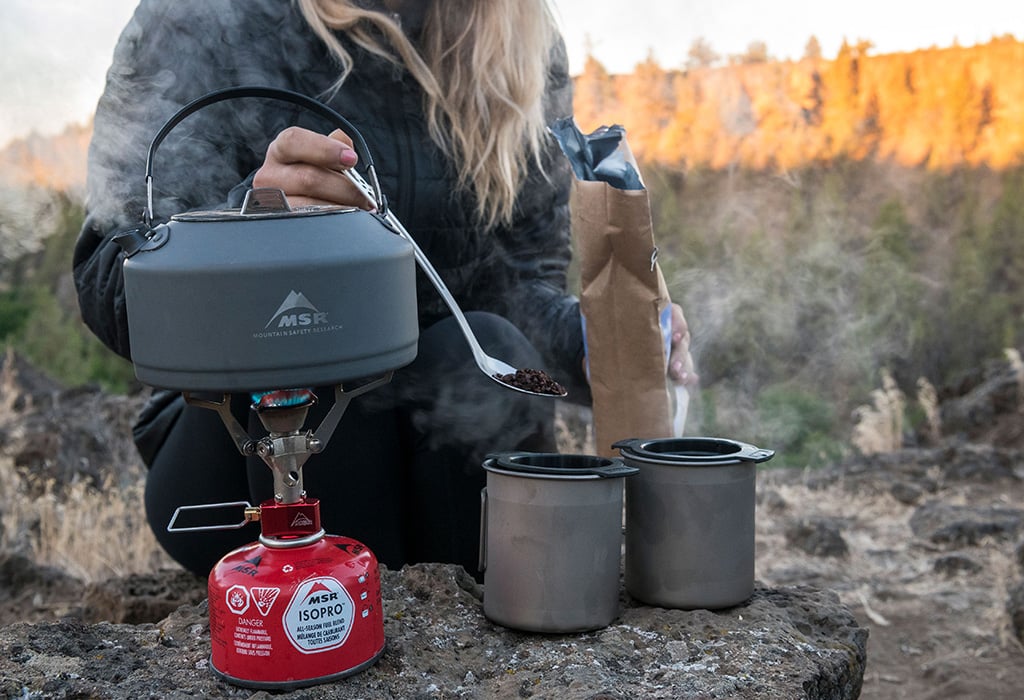
Best backpacking stove and pot pairings
When it comes to backpacking food, you can purchase kitchen kits with specialized camping utensils, or you can start with just the essentials like a spatula and a cutting board. Just like a first-aid kit, you’ll want to personalize your kit to your needs after you stock the basics.
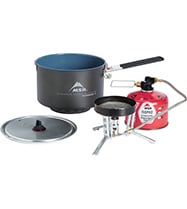
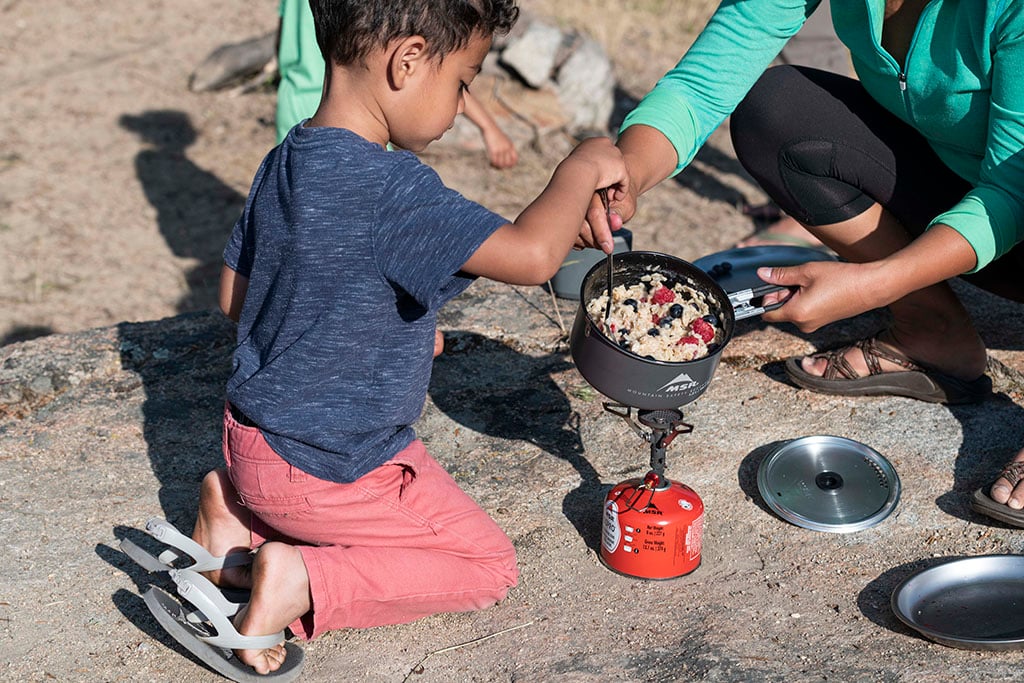
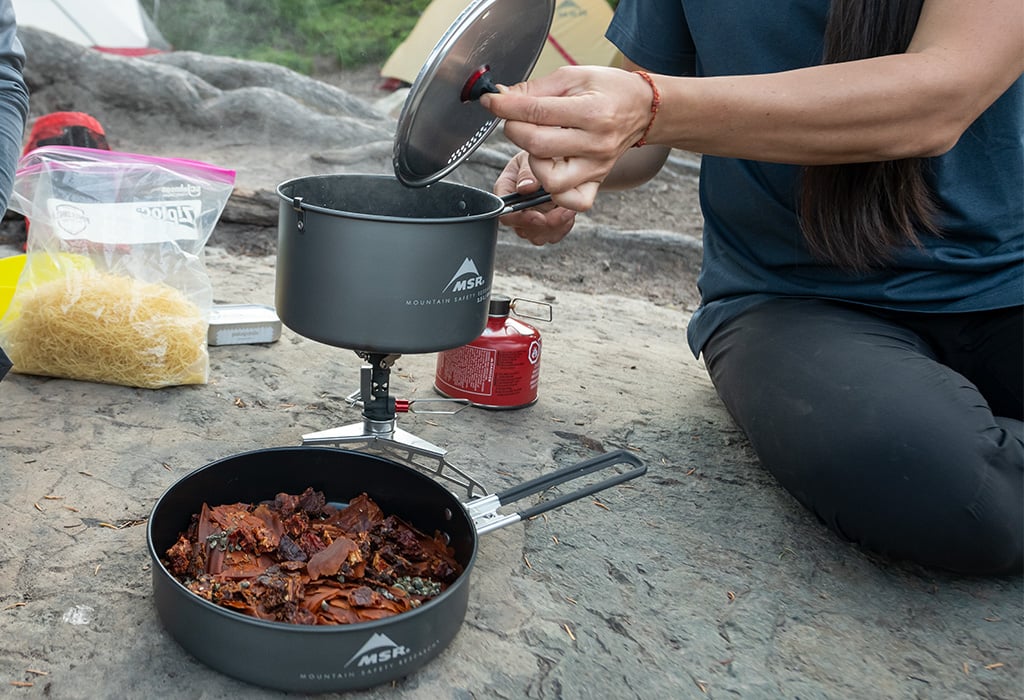
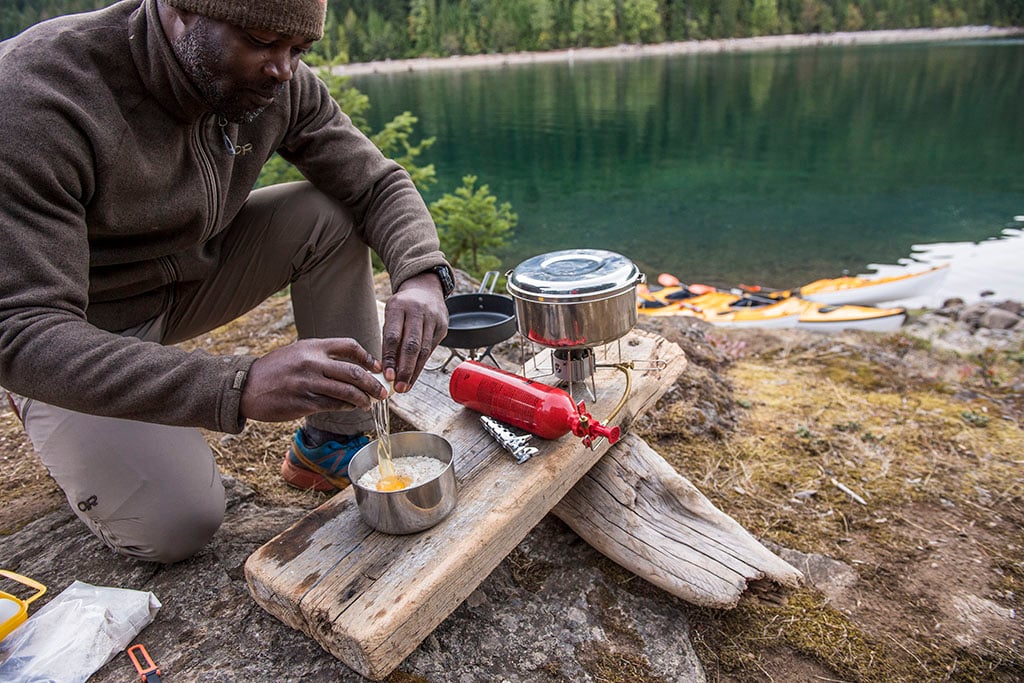
Think about what you plan to cook, and let that guide your buying with regard to cookware. You’ll probably make a lot of pasta and other foods that require boiling, so choose a good pot, like MSR’s Nonstick Ceramic Pots. I like having two pots, so I can use one to hold prepped/cooked food and use as a smaller capacity skillet while I finish the rest of the meal. Or you can eat directly from the pots. “I love to wash extra dishes,” said no one ever.
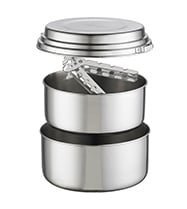
Personally, I try to travel with ultralight gear because I’m short and have a bad back. Minimalists should consider MSR’s Trail Mini™ Solo Cook Set, which provides you with a small pot, bowl and cup/storage container/spare bowl. I own this set and it covers all the bases for long or solo trips.
If you’re cooking for a group or just want to invest in more than one pot, a skillet is preferable for sautéing vegetables and cooking eggs, pancakes and other items requiring more surface area.
MSR makes cookware with four different material options; below is a quick breakdown of each:
- Nonstick ceramic: Easy to clean; great for cooking.
- Hard-anodized aluminum: Durable, great heat conductor but not as lightweight as titanium or stainless.
- Titanium: Durable and featherweight but less efficient at heat transfer.
- Stainless steel: Nearly indestructible but less efficient at heat transfer.
Whatever cookware you choose, use it to maximize your storage space by nesting items and filling pots and dishes with ingredients or small items like socks or underwear.
Related Posts:
- Cutting Backpacking Food Weight on a Long-Distance Hike
- DIY Dehydrated Backpacking Meals
- Homemade Backpacking Meals, Just Add Water
- Backpacking With Cheese

About the Author
Laurel Miller is an Austin-based food, spirits and travel writer and editor. Despite her Texas locale, she’s obsessed with the mountains and whitewater, but breakfast tacos run a close third. She’s at sustainablekitchen.com.
Updated. Originally Published September 19, 2020.