Homemade Beef & Bacon Jerky
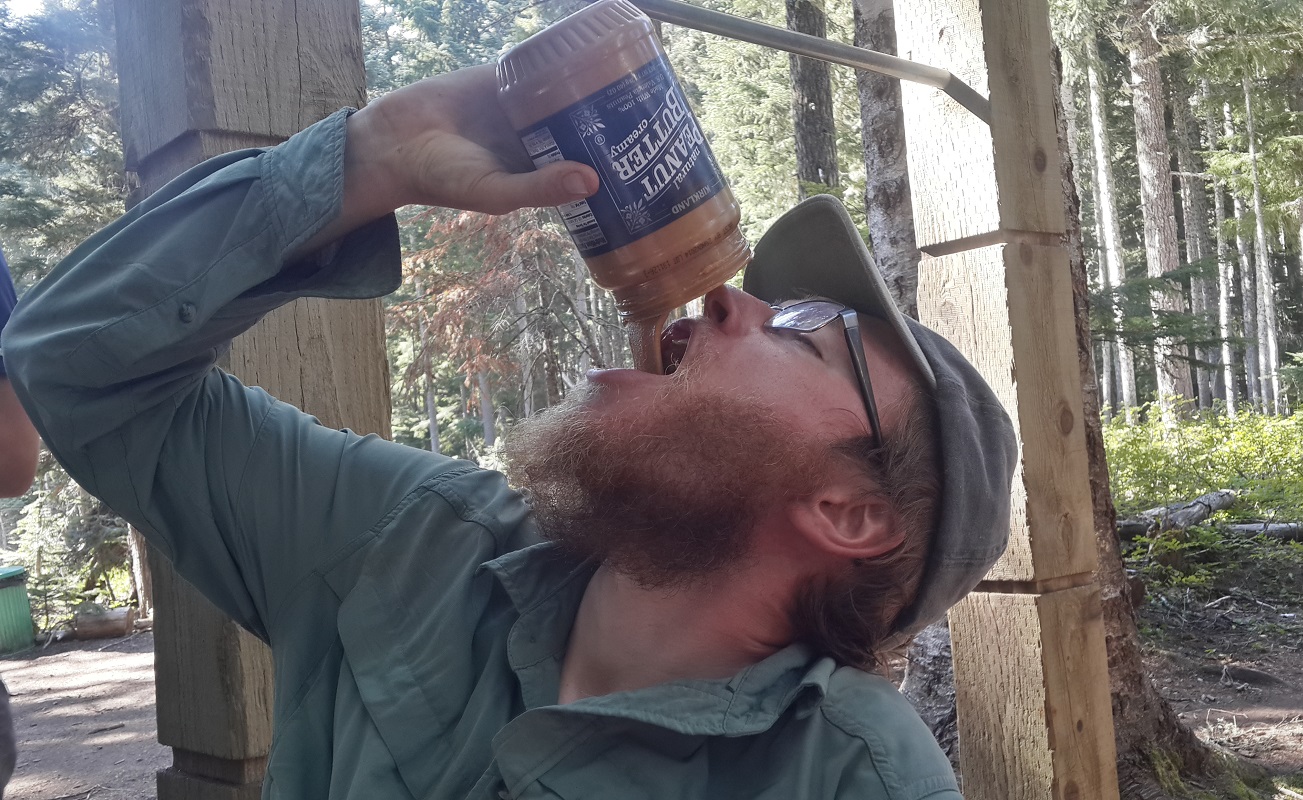
Protein is a key ingredient for the backcountry. Backpacking, rock climbing, mountaineering, paddling are all activities that take a serious toll on muscles and joints. To keep your body’s performance at its peak, it’s important to refuel with a complex protein, like those found in meat and soy products. Complex proteins aid your body’s recovery by rebuilding the muscles and connective tissues that are broken down during physical activity.

On extended trips this can pose a serious challenge, especially at high altitudes, as fatigue and diminished appetites begin to set in. Trail mix becomes unpalatable. The protein shake turns chalky. That sweaty, uneaten summer sausage. I’ve seen hikers resort to some pretty extreme measures to make sure they are getting their protein needs met.
To ensure that you are getting the protein intake you need, it helps to control the texture and flavor of your food. One easy way to do this is by making your own jerky. Surprisingly, this doesn’t require investing in expensive equipment and can even be made with a cheaper cut of meat, like brisket or flank steak.
Beef Jerky
For my jerky I used a one and a half pound skirt steak, but it’s fine to use whatever is a bargain at your local grocery store (provided it’s fresh!).
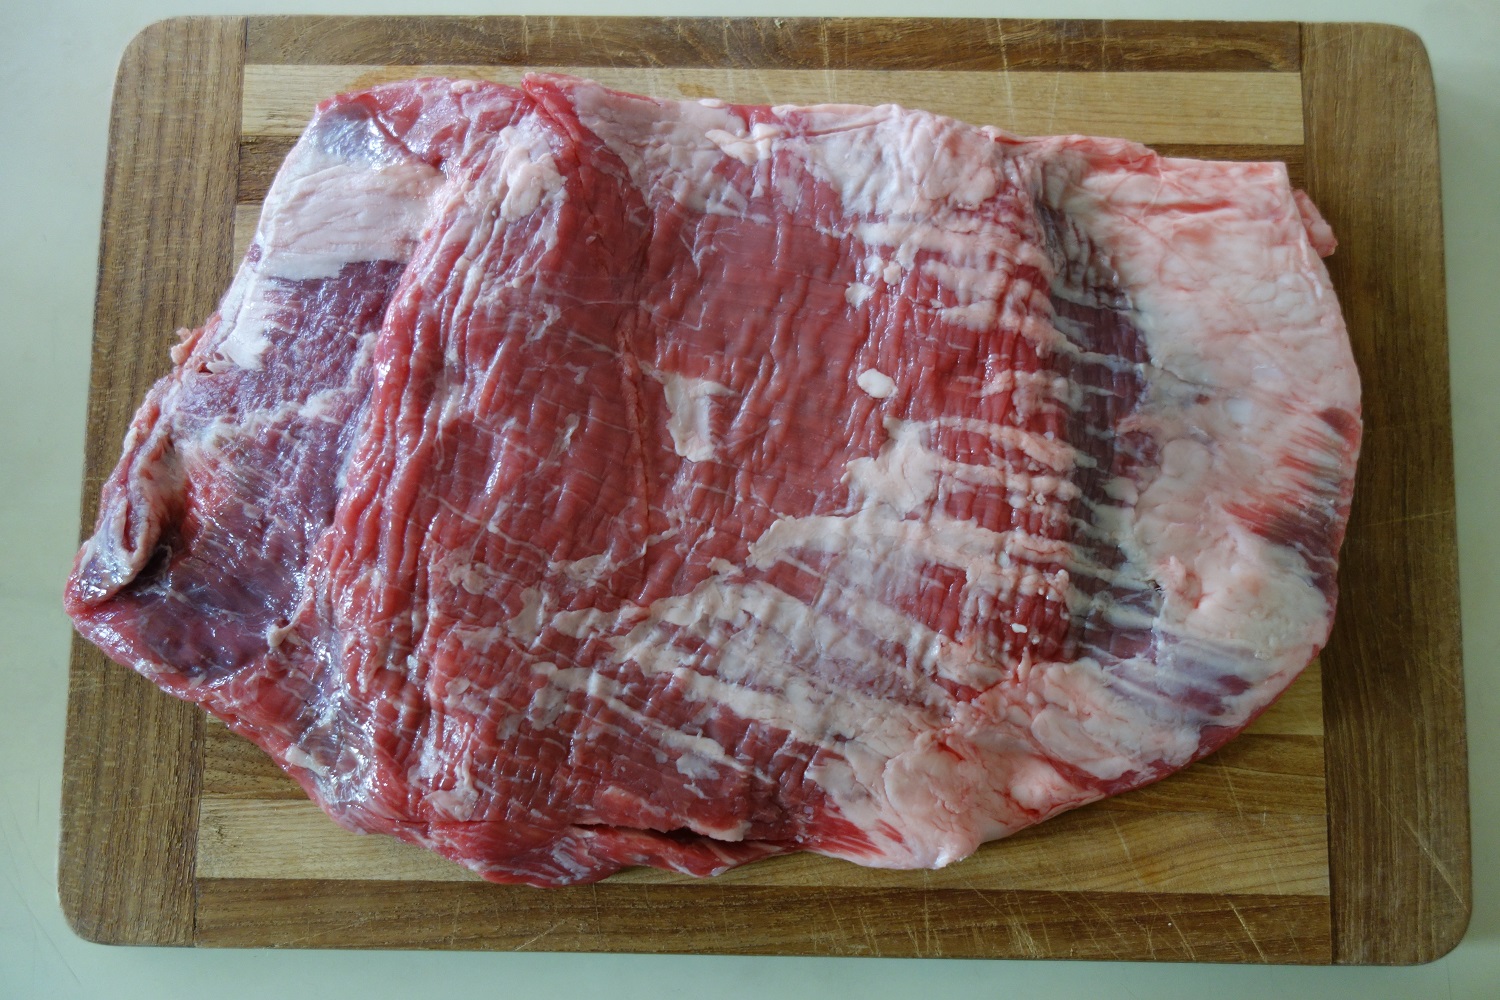
The first step is to cut off the excess fat from the meat with a paring knife. Fat spoils faster than meat, so by removing the fat at the beginning you will ensure that your finished product lasts as long as possible. I ended up cutting off some of the meat along with the fat during this part of the process–another benefit of using an inexpensive cut.
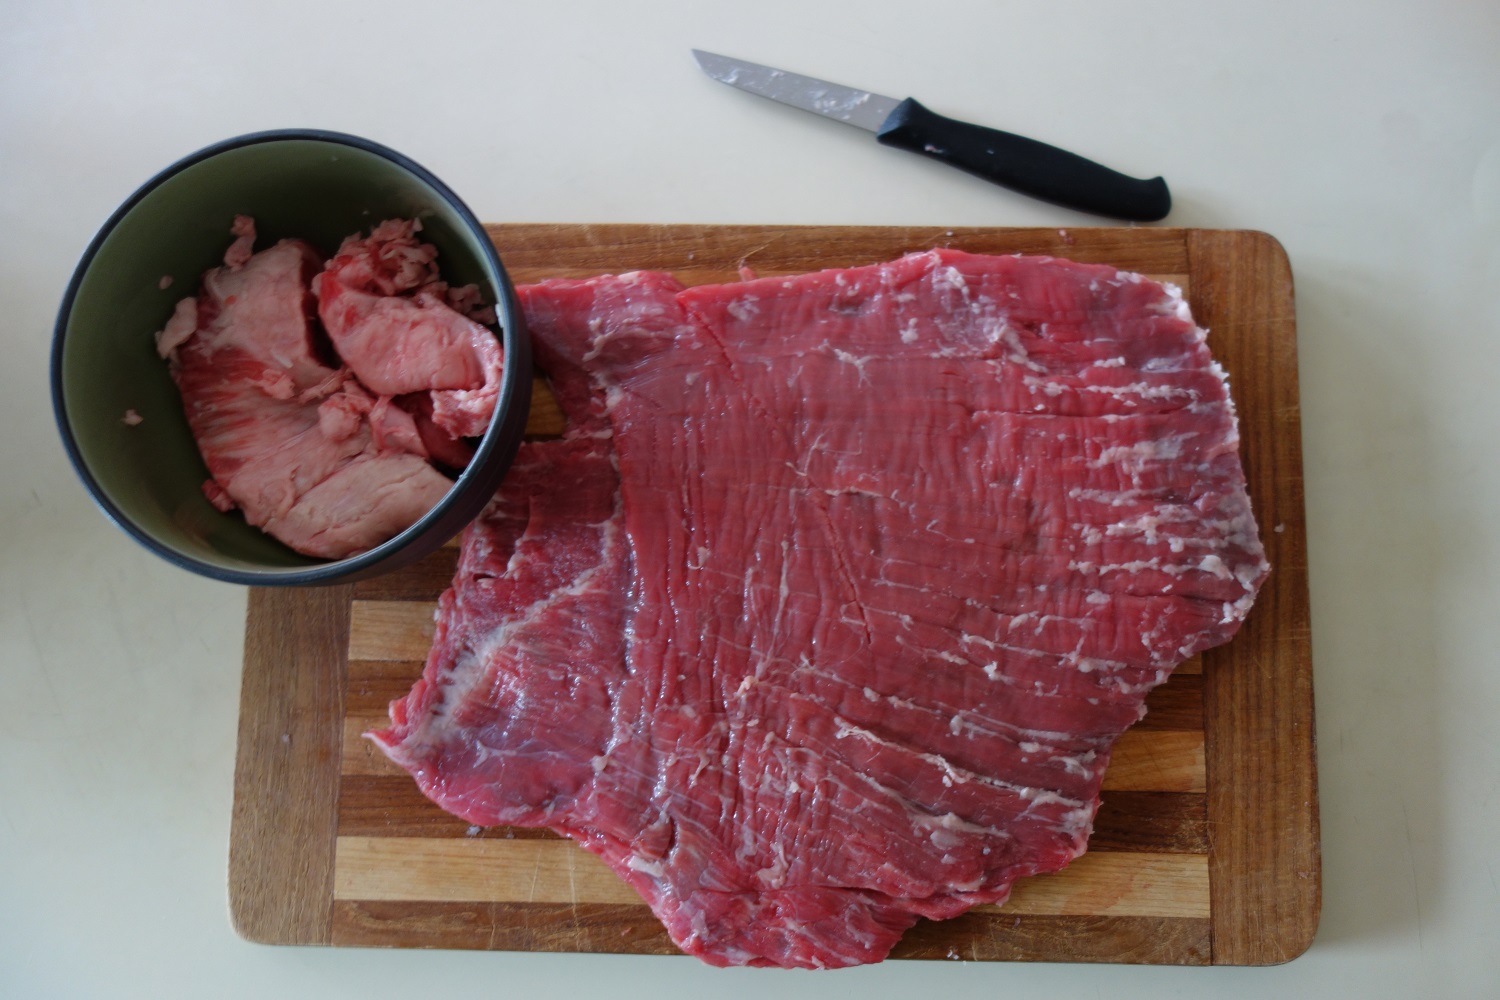
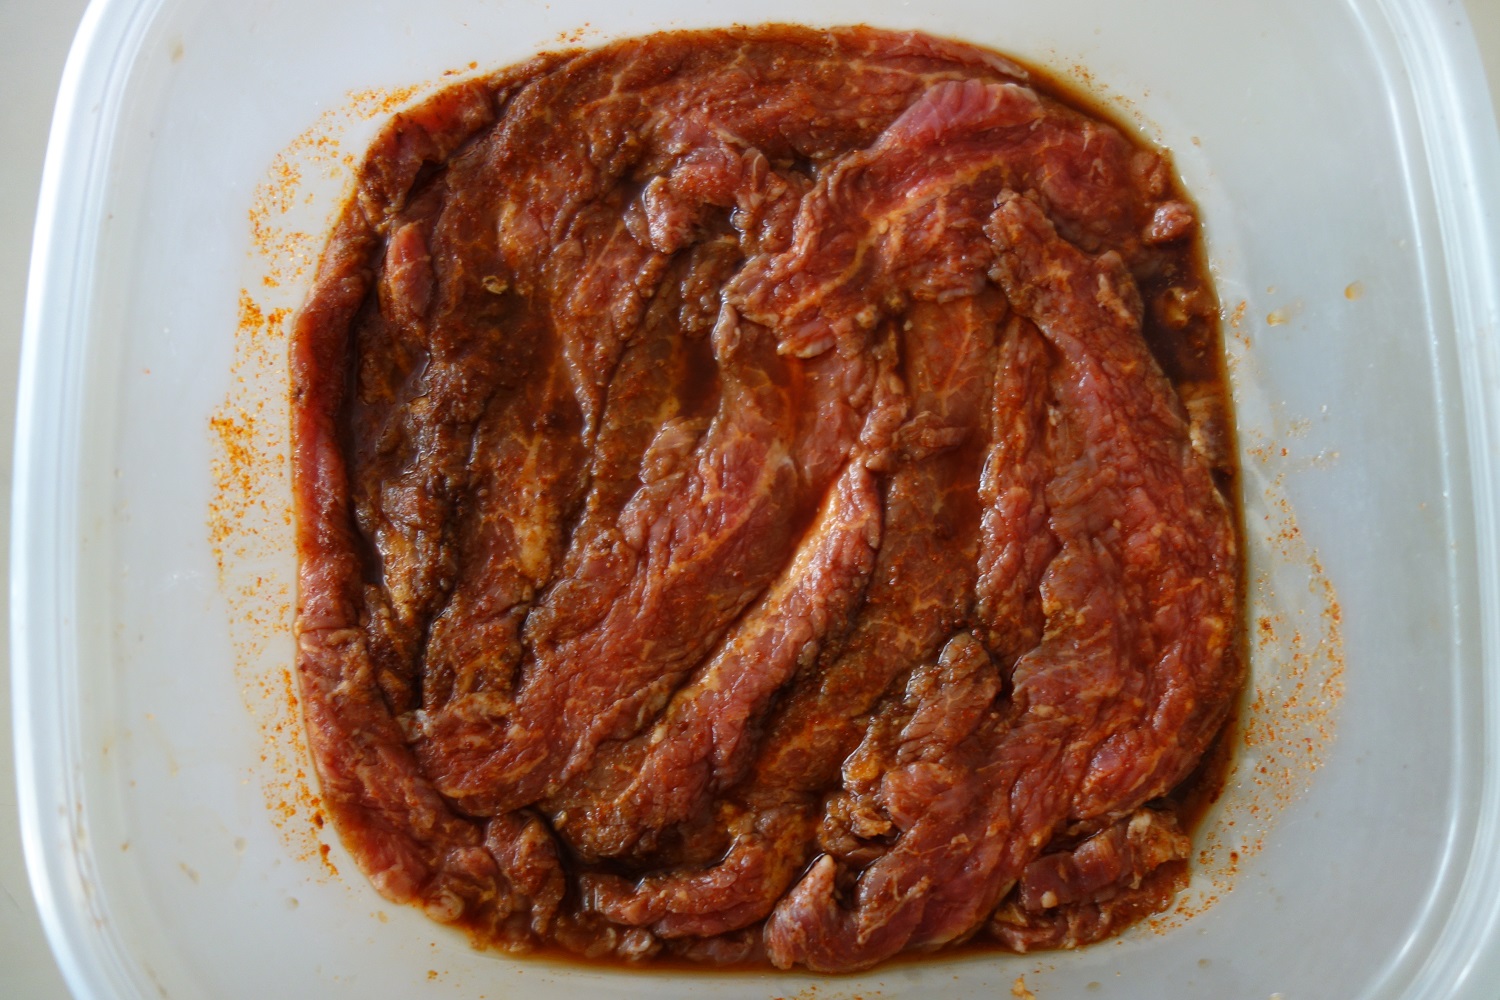
Wrap up the trimmed beef in saran wrap and place it in the freezer for a couple of hours. This will help make the meat easier to cut in the next stage. While you’re waiting for it to harden up, prepare the marinade. The marinade serves two purposes–it will add flavor to your jerky and also help to tenderize it. Below is the recipe I used, which is made up of ingredients that I already had at hand in the kitchen. This is a great place to let your own personal flavor preferences shine, so get out your favorite seasonings, sweeteners, and vinegars and get creative. Just remember that one of your ingredients will need to be acidic (like vinegar) for the marinade to do its job.
Marinade ingredients:
- ½ cup honey
- ¼ cup sherry vinegar
- 1 tbsp. chipotle powder
- 1 tbsp. Aleppo pepper
- 1 tsp garlic powder
- ½ tsp salt
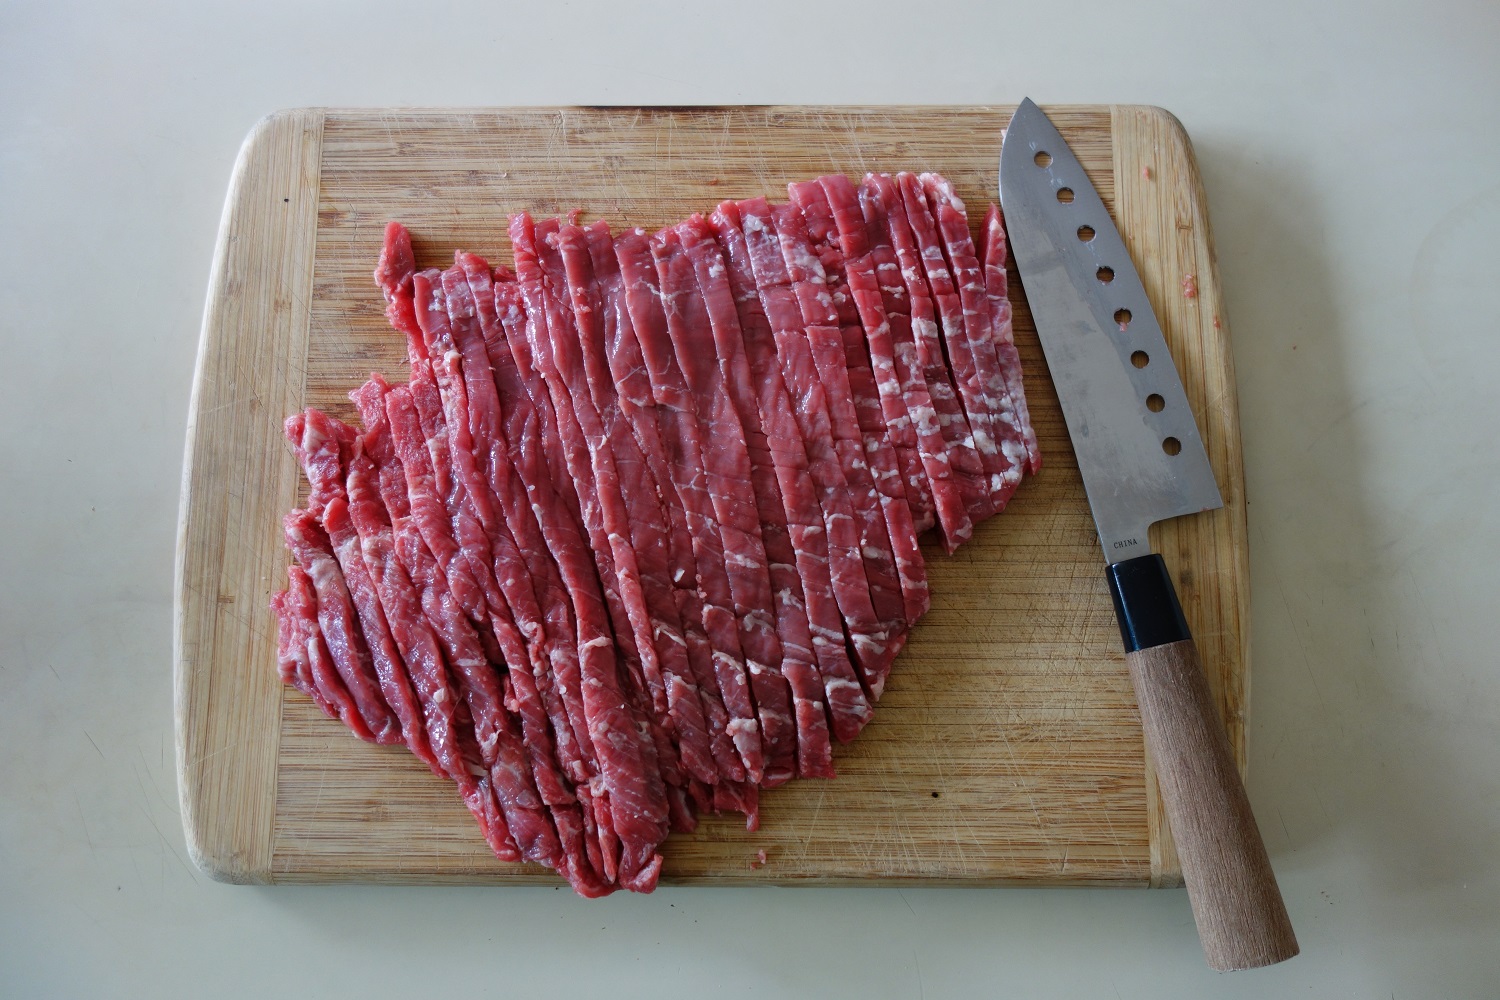
When ice crystals begin to form on your meat, it’s ready to be cut. Check where the grain of the meat is running. This is where the muscle fibers are aligned. The jerky will hold its shape better when the meat is cut against the grain. I usually aim for thin strips that are about an ⅛ of an inch wide, but don’t fret about getting this exact. Slightly larger jerky may need a bit longer to dry out, but it doesn’t change the process substantially.
Place the chopped meat with your marinade in a Ziploc bag or Tupperware container, cover, and refrigerate for at least 24 hours.
Start the next day by preheating your oven to at least 160 degrees (the minimum temperature necessary to reduce the risk of salmonella), or to the lowest temperature your oven allows if it doesn’t go that low.
Take out your oven rack and place it over your sink (or any area that is easily wiped down) and lay out your jerky strips. This will allow for more uniform drying in the oven. Do not use cookie sheets for this stage as it inhibits air circulation.
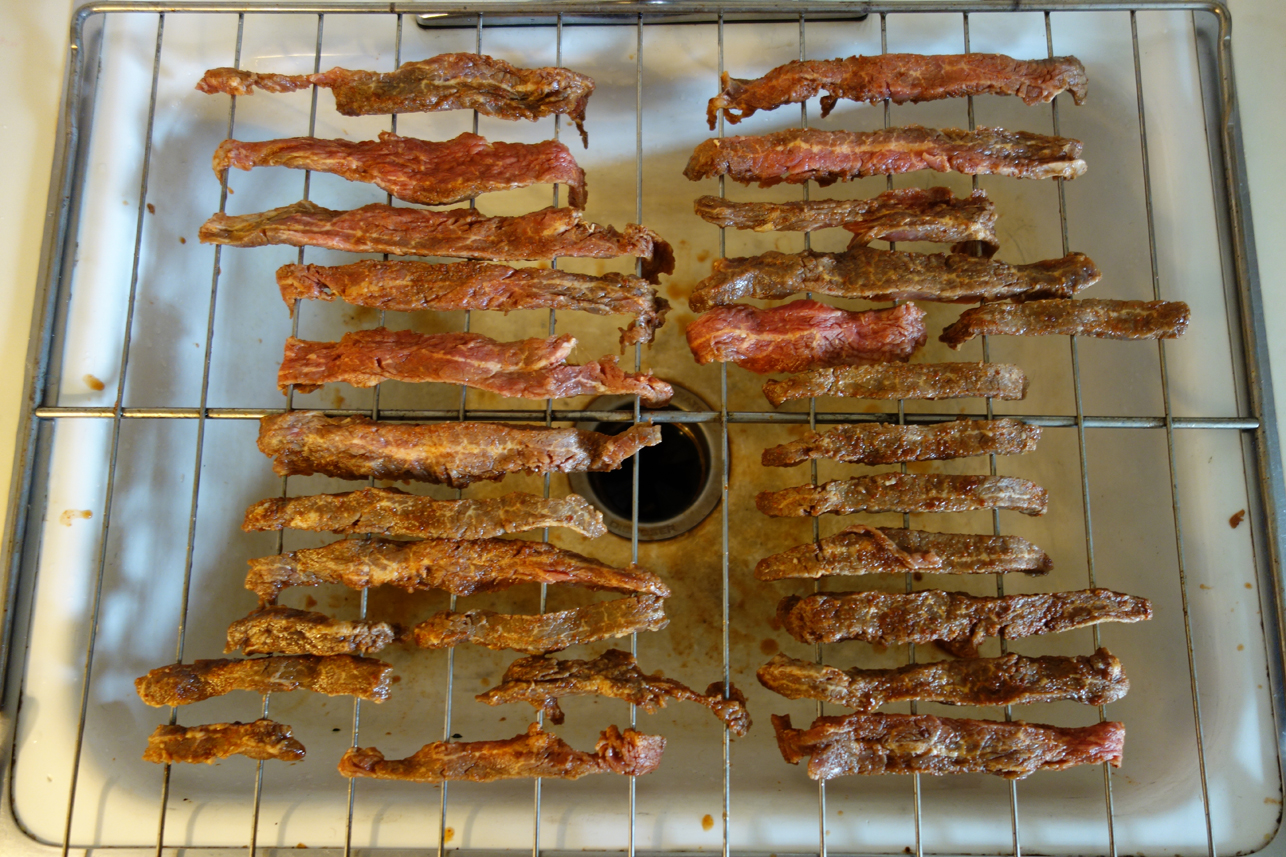
The beef is now ready to go into the oven. I placed some tin foil beneath the rack to catch the drippings.
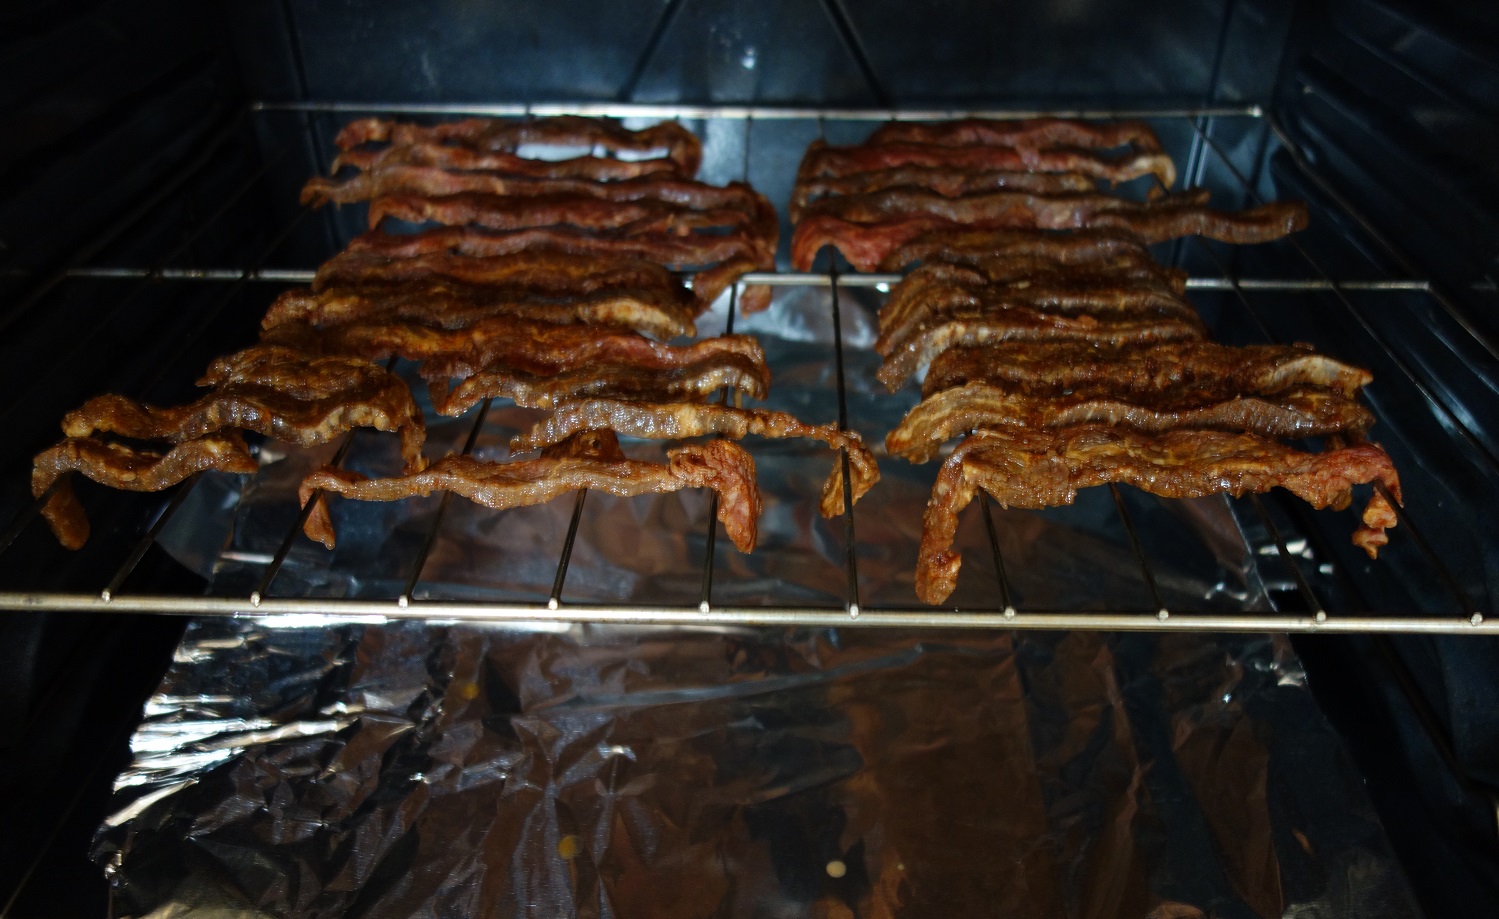
Shut the oven door if it has good ventilation, otherwise leave it slightly ajar. Start checking your jerky after four hours, although it may take up to six to reach your desired level of firmness.
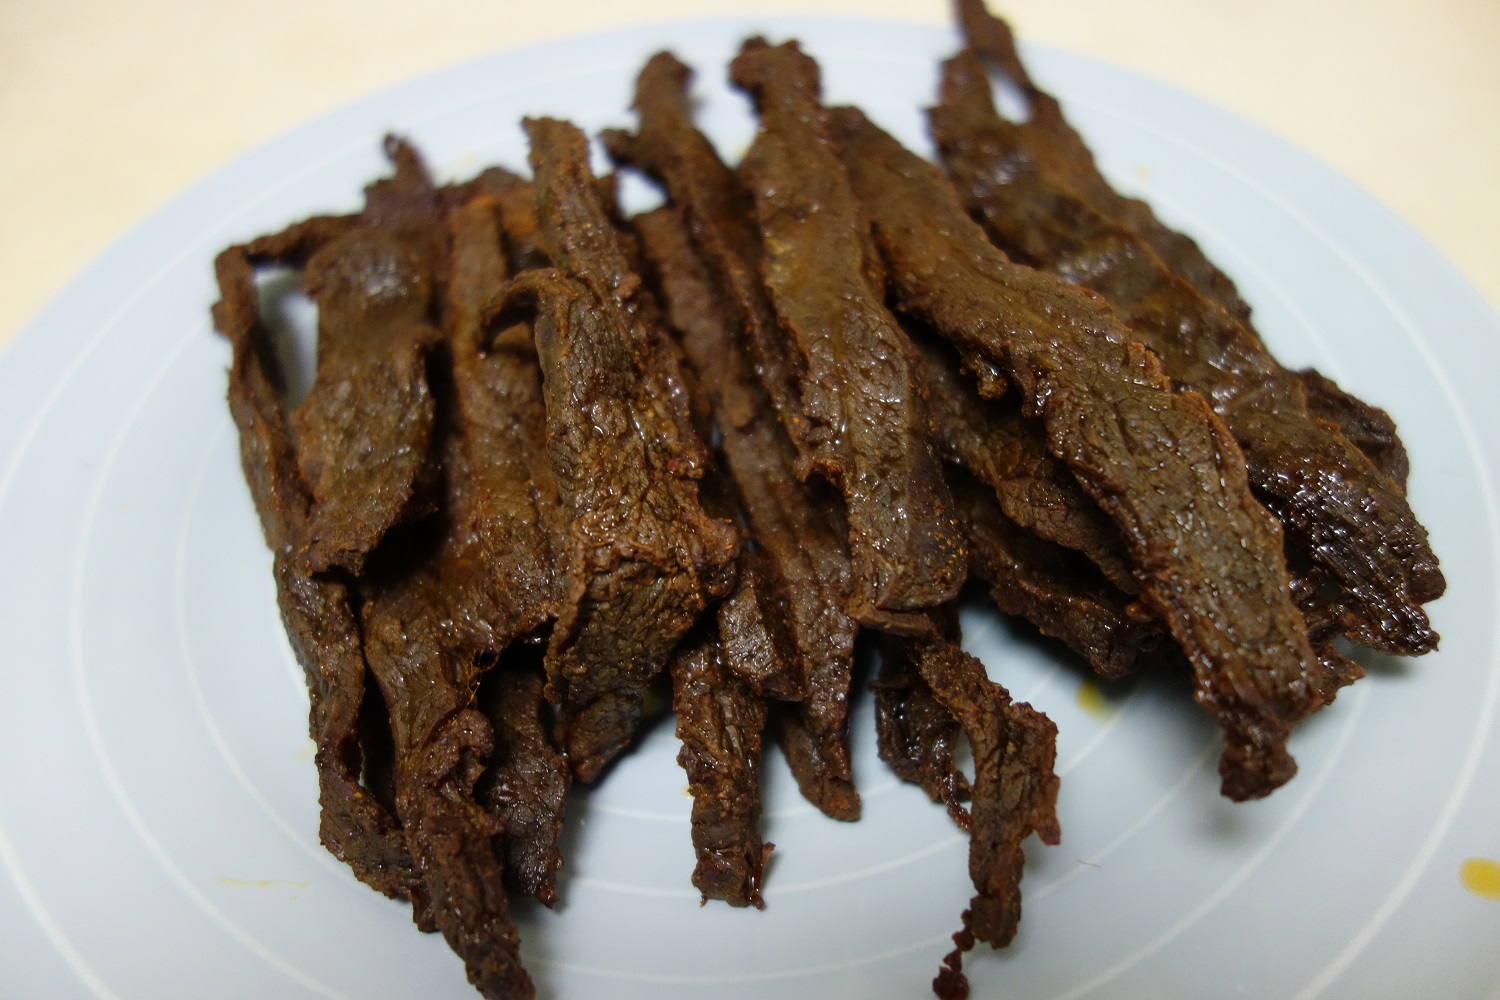
Of course, while beef jerky is a great protein source with a shelf-life of a month or more, sometimes it’s nice to treat yourself to something more decadent.
You know what I’m talking about: bacon.
The following recipe is virtually impossible to get tired of, but will not keep unrefrigerated for longer than a week. Fortunately, there is no way it will last that long.
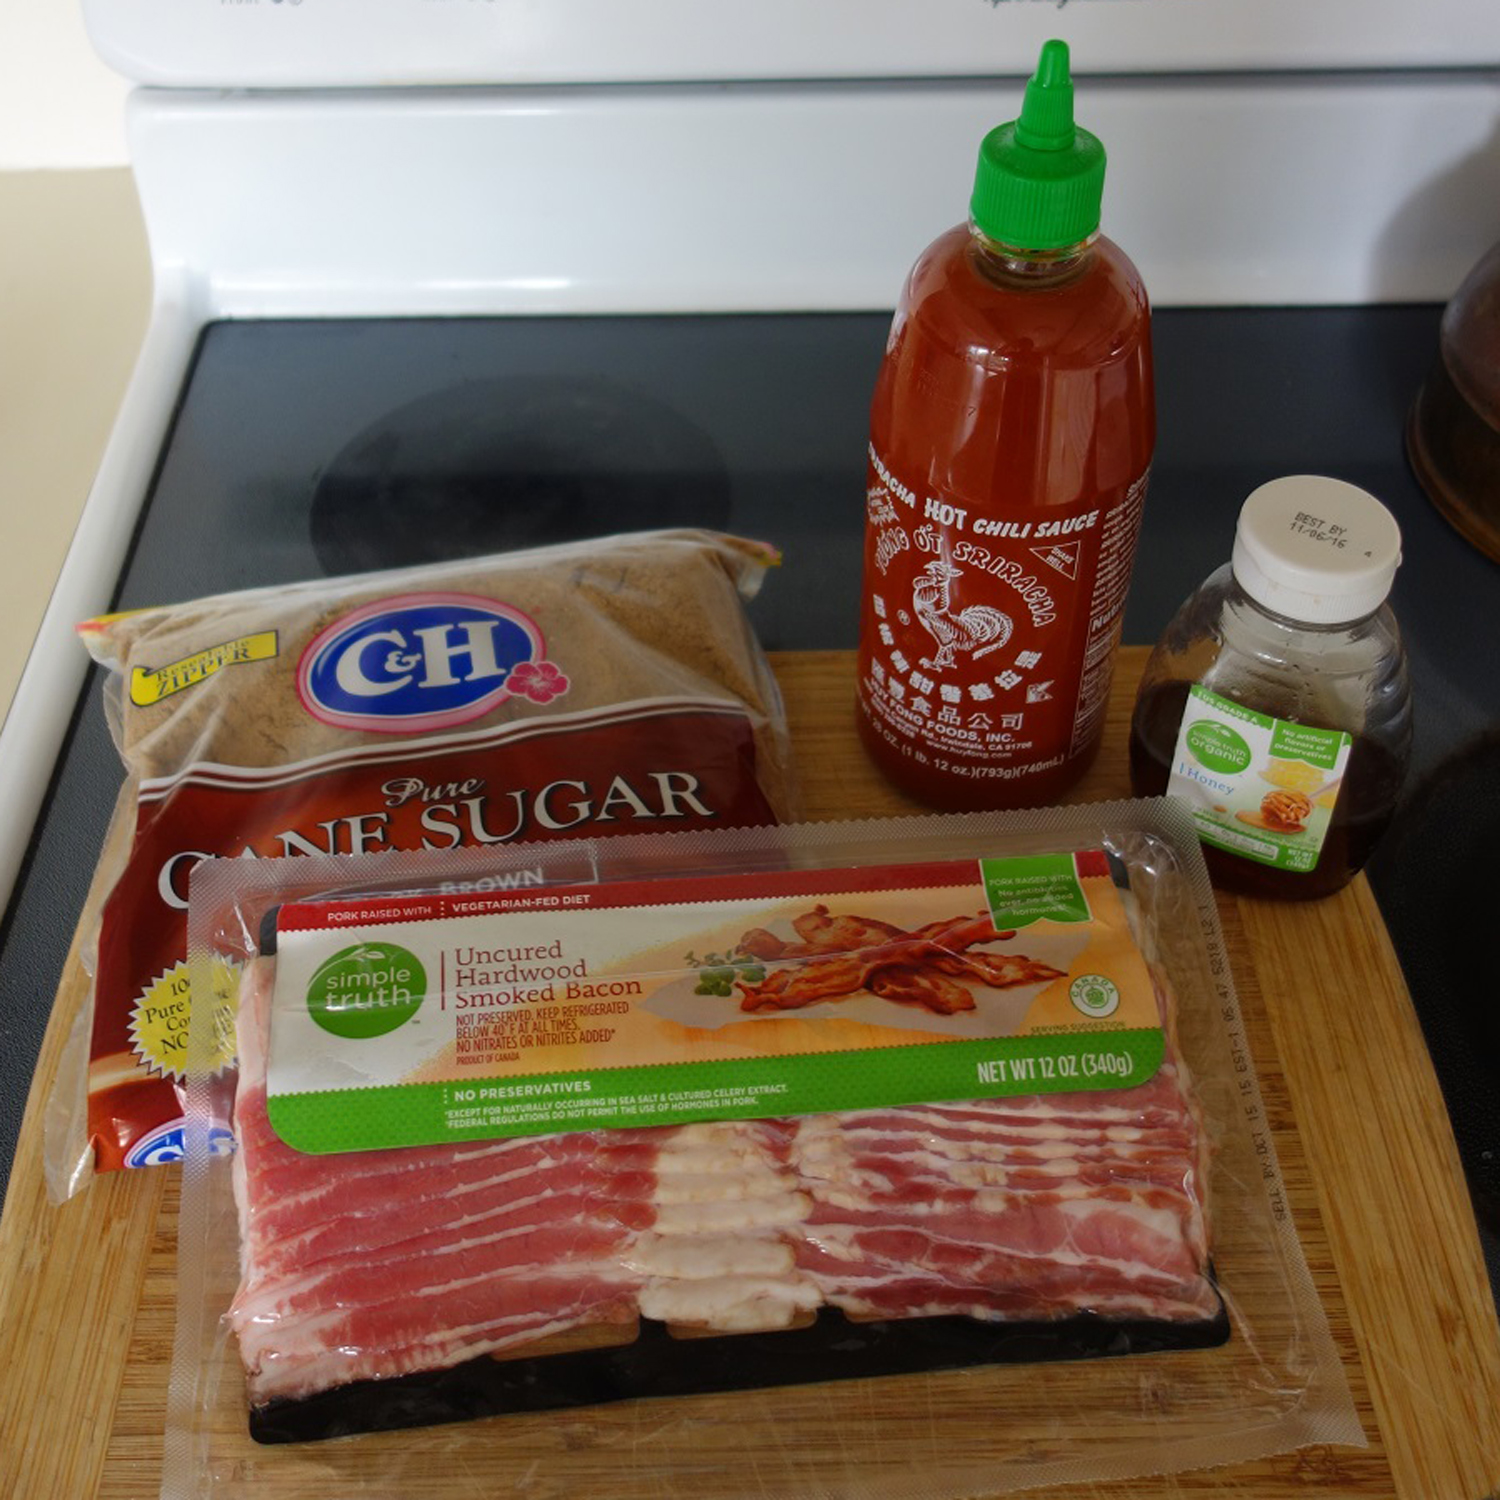
Bacon Jerky
Ingredients:
- 1 packet bacon
- Brown sugar
- Sriracha sauce
- Honey
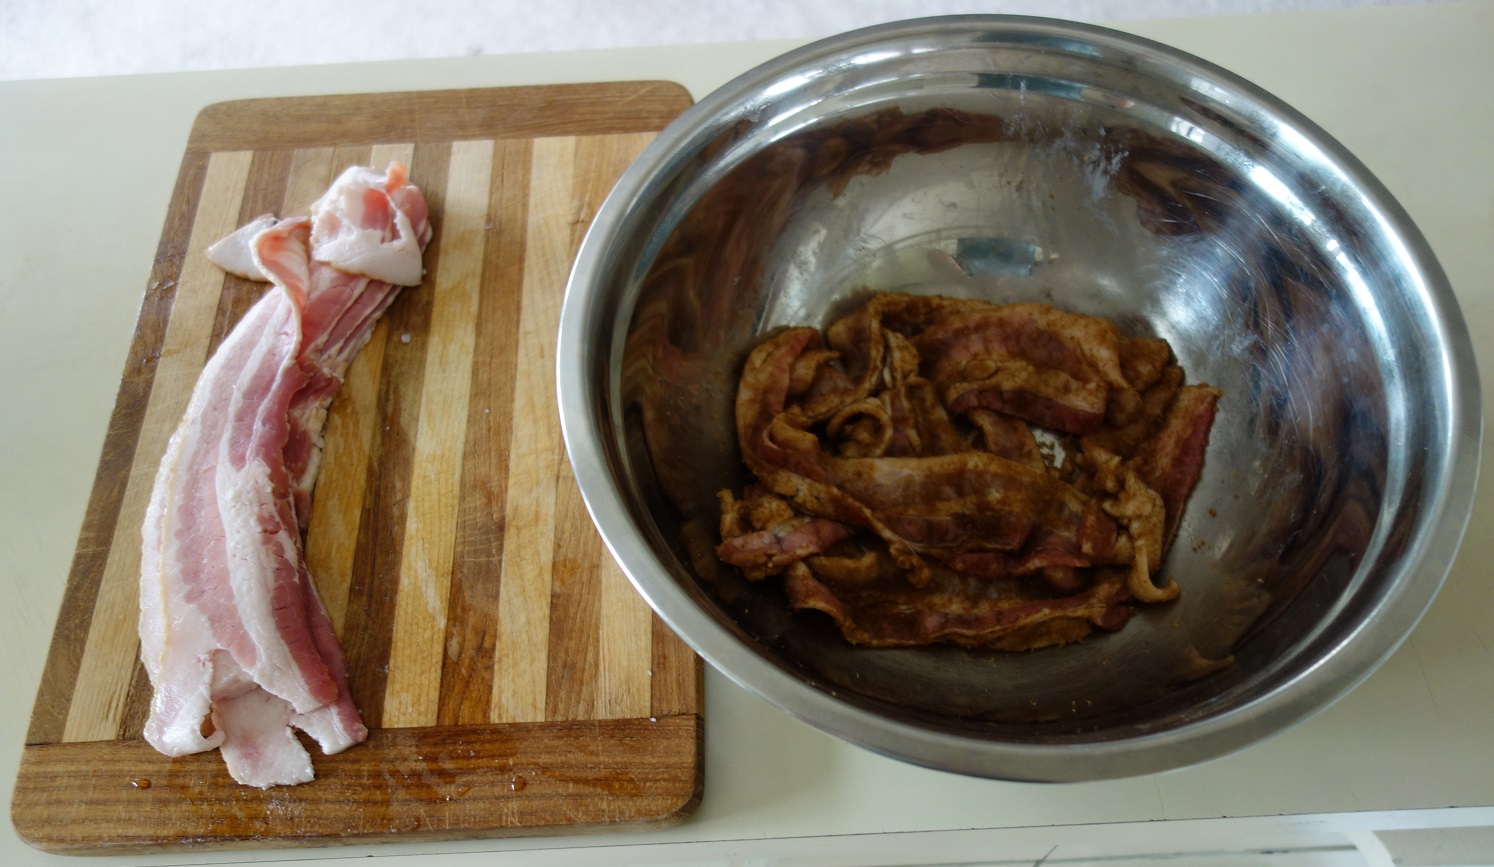
Start by heating your oven to 170 degrees, or its lowest setting if it doesn’t go down to 170. While it’s preheating, combine half the packet of bacon with a half cup of brown sugar.
Lay your bacon strips out, and put them inside the oven when it is ready. Try to orient the bacon in such a way that the plain strips are easily accessible.
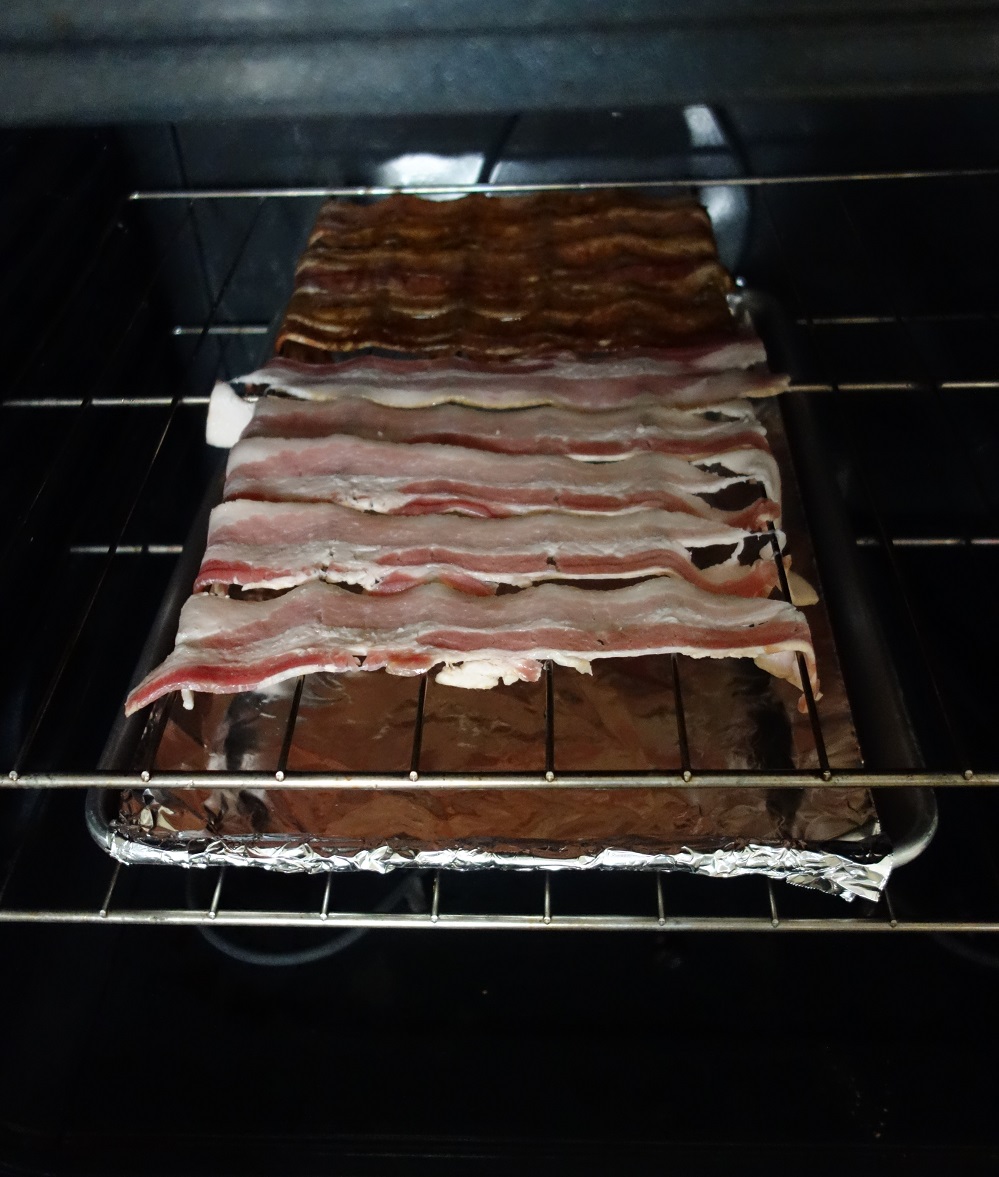
Combine one part sriracha sauce with one part honey in a bowl. After your bacon has been in the oven for an hour, brush the bacon with the mixture. If you wish, you can flip the bacon after another half hour has gone by, but this is easily skipped without compromising flavor.
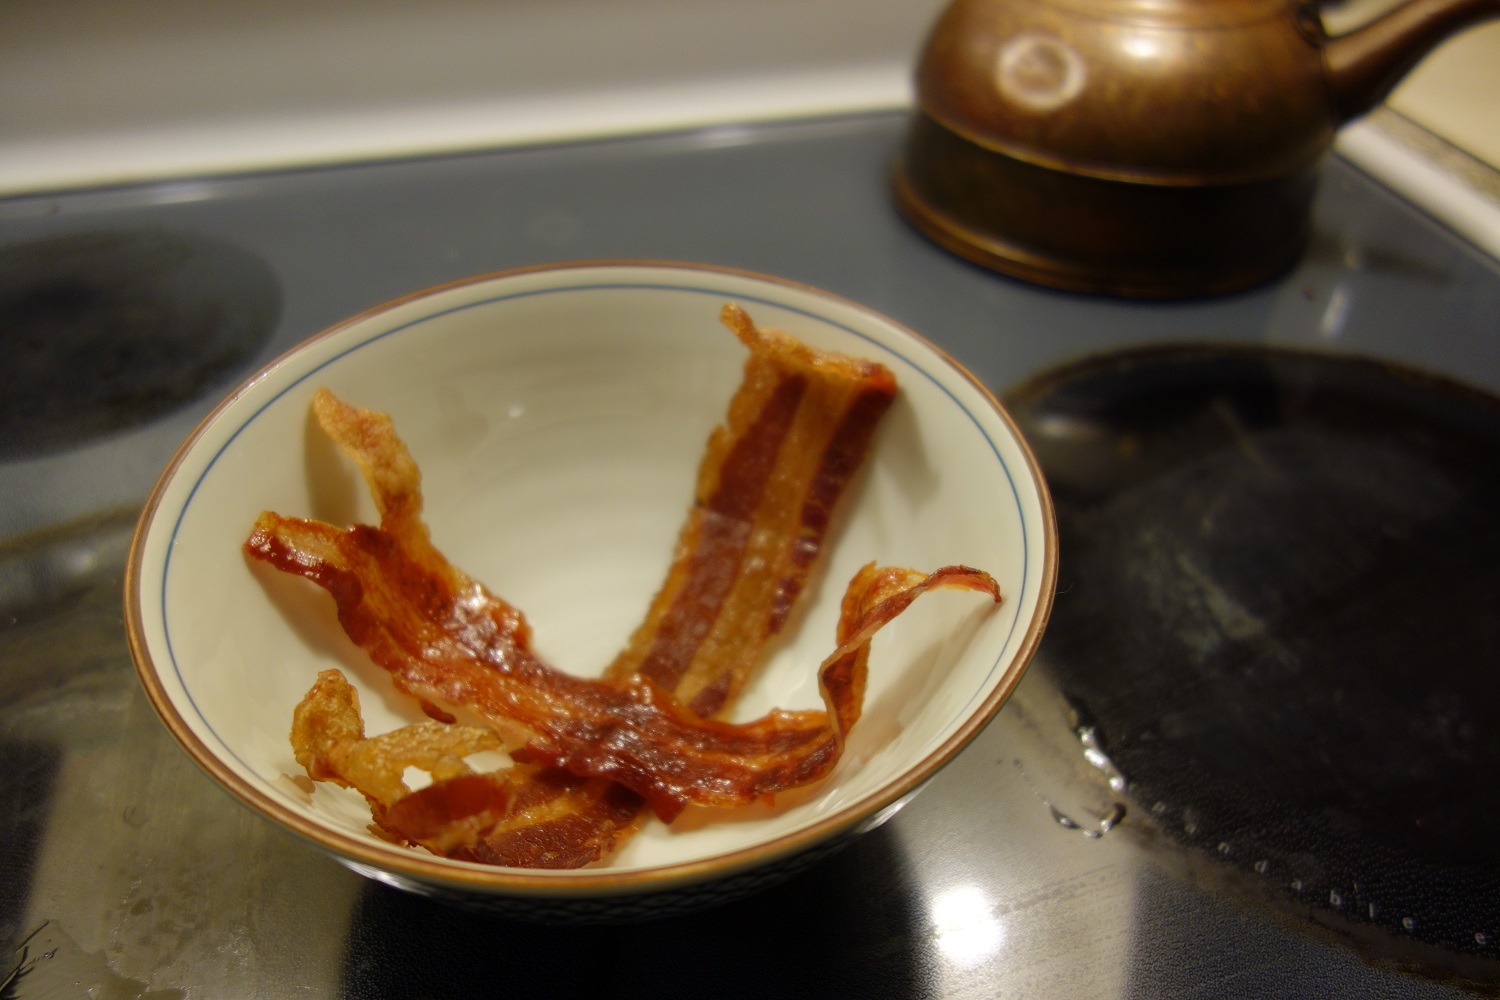
After the bacon has been in for over two hours, pull out the rack and see if it has reached your desired texture for backcountry munching.
Now it’s time to get out of the kitchen and take advantage of these great muscle-building backcountry snacks!