Adventure Grub: 8 Easy Camping Meals for the Family
If you’re a parent seeking easy camping meals, you’re likely reading this with equal parts suspicion and hope because, as we all know, kids are weird animals. There are few, if any universal paths to feeding kids reliably on the road, in the backcountry or even at home.
Of course, finding foods your kids like is only half the battle when you’re away from home. There are some other key criteria to be considered on an adventure, like how much water the meal takes, how much fuel it consumes, how big of a hassle dishes are afterward and how well the ingredients keep and carry in your cooler or backpack.
With all of that in mind, here are a few meal ideas that my family has actually enjoyed, along with a couple from other parents for some valuable perspective. These all get high marks with the kids and hit most of the other criteria above. I’ve listed them from easiest and most backpack-friendly to camp meals suited to full-on road trip decadence.
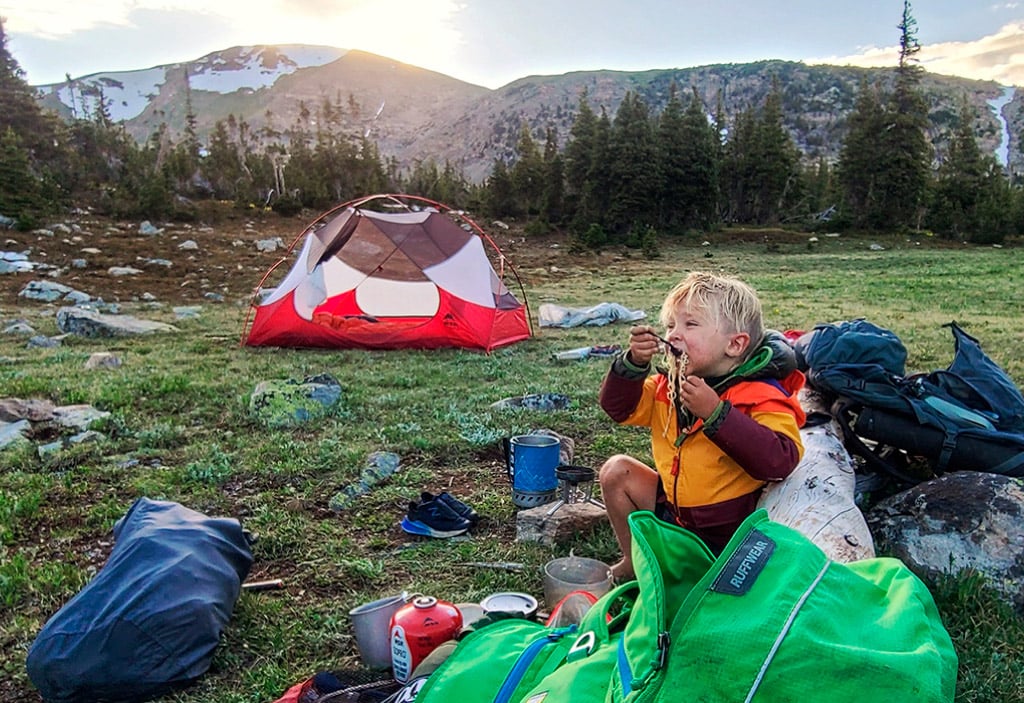
The “Ramen Bomb”
I realize this is not exactly a revelation. In fact, most of us have done some hard mental work to forget about these little bags of calories and sodium since we consumed them like oxygen in our early 20s. In fact, on a recent backpack to the Wind River Range, we were racking our brains for one more meal and only remembered ramen after hours of thinking.
Fortunately, there have been some real upgrades in quality and variety for this old backpacking standard. My personal favorite is the Thai Kitchen Rice Noodles, which get high marks in all of the above criteria and are a huge hit with our kids. They’re also gluten-free and many are vegan. Adults will want 2-3 packs to make a backcountry meal, while kids can get away with one or two. Carnivores can add a little jerky or tuna/chicken foil packs toward the end of the boil for some extra heft, and they can be used as a base for other meals too.
Wild Mushroom and Herb Couscous with Chicken
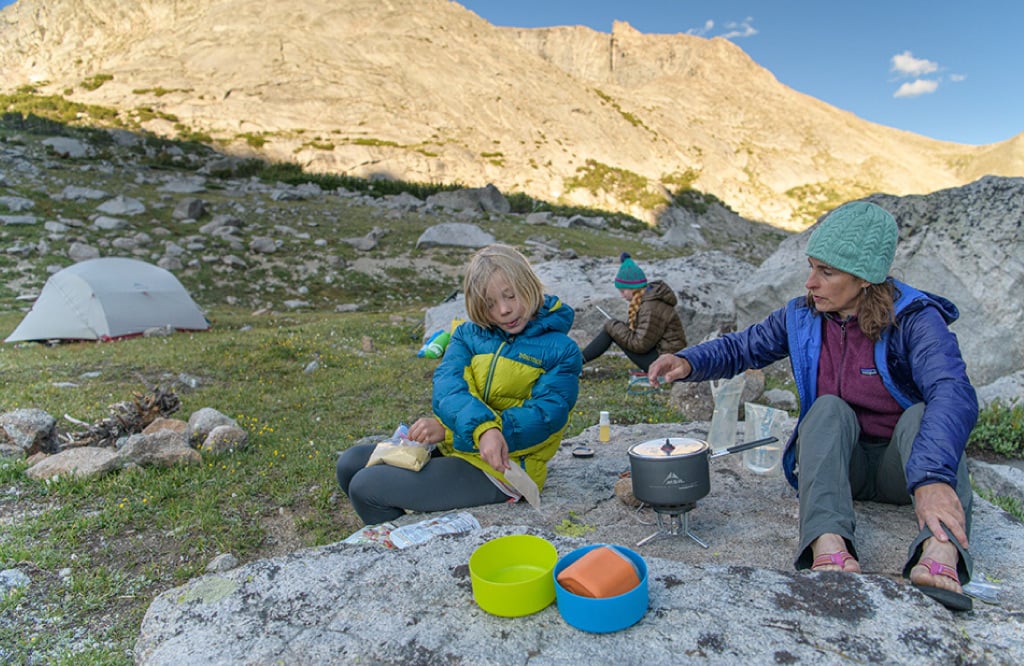
Couscous is another long-standing favorite of backpackers that also happens to be a hit with our kids. Near East does the vast majority of the work for you by offering a number of flavored varieties right off the shelf, available at most major grocery chains in the U.S. You’ll need to have a bit of olive oil or butter on hand for the best results, but they are otherwise a dream on water and fuel consumption for backcountry trips.
Simply boil water, toss in the couscous and seasoning and let it sit, off the stove, for about five minutes. Our favorite is the Wild Mushroom and Herb flavor. On a backpack, we’ll typically add some foil-packed chicken or, for the frontcountry, some pre-cooked chicken from home. I also like adding the sweetness of dried currants to bring the saltiness down a notch. Either way, the added protein bumps it to a real-meal status.
Gnocchi with Indian Pouch Meals
I reached out to another friend Ty (@tybrookhart) who is not only dad to Wilder, one of the cutest little backpackers around, but also an amazing potter (@dividestudio). Wilder is obviously a big fan of the Ramen Bomb (see above image) but using gnocchi as a base for any number of pouch meals is a close second. “I love this one because it’s really tasty, backpack-friendly, and clean-up is almost non-existent,” says Ty.
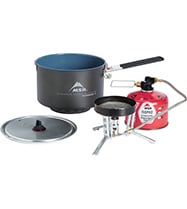
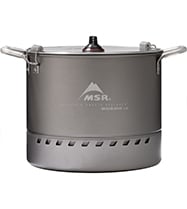
I love the idea of gnocchi instead of the typical rice. It cooks far faster, adds more bulk and flavor and, on a road trip, can be used with just about any sauce to make a quick, easy meal. This one can also be done on a single burner powerhouse like the Reactor stove.
Ingredients:
- 1 bag quick-boil gnocchi
- 1 Tasty Bite© of your choice
Simply boil the gnocchi in the pot. To warm the Tasty Bite pouch, drain some water into a bowl with your pouch for about five minutes, or put the pouch directly into the gnocchi pot. Add gnocchi to the pouch and save a dish.
Spanish Rice and Beans
I really like this versatile one from a friend of mine who’s traveled the world with her family (and has a great blog about it). It can be eaten right away, stored in the cooler for a quick meal or dehydrated for a backpack. It’s a little fuel-intensive, so best prepped in advance, but I love how it works for anything you might have planned. Be cooler-savvy and freeze it before you leave to help keep your cooler cold.
Serves 4
Ingredients:
- 2 Tbsp. olive oil
- 1 cup red bell pepper, diced
- 1 cup green bell pepper, diced
- 1 onion, diced
- 1.5 cups uncooked white rice
- 1 tsp. chili powder
- 1 tsp. cumin
- 1/2 tsp. onion powder
- 1/2 tsp. garlic powder
- 1/2 tsp. oregano
- 3 cups water
- ½ cup crushed tomatoes
- 1 12-oz. can black beans (drained)
- Salt and pepper to taste
Heat olive oil over medium-low and sauté peppers and onion. Add white rice and sauté for 2 min. Add all remaining seasonings and mix well. Then add water, crushed tomatoes, black beans and bring to a boil. Cover and reduce heat to a low simmer until rice is tender and excess liquid is absorbed. Season with salt and pepper to taste.
For backcountry travel:
Dehydrate cooked meal in a dehydrator or on a cookie sheet in the oven on a low temp (200 or less). Make sure to spread in a thin, even layer. Takes about 8 hours.
To rehydrate, cover with boiling water, stir, and let soak for about 15 minutes, just like you would a freeze-dried meal.
Humble Sushi
I wouldn’t brag about these to your local sushi chef, but this is a surprisingly filling, healthy, tasty and easy dinner that can be vegan or anything else you like. I don’t recommend doing these with anything but real sushi rice (anything else will not roll and just be a sad mess) so they are slightly fuel intensive. Because of that and the fresh ingredients, these are best for car-based adventures. The following is a good base of ingredients, but you can obviously add whatever you like to make them your own. These are so good in fact, you’ll be eating these at home too.
Serves 3-4
Ingredients:
- 1 pack nori seaweed (about nine sheets)
- Sushi rolling mat (optional, but it easily makes the best rolls)
- 1 cup sushi rice
- 1 carrot*
- 1 cucumber*
- 1 avocado*
- Sesame seeds
- 1 can of tuna (optional)
- Soy sauce and wasabi for dipping, of course
(*slice all veggies long and skinny for easy rolling)
Simply place a sheet of nori on your sushi mat and spread a thin, solid layer of cooked rice over it, leaving about an inch bare at the top of the nori. Lay in your veggies and any other preferred ingredients across the edge closest to you (don’t overfill). Roll the nori, gently pressing with the mat as you go to get a good, solid roll. Then simply cut into pieces, sprinkle with sesame seeds and you’ll have a sushi meal for about 1/50th the cost of your favorite sushi bar, and with a far better view.

Lightspeed Fajita Bowls
These fajitas are a family favorite and, with a bag of pre-cooked chicken from home in the cooler, a snap to make. We almost always make too much filling, so err on the lean side unless you have a way to deal with leftovers. The best thing about this recipe is that there are precious few ingredients and you can’t really go wrong with the quantities. If you pre-chop all the veggies, you’ll be eating in under 20 minutes.
Serves 3-4
Ingredients:
- ~1.5 lb cooked chicken, pre-cooked and sliced (about one breast per 2 people)
- 2 Tbsp. olive oil
- 1 green bell pepper, diced
- 1 red bell pepper, diced
- 1 onion, diced
- 3-ish cloves of garlic, minced
- 1-2 tbsp. cumin (to taste)
- As much chili powder as your kids will allow
- Salt to taste
- 1 cup cheddar cheese
- 1 jalapeño, chopped (for the grown-ups)
- Cilantro, avocado, salsa, sour cream, etc. to your liking
Sauté the onion in olive oil over medium heat until translucent. Add garlic for about 30 seconds, then add veggies and all seasonings. When veggies are almost soft, add in chicken to rewarm it. If you’re fancy and have another camp stove or burner handy, warm your tortillas, lay them in a bowl and top with filling. Perfection.
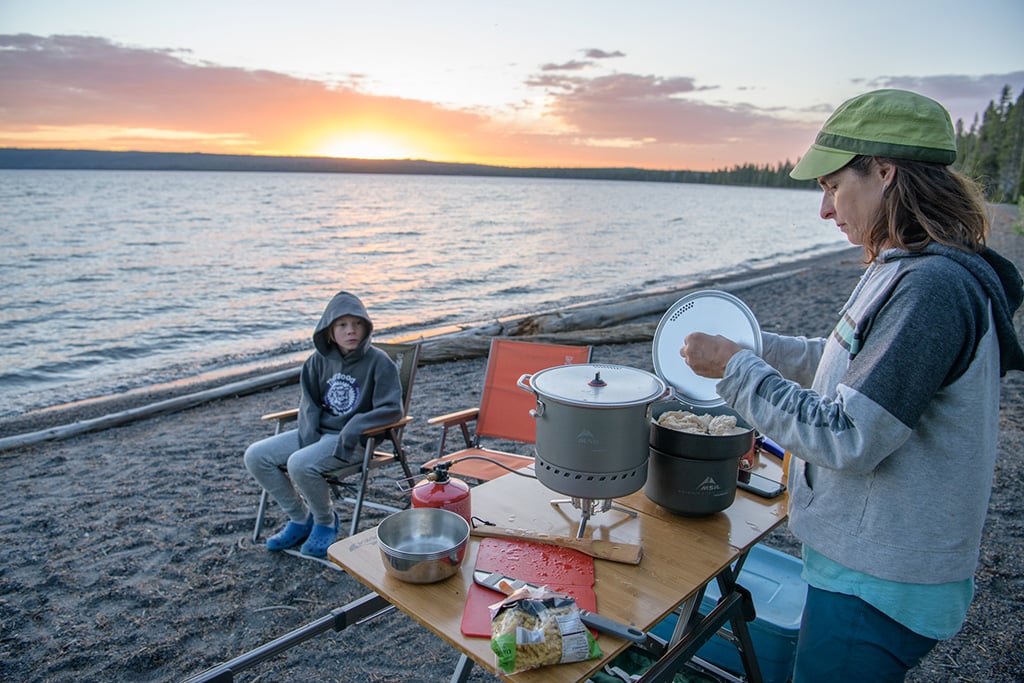
Honey-Dijon-Soy Marinated Pork Tenderloin with Steamed Green Beans
Crazy, right? But for the carnivores out there, this one is hard to beat on a car-based adventure. What better way to prep an amazing dinner than to marinate your favorite meat all day in the cooler while you play? I pre-cut the tenderloin into medallions, bag it before we leave home and put the marinade in a jar. Both go in the cooler. After breakfast, on the day of your best camp dinner ever, just add the marinade to the bag and return to the cooler for 6-8 hours. The high marks for low water and fuel consumption, almost zero prep, fork-tender meat and happy kids will make up for the greasy skillet.
For the best results cooking the meat, you’ll need a decent skillet, so a two-burner camp stove is ideal. However, I also like a pair of WindPro II™ stoves that are stable with a solid skillet and allow you to cook the meat and beans simultaneously.
Serves 3-4
Marinade Ingredients:
- 1-2 pork tenderloins (about .5 lb per person)
- 1/2 cup honey
- 1/2 cup dijon mustard
- 3 Tbsp. soy sauce
- 3-4 garlic cloves, minced
- 2 Tbsp. freshly chopped rosemary
- 2 Tbsp. freshly chopped thyme
- Ground pepper, to taste
Cook the Green Beans and Pork:
Place desired amount of green beans in a pot of salted water. Cover and begin steaming.
In the skillet, add some oil and/or butter on high heat. Sear the medallions on each side to desired doneness, about 5 minutes per side. (You’ll want a “soft” rebound when you press on the meat, not a solid feel). Both beans and meat should be done in just 10 minutes or so. Drain beans, dish up and enjoy!
Related Posts:
- 6 Trip Ideas for Adventurous Family Camping
- Our Best Family Camping Tents
- Best Gear for Group Camping By MSR
Words by Jim Meyers; photos by Jim Meyers unless credited othewise.
 Jim Meyers survives between road trips by pushing all the buttons at Vertizon Photography and is a recovering copywriter turned freelance writer. He’s climbed, skied, backpacked, cycled and fly fished extensively throughout North America and is selfishly raising two budding adventurers with his wife and Type-2 fun soulmate in Seattle, WA.
Updated. Originally Published August 4, 2020.