Winter Climbing: 9 Tips for Getting Started
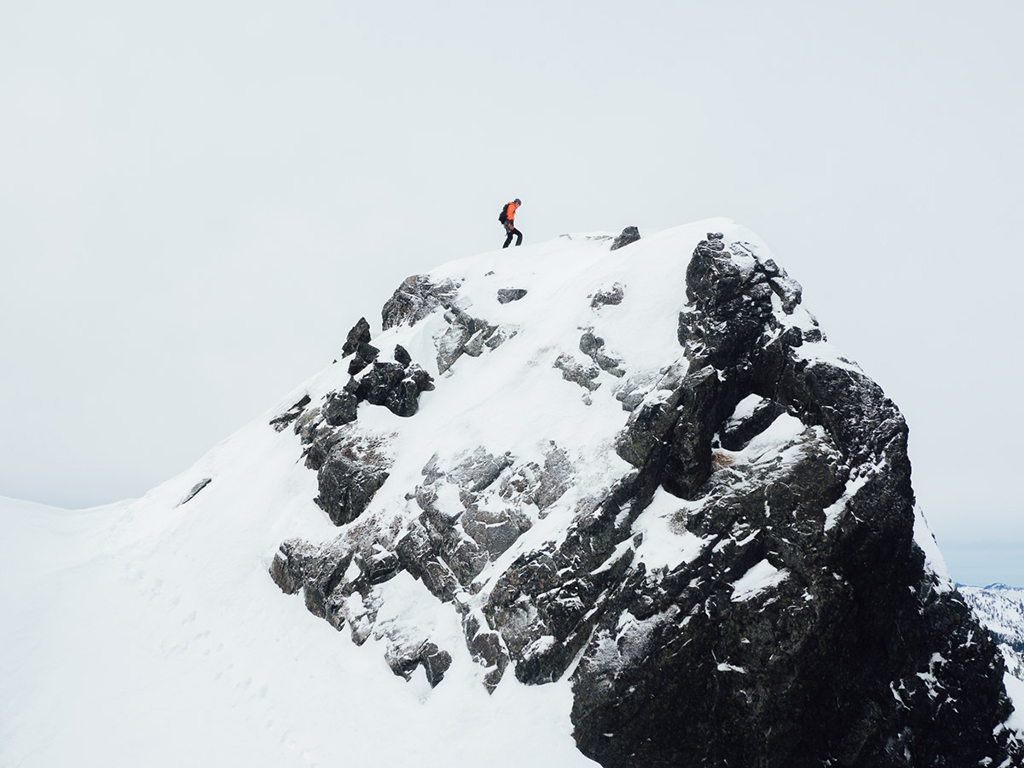
The freedom of moving high in the mountains is one of the best feelings in the world. Unfortunately for many with the mountain climbing bug, these experiences are limited to the few summer months. What do you do with your mountain-starved soul the other eight to nine months out of the year? Pursue winter climbing.
You might be able to keep your soul semi-satisfied by climbing lowland rock, heading to the busy ski resort or holing up with some good mountaineering literature, but we all know that these are just meager replacements for the real thing—the deeply rewarding adventure of climbing mountains.
So why not climb mountains in the winter and spring as well?
Sure, it’s more complicated. The weather is less than ideal. Days are short. It’s really cold. Snow and ice make what would be simple summer scrambles committing and dangerous. There’s the risk of avalanches. And all that extra gear…
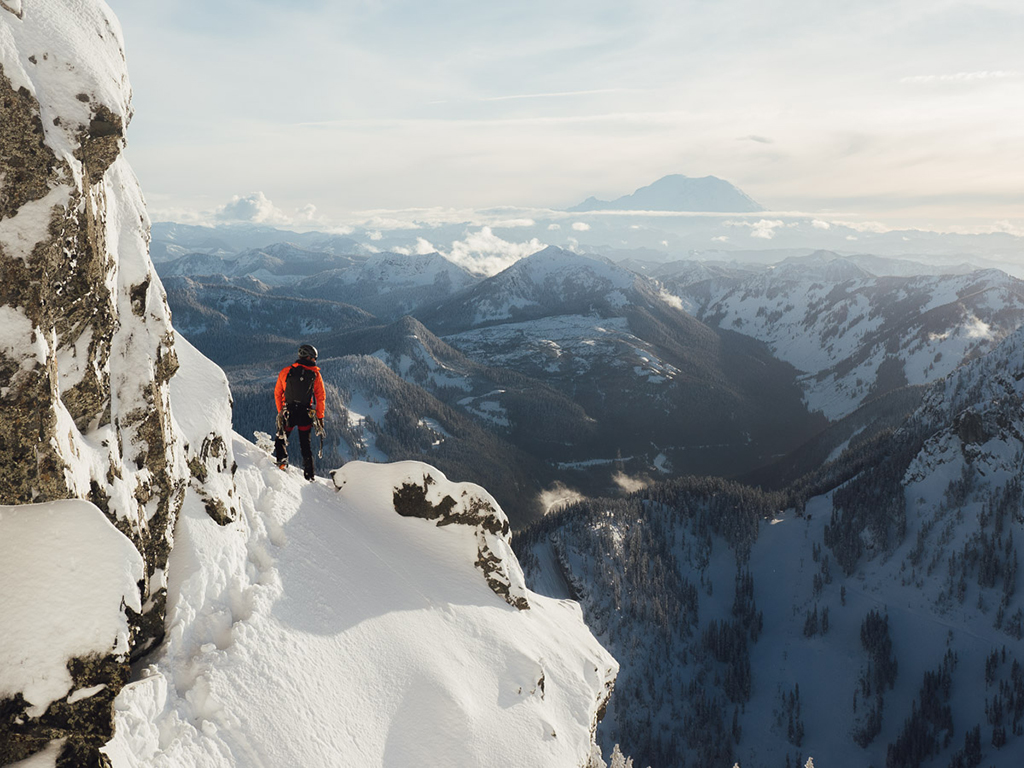
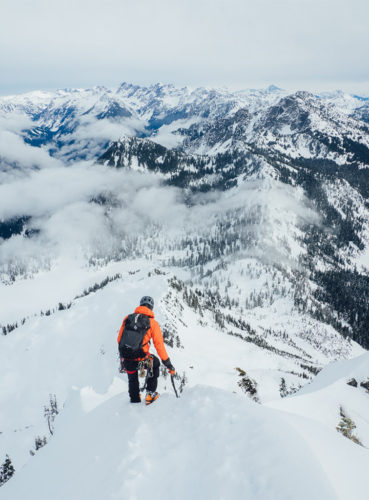
But I would argue that winter climbing is worth it, if not just for the freedom and challenge of moving in the hills year-round; it’s also great preparation for bigger mountains like Mt. Rainier or Denali, where winter conditions permanently exist.
So, what’s the best way to get started? Here are a few of my observations.
9 Tips to Get Started Winter Climbing
1. Find a Mentor
Finding someone with an obsessive love for the mountains to be your partner and mentor on cold winter climbs can be tough. But it is important. The nuances of snow, weather, clothing and equipment can be a bit overwhelming in the winter, so it is essential to find someone to learn from.
How do you find a mentor? Start by searching your local network. Mentors are rarely strangers—they are usually found among the people with whom you already interact. Oftentimes it is the mentor that chooses you, not the other way around. So be someone you would want to climb with.
And, if not you’re not already a member of a climbing organization like The Mountaineers or The American Alpine Club, consider joining to expand your network. These organizations can be great resources on many levels.
2. Get proficient at assessing avalanche terrain and other snow hazards
Avalanche knowledge may be the biggest barrier to getting into winter climbing. Don’t let it be a barrier and be proactive about learning. First and foremost, take an avalanche education course. You can find a course provider at avalanche.org or here. Most mountain zones have avalanche forecasting centers that provide information on the avalanche risk each day. Here in Washington, we have the Northwest Avalanche Center. In Utah, it’s the Utah Avalanche Center. Look for your local provider here. Consider an avalanche course a prerequisite to climbing during the winter season.
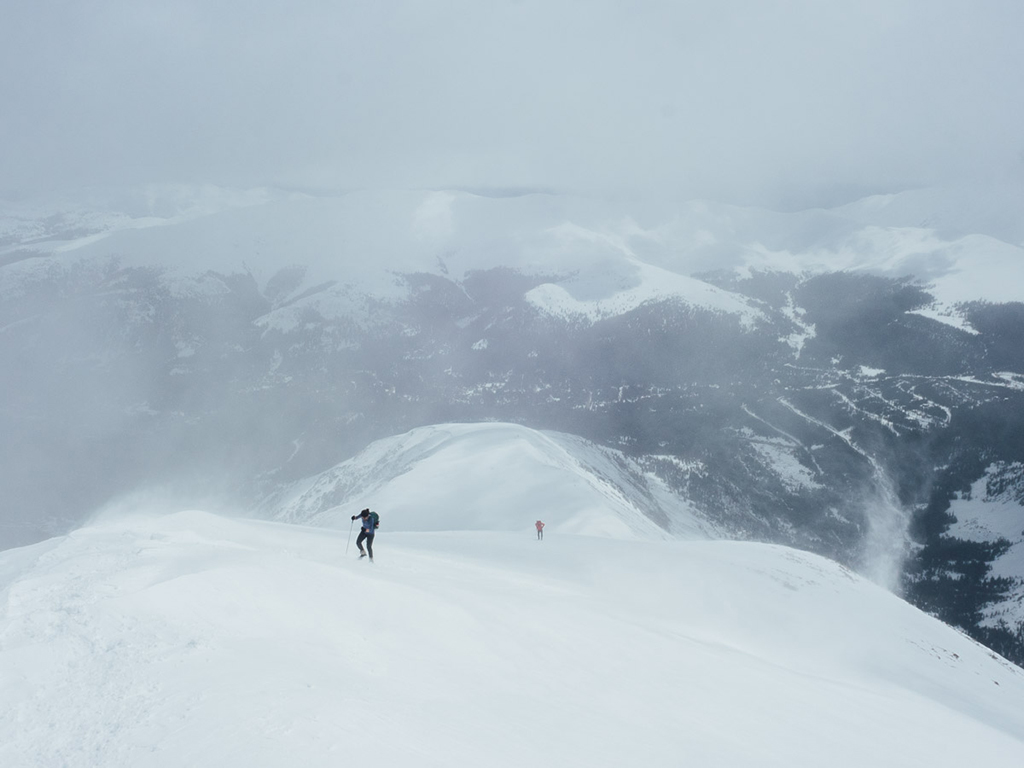
In addition, be mindful of other winter terrain hazards like cornices. A high-quality avalanche education course will provide the basics of traveling through winter terrain, but cornices warrant a special note for the novice: Cornices form when windblown snow accumulates horizontally on ridge crests. They hang suspended beyond the supporting rock, and like avalanche slopes, can collapse without warning. They present a special hazard because it’s hard to identify where they begin. Mature cornices can break 30 or more feet back from their lip.
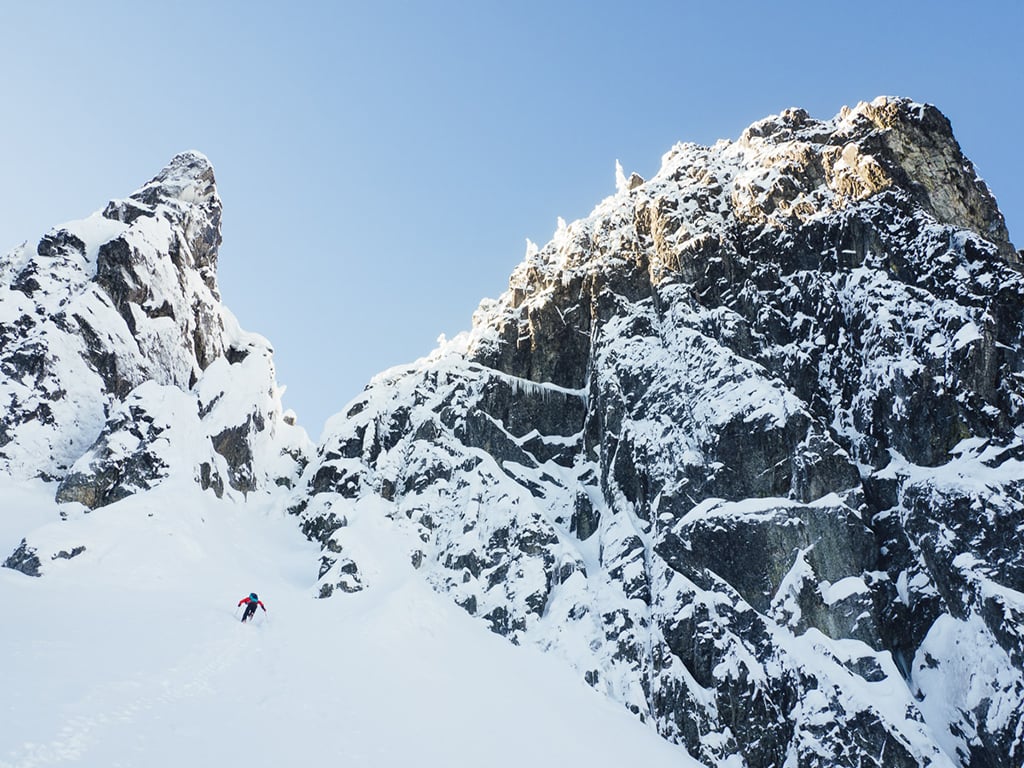
3. Pick an easy objective (4 Climbs to get you started)
Start small. Pick a route that you can very comfortably climb without a rope in the summer. This may mean a class 1 “hike.” Remember that what is trivial in the summer turns into an exciting challenge in the winter. Think Grade 1 or 2 for starters.
I’ve listed a few examples to get the wheels turning. There is a lot of information online about each of these popular routes. If you pick a nice weekend day to climb any of them, you should have plenty of company and hopefully a nice broken-in trail!
Lion Head Route, Mt. Washington (6288’), New Hampshire
What Mt. Washington lacks in height, it makes up for with brutal weather. The wind and cold temperatures can be extremely severe, so pay attention to the weather forecast. The Lion Head Route is perhaps the easiest and least avalanche-prone route to the summit.
East Ridge, Quandary Peak (14,265’), Colorado
This may be the most popular first Colorado fourteener to climb in the winter. The trailhead, located near 11,000 feet, is accessible in the winter, making the climb itself only about 3,000 feet. The avalanche danger on the ridge tends to be lower than on other routes. I climbed this route a while ago on a warm spring day with my wife and forgot sunscreen. Long story short, because of the intense radiation due to the snow-covered slopes and high elevation, we looked like Oompa Loompas for the next week. (Wear sunscreen on any climb.)
Worm Flows Route, Mt. St. Helens (8,364’), Washington
Since the top was blown off, this has become a much more reasonable climb in the winter. As with the Lion Head Route, don’t let the lack of elevation deceive you—this mountain gets dumped on in the winter. This route is long—gaining about 5,700 feet in elevation over about six miles from trailhead to summit, so start early.
Whitney Trail Route, Mt. Whitney (14,505’), California
Mt. Whitney is kind of the holy grail of winter mountaineering in California. Most of the Californians I met when I climbed Denali had done a practice climb on Whitney in winter as training. The Whitney Trail is a long trail in the summer, gaining almost 6,000 ft., so be prepared for a very long day, or better yet, plan to bivy. The Mountaineers Route is also a popular objective in winter, though it is much more technical.
4. Gather the right clothing
It goes without saying that it’s important to stay warm and dry. We do want this to be fun (and safe), right? The ideal system will vary based on preference, weather, season and location.
A basic system includes:
- Warm wool socks
- Wool or synthetic baselayer bottoms
- Long sleeve wool or synthetic baselayer top, preferably with a hood
- 1-2 breathable insulated mid-layers or fleece
- Softshell and/or hard shell pants depending on conditions
- Hardshell jacket
- Down parka
- Gloves: two or three pairs recommended to have an extra dry pair
- Sun hat
- Beanie
- Balaclava or BUFF for wind and sun protection
- Sunglasses: category 3 or 4 lenses
- Sunscreen!
Dealing with gloves is one of the trickiest issues of cold weather climbing. At times, you may have to sacrifice warmth and waterproofness for dexterity. I usually carry a thinner glove for travel and a bulkier, warmer glove for the summit. Finding a glove that balances breathability with waterproofness is the holy grail. It may take you several trips to learn what your glove strategy needs to be.
5. Gather the right gear
My usual tactic is to borrow as much as I can so I can try different kinds of gear before spending large amounts of money. And don’t be afraid to try and make do with what you already have. I used waterproof summer boots for many of my first winter jaunts—I just made sure that my socks were extra thick! Still, it will be hard to avoid investing in some new and expensive shiny gear—because the right gear is about your comfort and safety.
Below is a basic list for the winter mountaineer. If you haven’t realized it yet, you have to carry a lot more gear in the winter.
- 45+ liter pack for a day climb
- Harness with adjustable leg loops (to fit over bulky clothing)
- Dry-treated rope
- Boots: leather insulated mountaineering boots (warmer and stiffer than hiking boots)
- Crampons: step-in mountaineering (strap-on) crampons with horizontal front points
- Mountaineering ice axe, and ice tools depending on route
- Climbing helmet
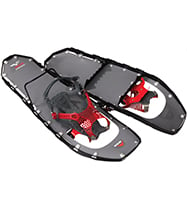
- Snowshoes, or touring skis with skins
- Winter poles (collapsible)
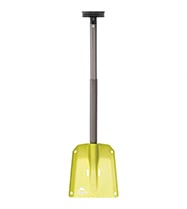
- Snow shovel
- Avalanche beacon and probe
- Nalgene with bottle insulator (so your water doesn’t freeze!)
- Small thermos: optional, but nice to have
- Gaiters
- Goggles
- Headlamp
- Map and compass (be prepared to navigate in a whiteout)
- GPS
- Food: anything that can easily and quickly be eaten in freezing conditions
- Climbing gear (pickets, cams, stoppers, pitons, ice screws, etc.) depending on route
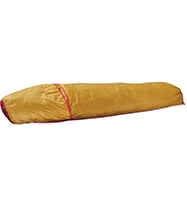
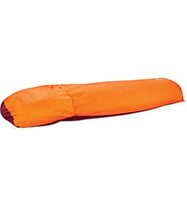
- Emergency bivy gear
- First aid kit
- Blue bags
6. Decide whether you’re going to spend the night
If you’re planning to bivy, you’re going to need a four-season shelter solution—3-season tents are not designed to withstand the weight of snow, the force of alpine winds or to keep you warm in sub-freezing temperatures. A compact single-wall tent is usually the lightest option. If you are base camping, a double-wall tent reduces condensation and might be worth the weight. It’s normal for temperatures to drop to around 0°F in most ranges, so bring a warm enough sleeping bag. An insulated sleeping pad is essential—nothing steals heat like lying on a bed of snow. Also, you’ll be carrying a warm parka, so plan on wearing it to bed!
If you’re not planning to bivy, it’s crucial to pay attention to time, and bail if you’re moving too slowly. Remember, days are short! Know the time of sunset. Bringing an emergency bivy sack or shelter is wise.
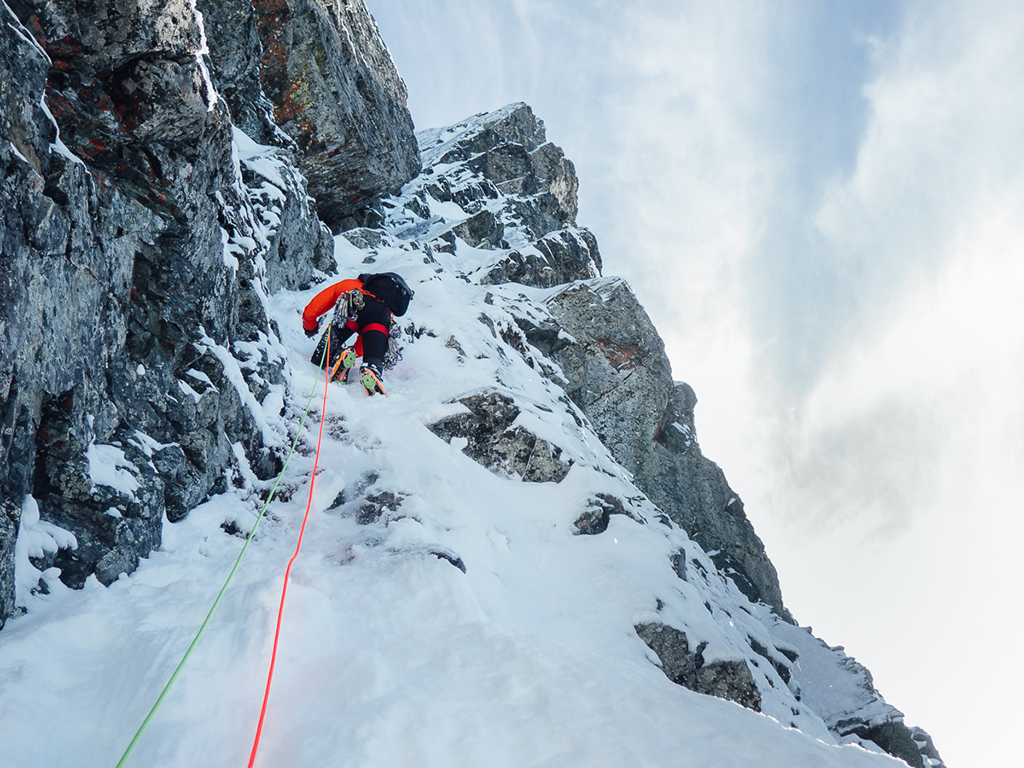
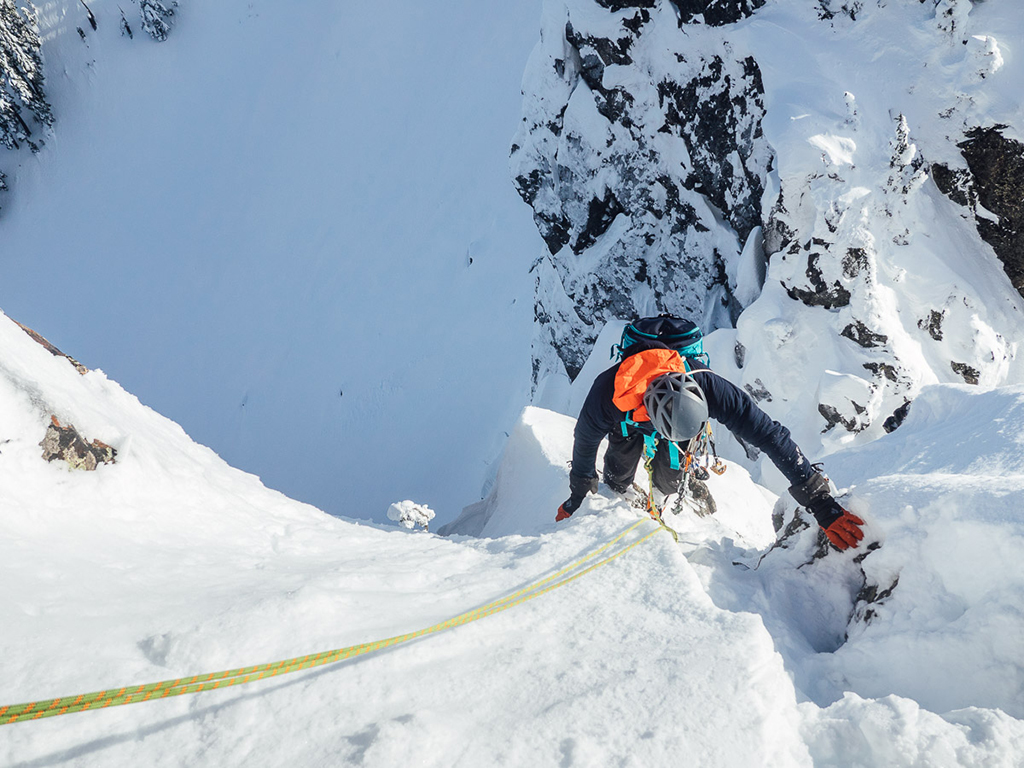
7. Bring the right climbing gear
Ideal climbing protection is different in the winter. Spring-loaded cams that are bomber in the summer can be a joke in an icy crack, or when they freeze solid. Passive protection, like stoppers and tri-cams, work regardless of ice, so if your route calls for rock protection carry some cams, but make sure you have plenty of passive protection.
Oftentimes, pitons are thrown onto a winter rack because they can be used in thin cracks and seams. It can be important to have this option when protection is hard to come by (because it’s covered by ice and snow). Pickets are often carried to the top of a climb without ever being used—they require very firm snow conditions, which can be hard to find in the winter. If all of this protection talk sounds scary, stick to easy climbs that don’t require roping up.
8. Eat and drink often
Besides providing you with sustained energy, eating keeps you warm as you burn through the calories. Bring enough easy-to-eat food to be able to snack consistently—and eat often. In the cold, you’re also less likely to feel thirsty. It’s important to keep hydrated throughout the day—cold conditions can greatly dehydrate you—so you may need to force yourself to drink consistently.
9. Go for it!
Start small and find the right challenge for you. Try to find opportunities to learn new skills like ice climbing and backcountry skiing that you can bring to the mountains in winters to come. Most importantly, get out there and enjoy the beautiful transformation winter brings to the mountains.
Related Posts:
- Alpine Mentors: Aspirations Fueled by Experience
- Backcountry Basics: Recognizing Avalanche Terrain
- How to Prepare for High Altitude
Nathan Hadley is a Seattle-based photographer, writer and climber. Visit his website at nathanhadley.com and follow him on Instagram at @brothernathan_.