Shelter from the Storm: Tips for Building Winter Shelters
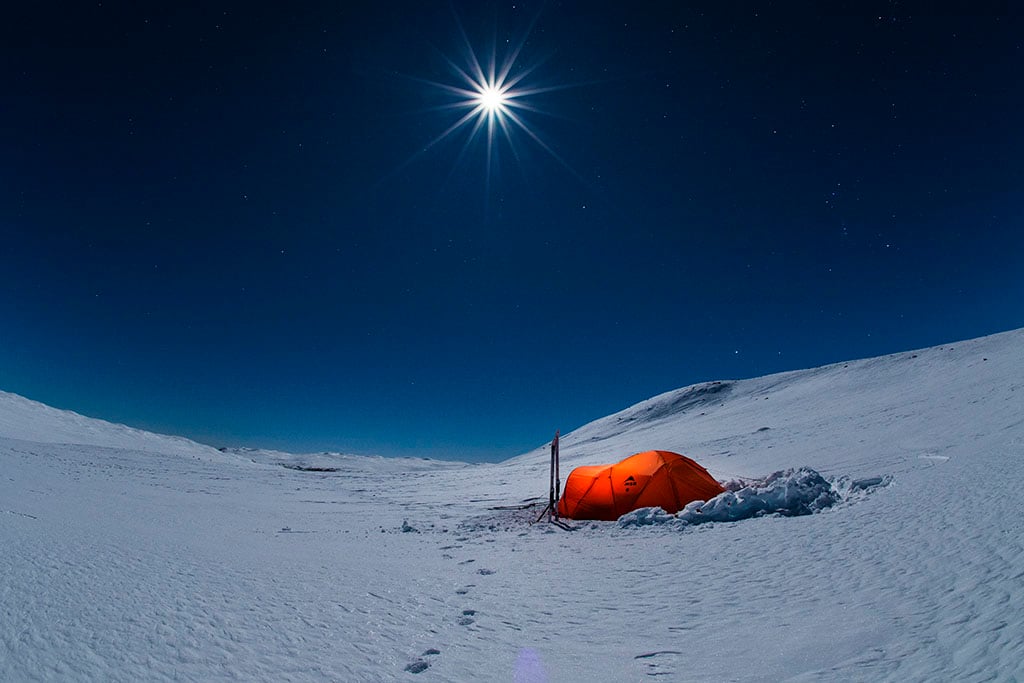
In many parts of the world, finding solitude while camping in the backcountry is getting harder every year. But don’t fret; you just need to add two things to get what you’re after: cold and snow. While winter camping definitely adds some unique challenges, those extra few hurdles are precisely what filter the crowds, leaving vast swaths of the backcountry under-appreciated for months. Of those hurdles, one of the biggest is figuring out your winter camping strategy for shelter. Warmth, weight, and ease are the primary benchmarks to judge your choice, and there are two paths to travel: bring your own or use what’s there. Here’s a quick breakdown of four of the most common winter shelters and tips on how best to use and/or build them.
Location, Location, Location
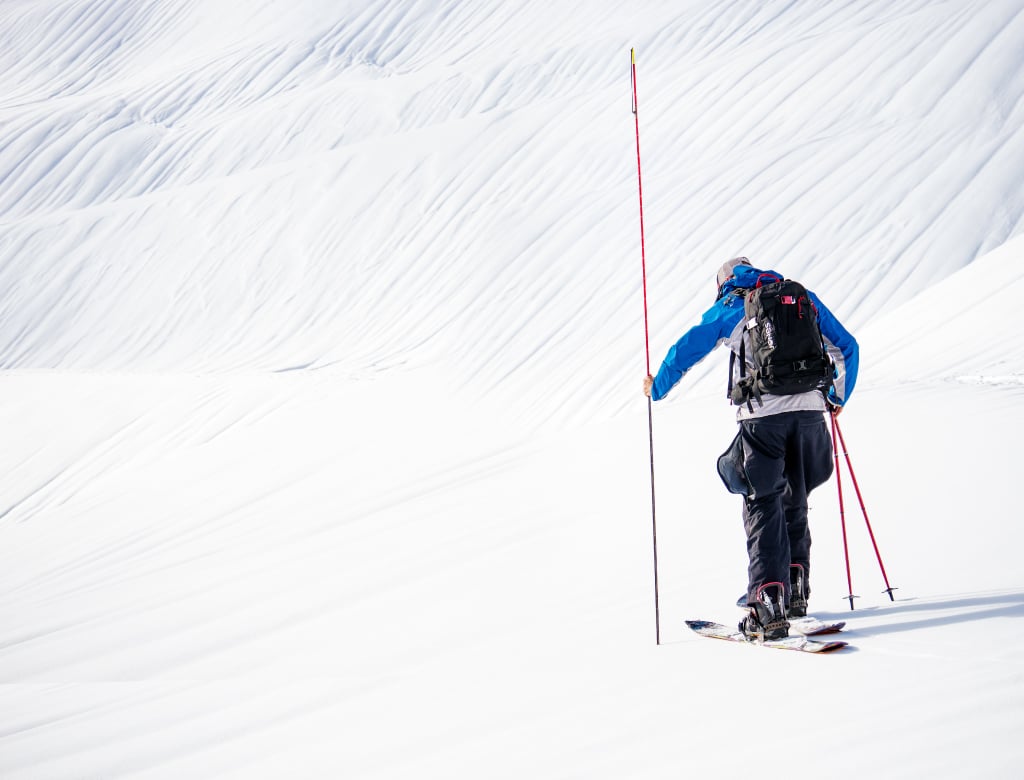
Your first consideration is choosing your location, no matter what sort of shelter you’re bringing. While winter camping, the big questions are “What’s above me?” and “What’s below me?” Is that great view at the forest’s edge actually the edge of an avalanche path? Is this a good spot if the weather changes? Am I exposed to wind? It’s also dark early in winter. Be sure you know where you’ll end up and what the terrain is like around you. You don’t want to wake up in the middle of the night to a low rumble from a slope above that you didn’t see. Also, consider your immediate surroundings and your site’s impact on others: Is it far enough away from trails, popular skin tracks, and ski runs? Is the snow deep enough for your chosen shelter? Am I camped on a snow bridge over a stream or drainage that could collapse if it warmed up?
Safety Basics
If venturing into avalanche terrain, take at least a basic (and usually free) Avalanche Awareness course to cover the essentials of avoiding one. If you plan to spend a lot of time in the mountains or go above treeline, take an AIARE Level I class. Regardless of the terrain, if winter camping is new to you, start close to the car for an easy Plan B if things go sideways and then go deeper as your experience grows. The more you do it, the easier it will be to know what locations and snow conditions are best and how to find them.
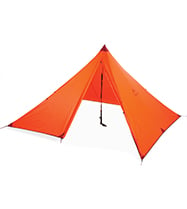
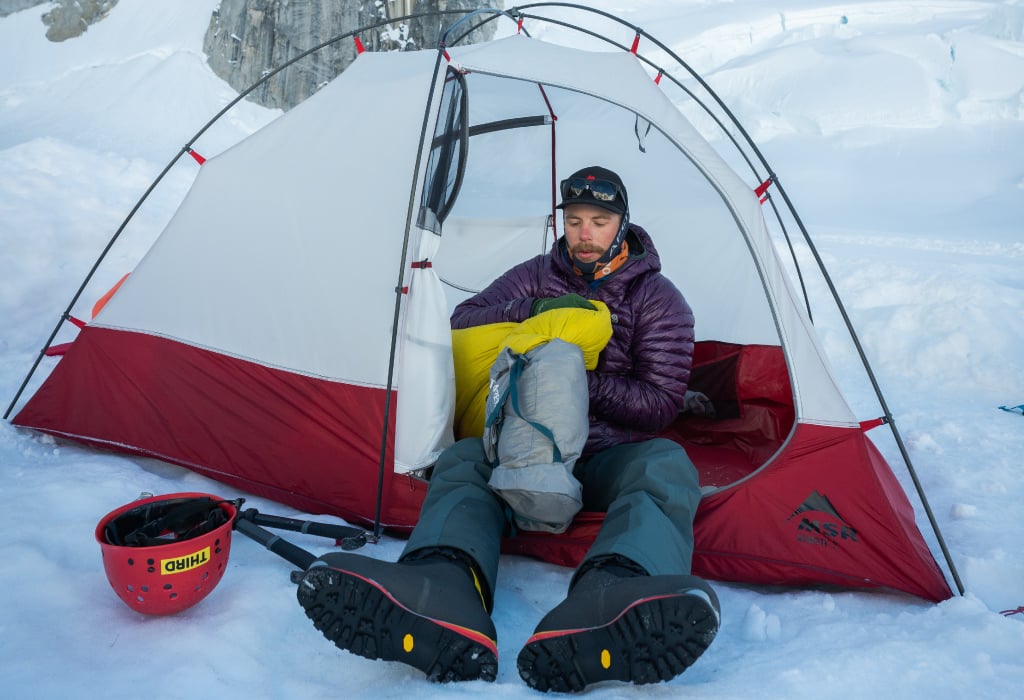
Tents
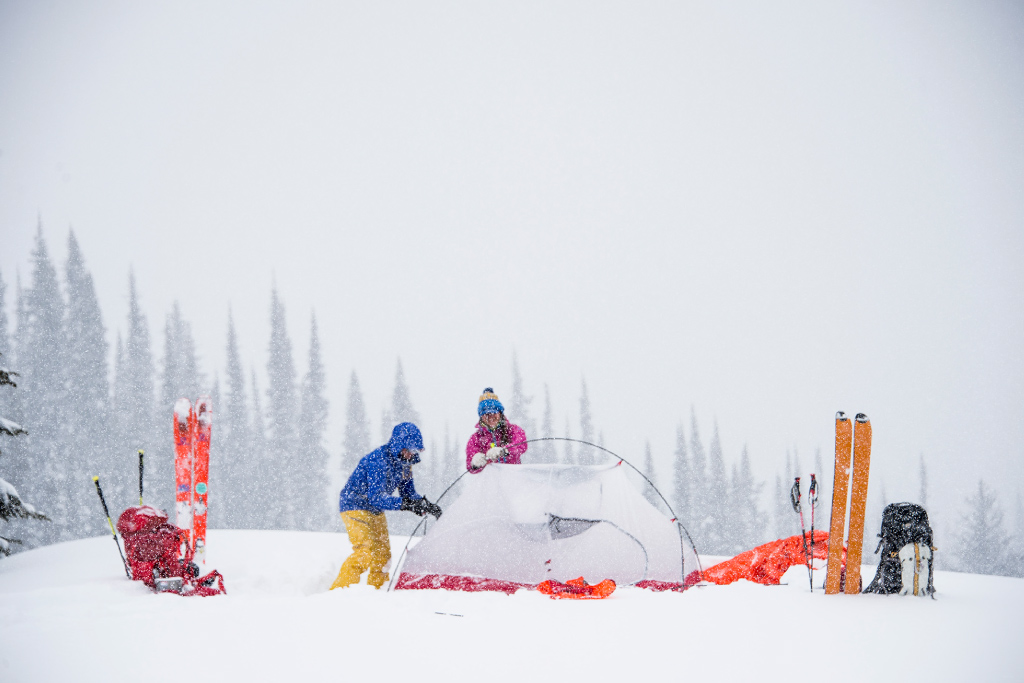
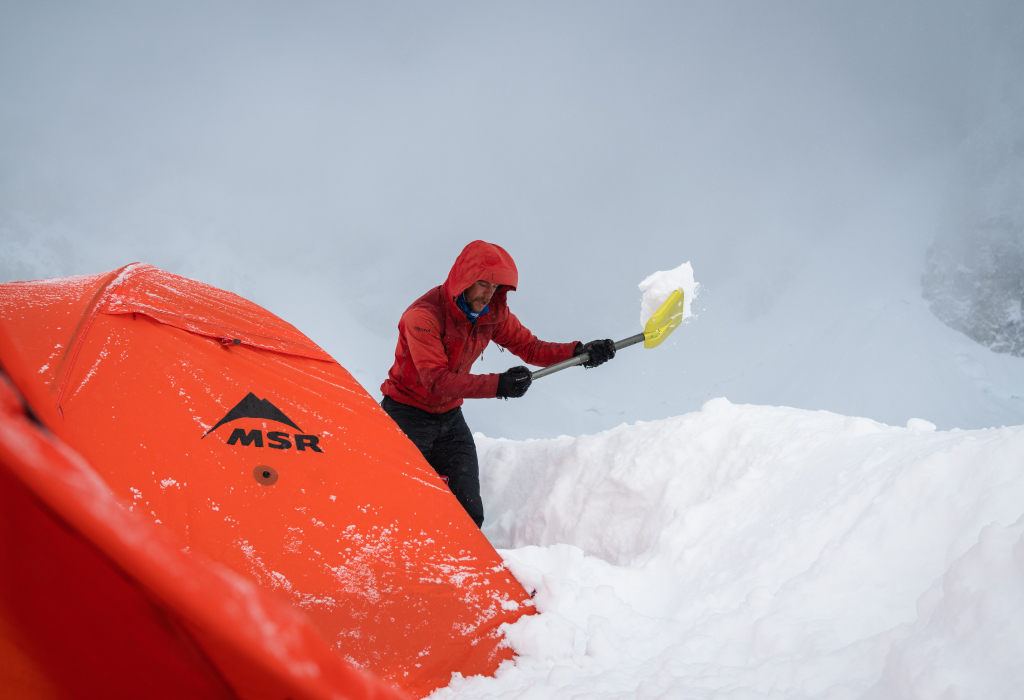
The most logical choice is to to do the same thing you likely do all summer – sleep in a tent. This solution comes with a weight penalty, but the speed and convenience of a tent are hard to beat when it comes to winter shelters. You’ll just need to make sure you’re using a four-season tent. Contrary to the name, a four-season tent isn’t necessarily built for four seasons; it’s built for the fourth season. That means its frame and fabrics can handle the heavy snow, strong winds, and abrasive winter camping conditions. Less mesh and more fabric also means they’ll trap more heat.
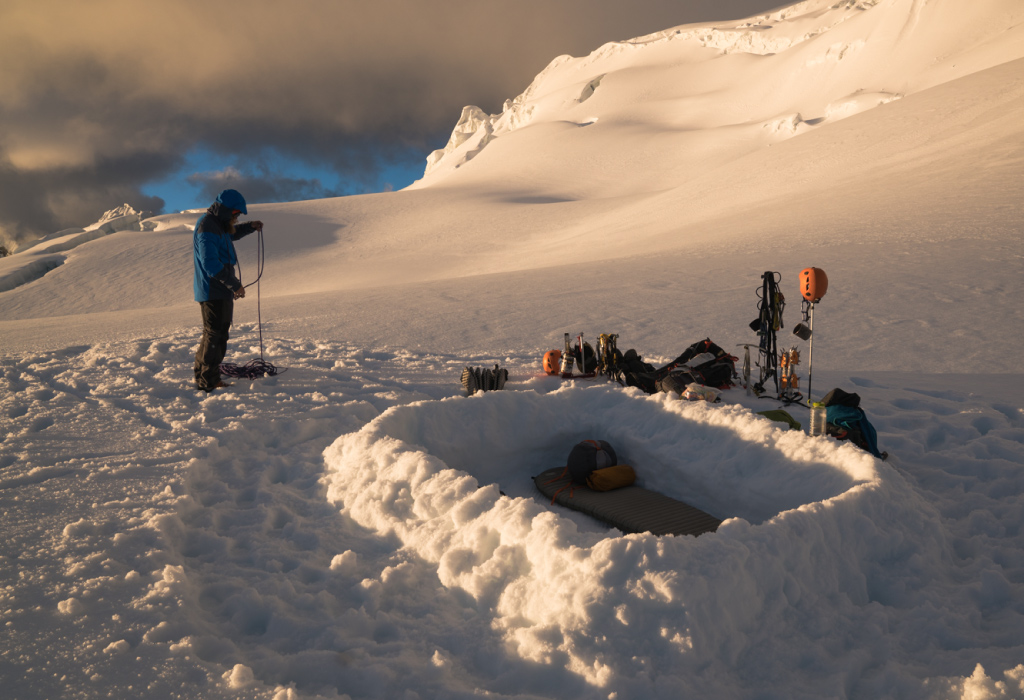
Once you’ve selected your site, stomp out a platform in the snow to pitch your tent on. This will keep you from sinking into an uncomfortable pit through the night as your body heat melts the snow beneath you. In most conditions, with skis or snowshoes, this is straightforward work; walk around and pack down the snow where you want to pitch your tent. Be sure to pack out a healthy perimeter too, so you can walk around without having to put your skis or snowshoes on every time you leave your tent. Stomp a path to your latrine as well. (More here on Leave No Trace winter waste disposal). While you’re at it, dig a small pit with a shelf and benches for a kitchen. Cooking on a snow counter while standing is a nice bonus that camping in deep snow affords.
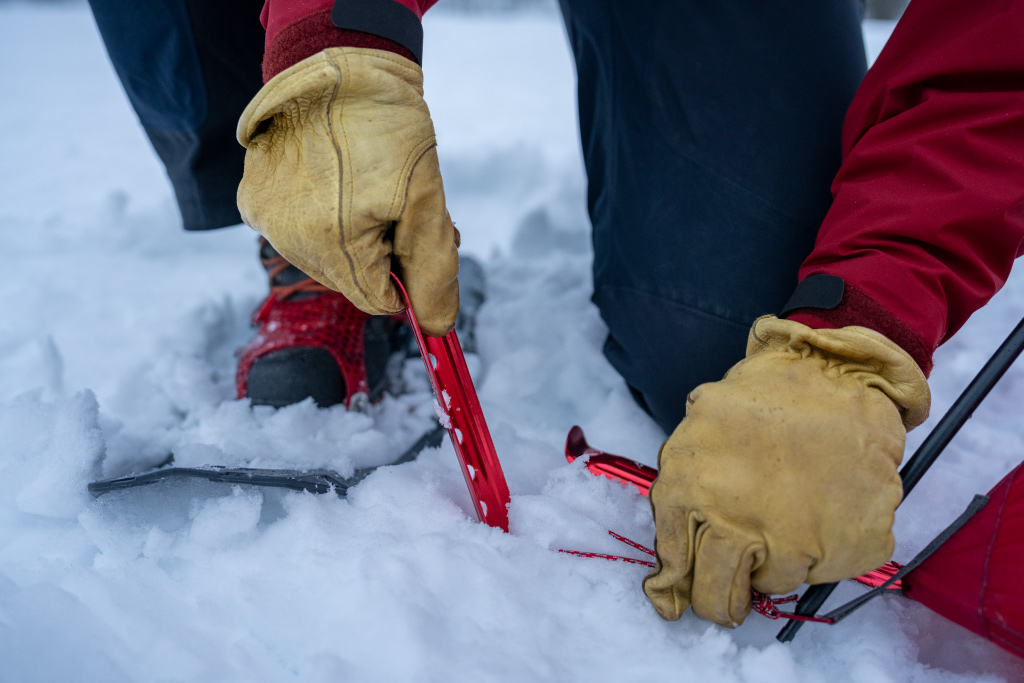
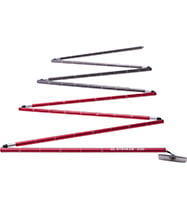
Once your tent is up, a nice touch is to dig out your vestibule(s) a bit. You’ll gain some protected outdoor storage space and get a front step to roll out onto, making the unfortunate task of buckling into cold ski boots a bit less regrettable. Be sure to leave a considerable wall so your vestibule guy-points remain intact and you don’t lose support under your tent. And speaking of guy points, be sure you have appropriate anchors for snow. Regular tent stakes will not work. You can use Blizzard Snow Stakes, pickets, skis, poles – anything long enough or wide enough to gain purchase in snow. Another good option is burying stuff sacks filled with snow as anchors. Just know they’ll likely freeze in place, so getting them out can be tricky.
Natural Shelters
Compromise is a constant companion whenever you do the math on shaving ounces. It’s logical then, that shaving a whopping 4-6 pounds from your pack by leaving a tent behind and building a shelter from snow, is going to involve a little give and take.
Quinzhee Or Snow Cave
Big plusses for a snow shelter are the aforementioned weight-savings, but also the ability to have a go-to emergency shelter and, if planned properly, the pure fun of building one. (Note: Building one at 9PM, cold and hungry after an epic ski tour, will never be fun.) With experience, it’s just like being a kid again but with way better tools. The downside is that it will take some work, and you must take extra care to stay dry and maintain air flow for safety.
For a snow cave, probe around in the snow to make sure you have at least 4-5 feet of consolidated snow on the ground, or look for a snowbank to dig into. With lighter snow cover, make an enormous, 6-7-foot pile of snow from a broad area around it and build a quinzhee; essentially an above-ground cave, dug into the pile you just created.
Both types of shelters begin the same as the tent – by packing snow down. Whether you’re digging into a snowbank for a cave, or the giant pile of snow you just made, packing it down will give it the strength it needs to last. For a quinzhee, be sure to pack the pile intermittently as you build it, ensuring it’s solid all the way through for excavating.
And in case you thought you could be just “sort of” thorough while packing it down before construction starts, I will remind you of the time that a few friends and I awoke to a dripping, sagging roof, mere inches from our faces, around 4am, somewhere in the Wasatch. The possibility of being buried is real. Do the work!
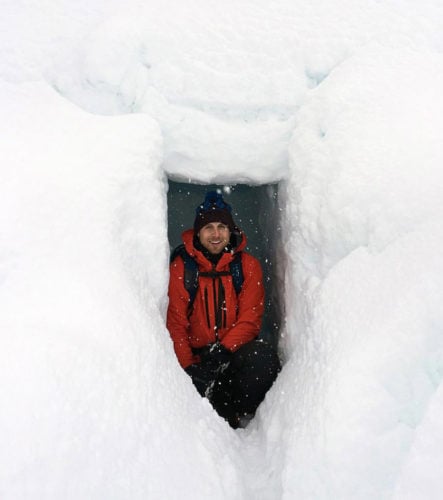
Now that you have your snow consolidated and of proper depth, you just need to grab your waterproof shell layers and excavate. While there are many philosophies and methods, one tried and true option everyone should know is the basic “T” cave.
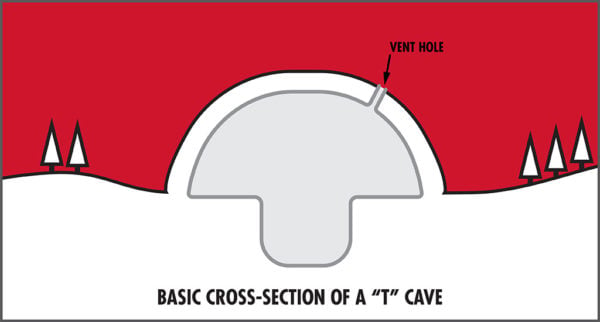
You’ll start by digging straight down, creating a smooth wall in front of you that you’ll dig into. Once you start digging into the wall, a snow saw will save a ton of work, allowing you to cut out large blocks as you go, greatly speeding things up. The basic idea is to dig/cut straight in, excavating a long, tall rectangle that’s long enough for you lie comfortably in. Once that’s done, start digging/cutting shelves into the walls, 2-3 feet off the floor. This is where you’ll sleep. The trough in the middle not only adds some space and comfort, but will also trap cold air, allowing heat to gather up higher where you’ll be sleeping. Next, poke a mandatory chimney vent in the roof (3-4” diameter) to the outside world for positive draft and fresh air inside. Check it every so often to make sure it stays clear or you could end up with extra CO2 inside – not a good thing. You can take some of the blocks you excavated and shrink your entry to seal out the elements, but be sure to leave a healthy opening for air flow. If it really dumps overnight, be vigilant in keeping both the entrance and chimney clear of snow and consider making additional chimney vents for larger caves with more than two people.
The final tip is to make a smooth, concave ceiling. This will reduce drip points from any melting snow and make for a drier and more comfortable stay. A well-built snow shelter can last all season, will be absolutely impervious to storms and maintain a relatively consistent temperature inside, thanks to the insulating properties of the snow.
The Trench
A favorite for saving time and effort is the trench. It really is as simple as it sounds – a trench, about 2 feet wide, 7 feet long, and as deep as you like or the snowpack allows. You’ll start with packing the snow down really well, just like a cave, and then dig into it as you would for a cave, but without worrying about the roof. You’ll want to keep the trench narrow – about 2 feet wide for a single person, 3-4 feet wide for two. With a deep trench, you can build side sleeping platforms like you did with the cave. In emergencies or when speed is important, it’s fine to just put your sleeping pad on the floor of a shallow trench.

Width is important because the wider it is, the more challenging it will be to put your roof on. To make the required snow blocks, it’s easiest, with packable snow conditions, to stomp out a nearby “quarry” of solid snow to cut them from. Dig a small (4-6”)trench in the quarry to expose a face of snow and then simply use a saw to cut roughly 2’x2’ blocks, or whatever works best from the snow you have. For a single-wide trench, you’ll just stand the blocks on the edge, then lean them in until they support each other, creating a triangular roof. For a double-wide, place a block on either side of the trench and span them with a third, capping the roof and giving you the extra distance you need. Be sure to pack some snow into any openings, while reinforcing the blocks with more snow as needed. Cap one end and keep the other as your entrance, which can be partially blocked with a pack or more snow blocks to keep the elements out. Here again, air flow is important, so keep a few cracks between blocks to allow fresh air to flow, or seal them all up tight and poke a hole or two on the end opposite the door.
If depth allows, dig a small pit at the entrance, with a sloped entry up into your trench. Again, this will allow cold air to sink out of your shelter and help keep wind and weather out.
The Hybrid Trench
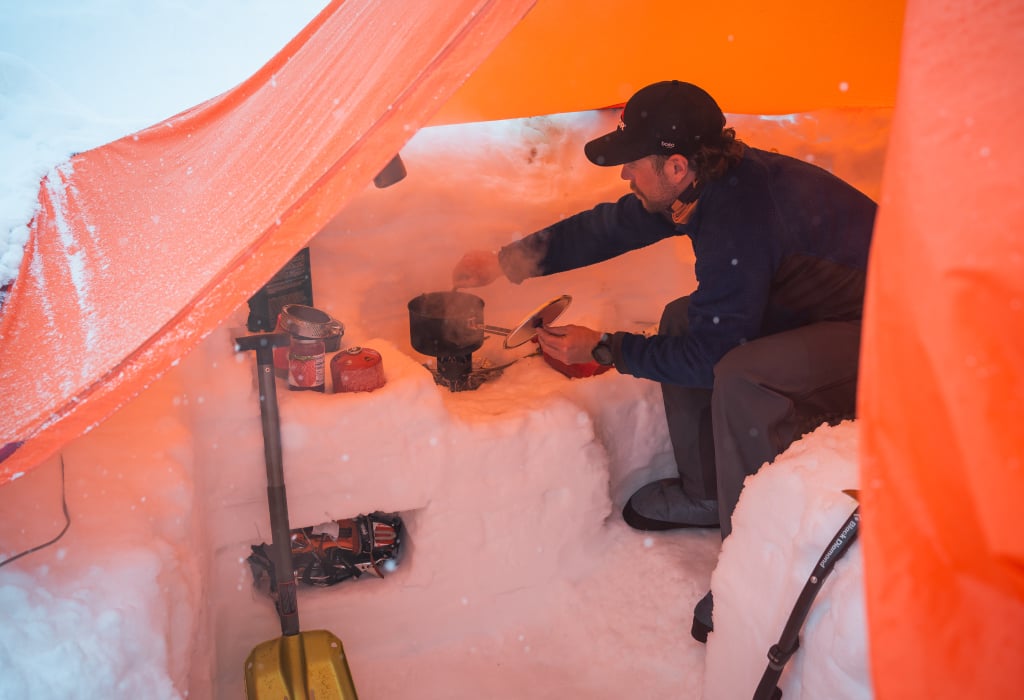
One final option is just a variation on the trench. It can not only be really fast and keep your pack light, but it also makes a great addition to any of the options above as a kitchen area on longer trips.
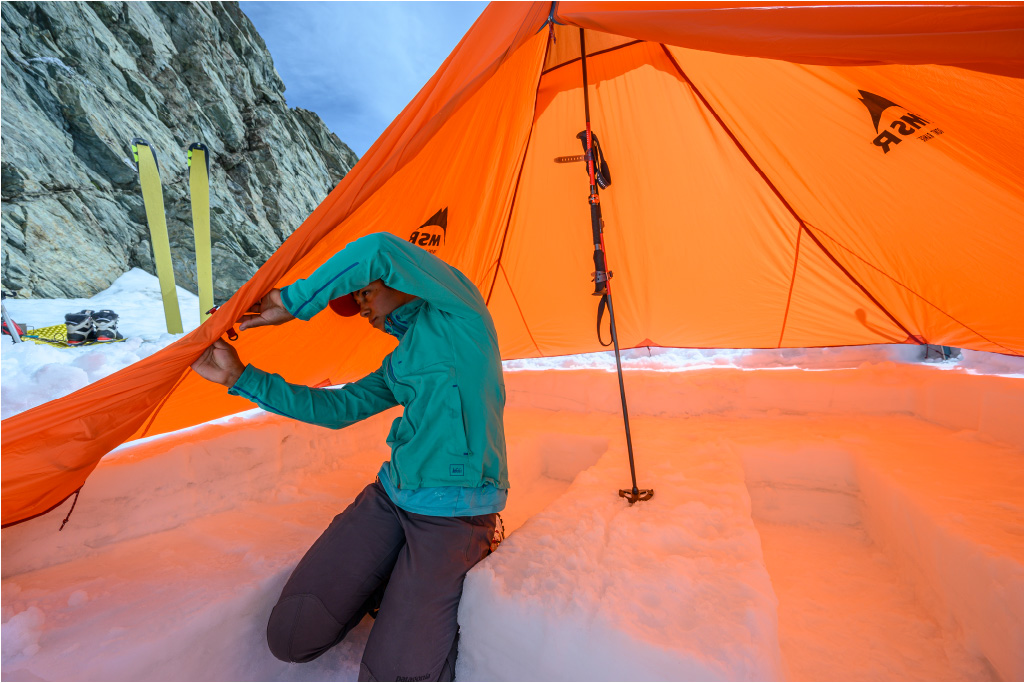
To make it, you’ll want a tarp shelter, like the Front Range. First, stomp out your platform so you have solid points to stake it out and a really solid point for the center pole. You can do this at the natural level you stomp down to, or dig in a bit for some added protection. I find it easiest to then pitch the tarp, unzip it, and simply dig out the floor area to your desired specifications. The key here is not compromising the center column or side stake-out points. The popular options are bench areas for sitting or sleeping and/or a cooking shelf, along with numerous mini-shelves for storing any number of things. Being able to stand/sit up while sheltered is a real decadence and can dramatically increase the comfort and enjoyment of any trip.
When You’re Done
It’s a good practice to breakdown caves and fill-in trenches if there’s any chance folks could accidentally fall or ski into them. This is particularly true for ones you built near trails or if your cave ended up with a particularly thin roof. Alternately, use snow wands to mark them if you plan to re-use them, giving others a head’s up that the location warrants some caution. Just be sure not to abandon your wands. Tag your location on your phone/GPS so you can go back and grab them if plans change.
There are seemingly infinite variations on these ideas, so this is by no means a finite list of methodologies or types of shelters. Any one of these are a great place to start though. Be sure to take an afternoon and try these ideas out before you’re relying on them to survive the night. Snow shelters are a ton of fun when the consequences are low, and you will most certainly learn a thing or two that will make your first night winter camping a lot more enjoyable than you thought possible.
Related Posts:
- How to Choose a Winter Tent
- 3-Season vs. 4-Season Tent: Which is Right for You?
- Best 4-Season and Mountaineering Tents by MSR
Updated. Originally Published January 5, 2021.