Why & How: Using the MSR® Tent Footprint
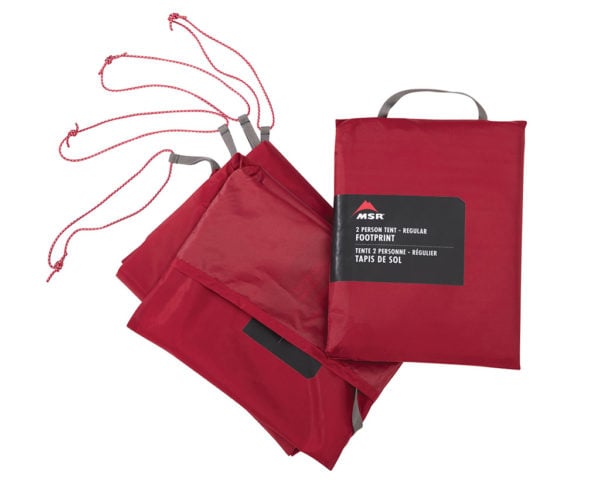
Who needs a tent footprint? You do. MSR® tent footprints are one of the easiest ways to extend the life of your tent, adding an extra layer of protection between floor and ground. A footprint will not only help reduce wear and tear when sleeping on rough surfaces, but it will also add a layer of waterproof protection if things get miserable out there.
How to Choose a Tent Footprint
While it’s true that just about anything between your tent’s floor and the ground is a good thing, using MSR Tent Footprints with MSR tents is the best choice for overall efficiency. Our custom sizing assures you get the coverage you need without any wasted weight or space in your pack, and they’ll do exactly what you need them to do without any fuss in the field.
Of course, as with everything MSR, we’ve engineered all of our tents to have standardized dimensions in an effort to streamline the process of finding the right footprint, while also assuring you’ll be able to easily find a replacement years down the road. The result is our selection of Universal Footprints, available in 1, 2, 3, 4 and 6-person versions. Each footprint is also available in a Regular and Large size, but before you think that’s confusing, you can just check out the following chart to easily find what you need:
| Footprint Size | Hubba Hubba | FreeLite | Elixir 1 | Habitude | Habiscape | Thru-Hiker | Access | Remote | Past Season |
|---|---|---|---|---|---|---|---|---|---|
| Universal 1 Person Regular |  Hubba Hubba 1 Hubba Hubba 1 |
|
|
Hubba NX; Carbon Reflex 1 | |||||
| Universal 1 Personal Large |  FreeLite 1 FreeLite 1 |
|
|
 Access 1 Access 1 |
Hubba Tour; Zoic 1 | ||||
| Universal 2 Person Regular | 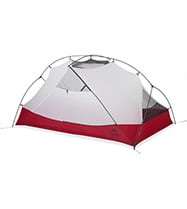 Hubba Hubba 2 Hubba Hubba 2 |
 FreeLite 2 FreeLite 2 |
Hubba Hubba NX; Carbon Reflex 2 | ||||||
| Universal 2 Person Large |  Elixir 2 Elixir 2 |
 Thru-Hiker 2 Thru-Hiker 2 |
 Access 2 Access 2 |
 Remote 2 Remote 2 |
Hubba Tour; Zoic 2; Guideline Pro 2 | ||||
| Universal 3 Person Regular |  Hubba Hubba 3 Hubba Hubba 3 |
|
|
 Thru-Hiker 3 Thru-Hiker 3 |
Mutha Hubba; Carbon Reflex 3 | ||||
| Universal 3 Person Large |  Access 3 Access 3 |
 Remote 3 Remote 3 |
Hubba Tour; Zoic 3 | ||||||
| Universal 4 Person Regular |  Elixir 4 Elixir 4 |
Zoic 4 | |||||||
| Universal 4 Person Large |  Habiscape 4 Habiscape 4 |
 Habitude 4 Habitude 4 |
|||||||
| Universal 6 Person Large |  Habiscape 6 Habiscape 6 |
|
Whatever sort of footprint/ground cloth you use, a proper fit is essential. What you’re looking for is as much coverage as possible for the tent floor, without extending beyond it. The last part is key because if any part of the footprint extends beyond the floor or rainfly coverage, you are essentially creating a funnel for rain and moisture to run off the tent and directly under you. If that happens, chances for condensation inside the tent increase and, with enough time and pressure, the floor itself may actually leak. In any scenario, you’ll have a lot more wet, heavy fabric to dry out or carry in your pack the next day. As we’ve said many times before, moisture is the enemy of your tent when packed so make sure your footprint fits properly to minimize that impact.
How to Use a Footprint
Setting up your footprint is fast and easy. First, find your tent spot. A footprint is great here because you can lay it down first, using it to test for a flat spot without having to move around and crawl inside your tent. If you’re confident that the orientation you have is ideal, you can simply stake out your footprint with the shiny, aka coated, side facing up and then pitch your tent on top of it.
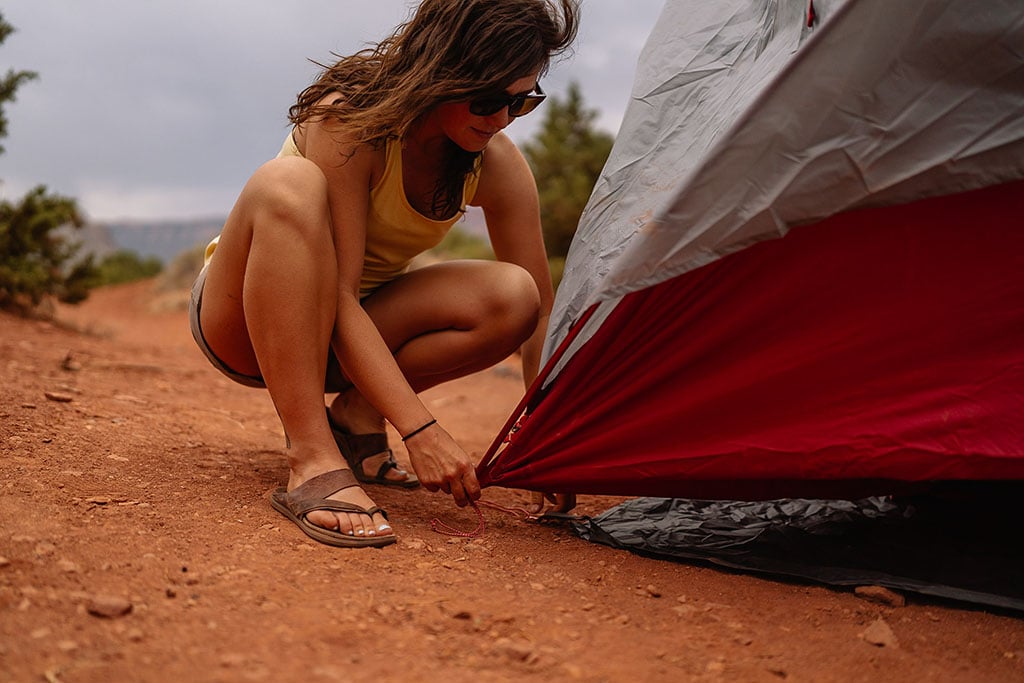
How to Create Grommets from Tent Cords
If you’re traveling light and don’t want to bring the extra stakes for the tent and footprint, here are the steps for connecting your footprint to your tent by creating grommets from the cords on each corner:
- Pull cord out straight from the corner. Make sure to knot near the bottom of the loop as shown.
- Tie an overhand knot in the cord, cinching the new knot as close to the webbing as possible.
- The gap between the knot and the webbing is your DIY ‘grommet’. It should hold the tip of your tent pole but be too small to pass the entire pole through.
- Repeat at each corner.
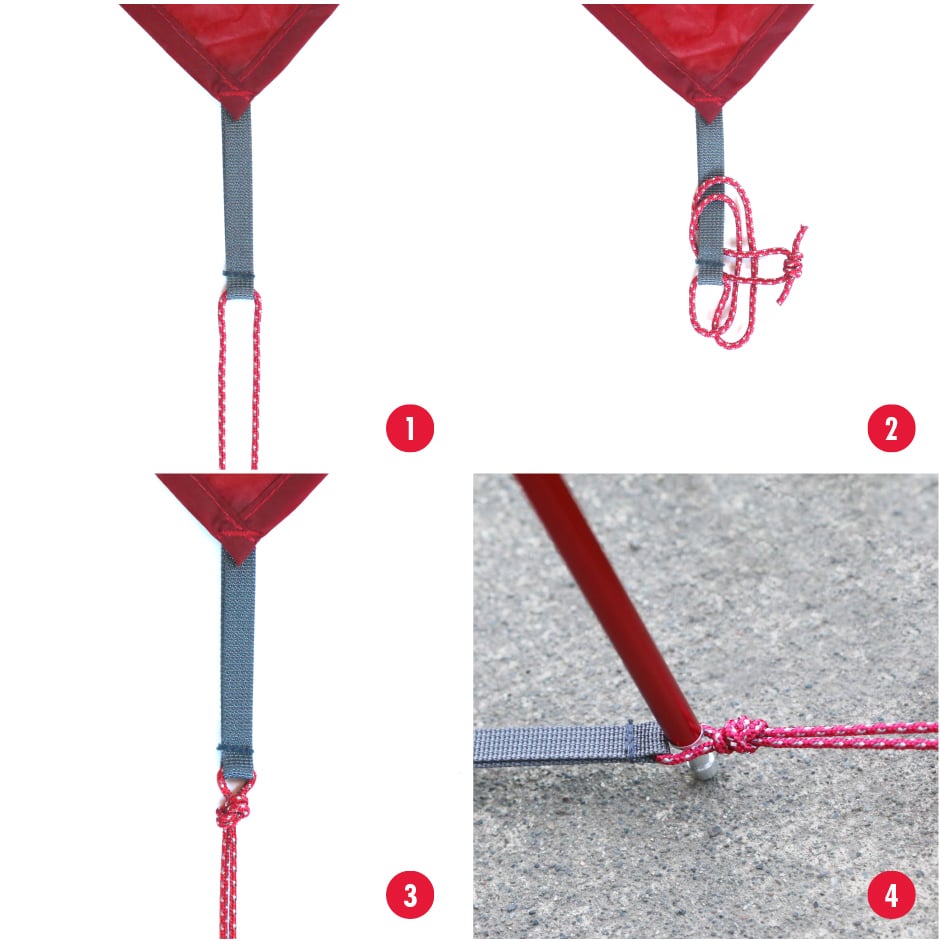
With this done, you can now put the poles in your freestanding tent, attach the footprint, then simply stake out the tent to tension both the tent and footprint at once.
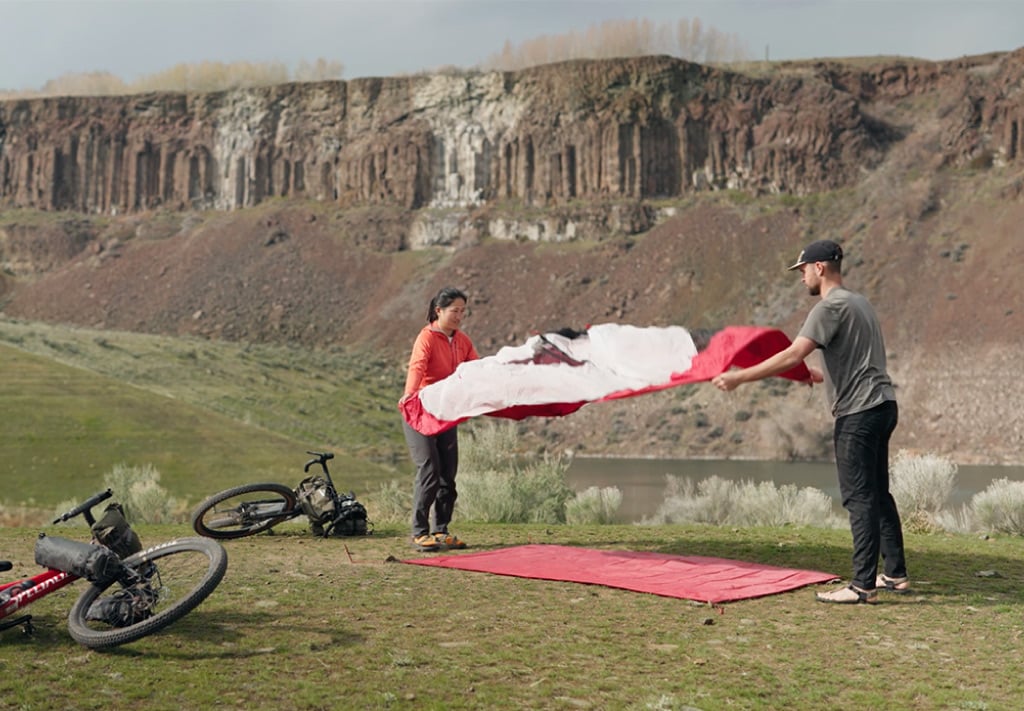
Another common oversight (or a necessity with non-freestanding tents) is to pitch your tent completely, only to realize you forgot to use your footprint. Don’t worry – you don’t need to un-pitch your whole tent. Simply align your footprint next to your tent and use the long cords to pull the footprint under it until you reach the other side. Having one person on each side to maintain tension as you pull is a huge help.
Again, be sure that no part of the footprint extends beyond the edge of the tent and you’re good to go. Now you can relax knowing you’ve done the right thing to ensure your tent lasts for years to come.
Related Posts: