Thru-Hiking the Te Araroa: Food Planning
Written by: McKenzie Barney
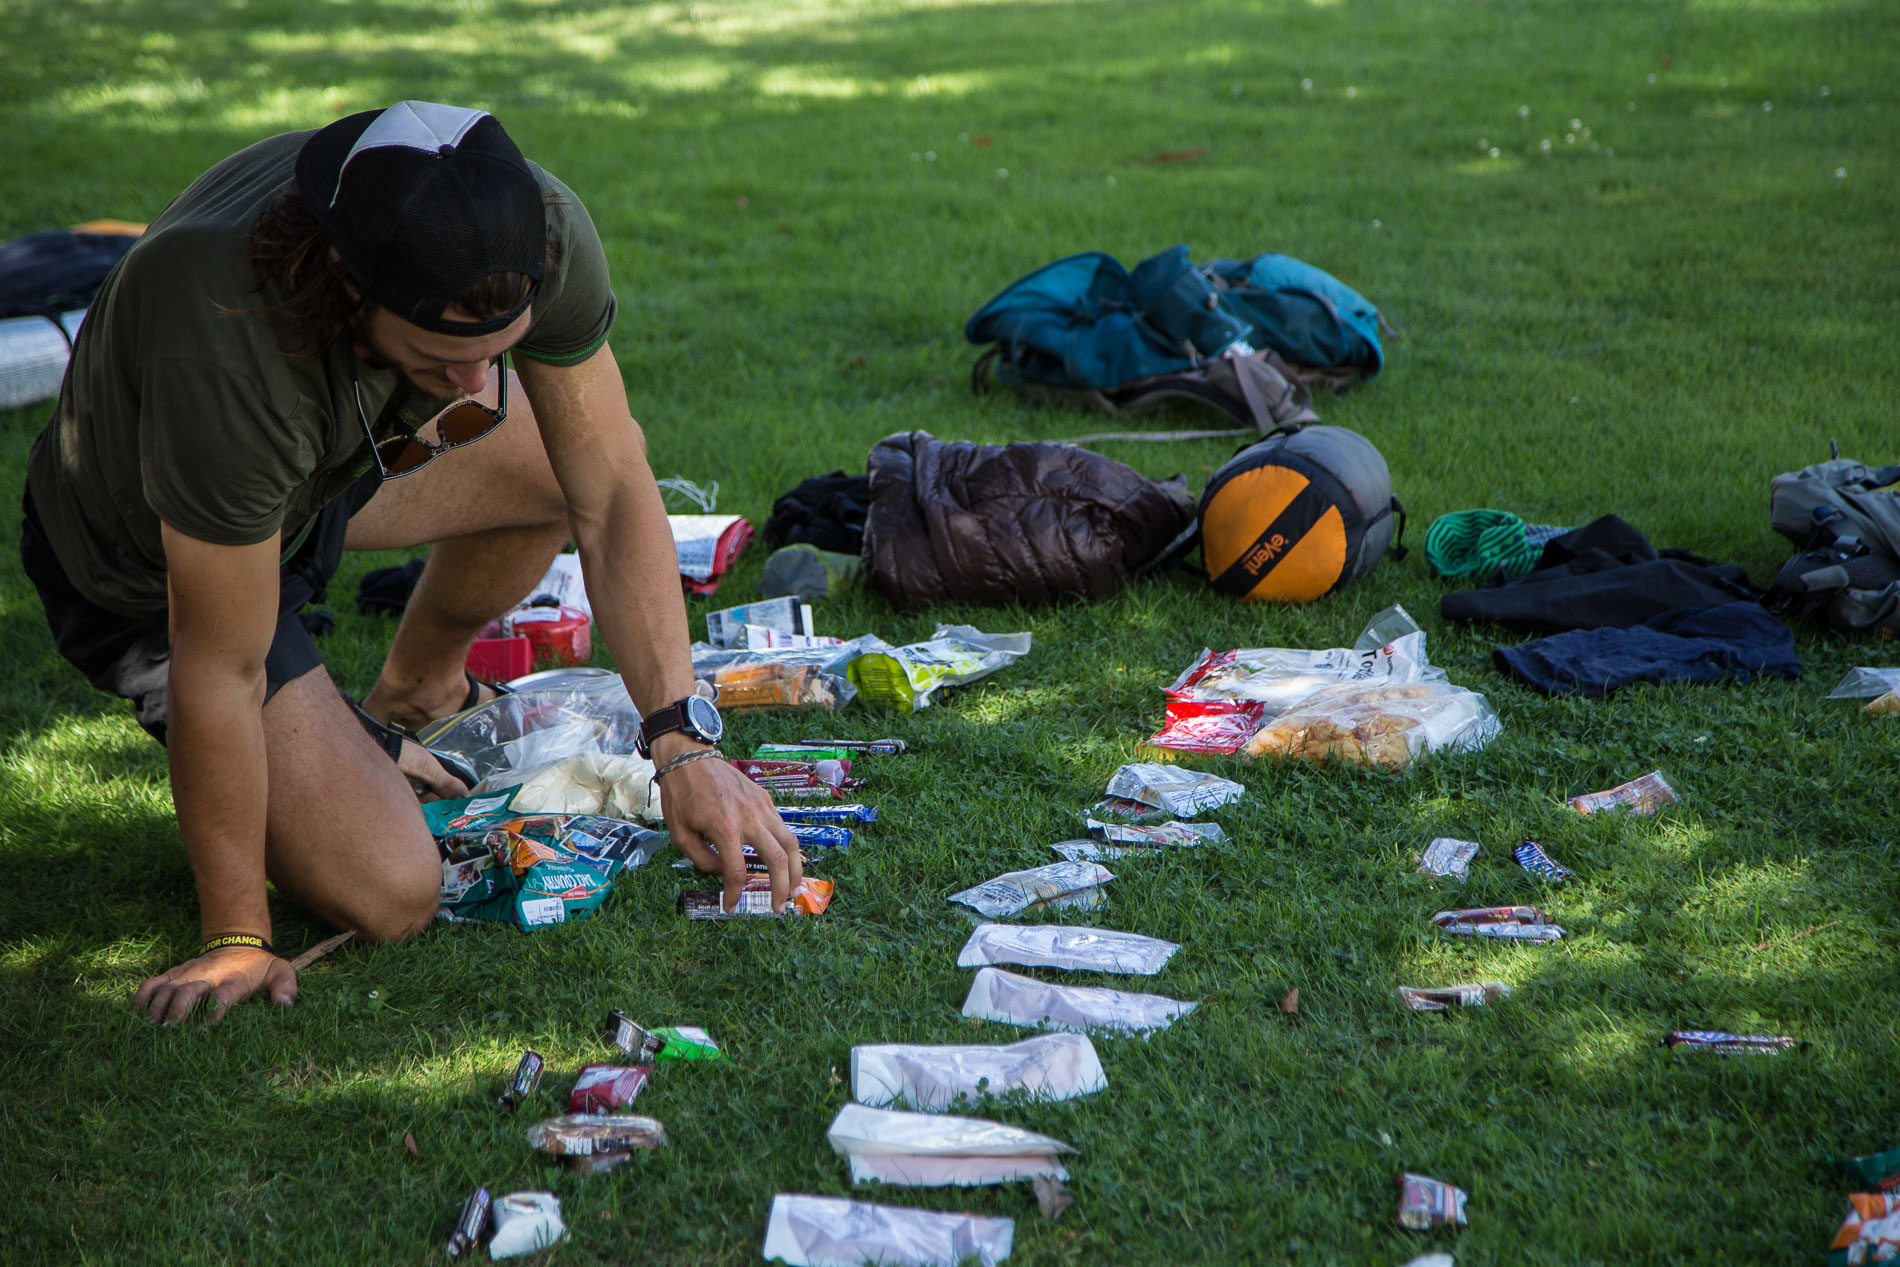
Thru-hiking is the ultimate form of minimalism. We pack up our entire homes—bedroom, kitchen, and pantry, etc.—into a backpack and travel anywhere from five to 10 days at a time. It’s freeing to know that at any given moment you have everything you need on your back. But behind the glory of this simplistic lifestyle comes the preparation that goes into each stretch, specifically food planning.
What to Eat, and Why?
We have a saying out here on the trail—“hike your own hike.” This has become a normal reply to most questions about resupply strategy. There are no right or wrong answers to thru-hiking, just find what’s right for you. The most important lesson I’ve learned so far is to pack food items that you actually want to eat. That might sound obvious, but when hunger hits, you want something satisfying. Your taste buds are reckless; they crave some of the most bizarre mixtures. Thankfully, New Zealand has a lot of healthy food selections that are equally as delicious. It’s normal to find gluten-free items in the regular grocery aisles, and GMOs aren’t welcome anywhere.
The first thing to consider when scheming a food resupply is what type of grocery stores the upcoming town will have. Pak n’ Save is similar to Costco or Sam’s Club in the states without the membership cost. It’s the cheapest and offers bulk items. The middle ground in terms of pricing is Countdown, my personal favorite grocery store. Countdowns are also the most prevalent store you’ll find in the North Island. The highest price, but best health food selections can be found at New World. Sometimes we will resupply at small towns or settlements that have small Four Square markets that have a very limited amount of items. This is when you have to get creative.
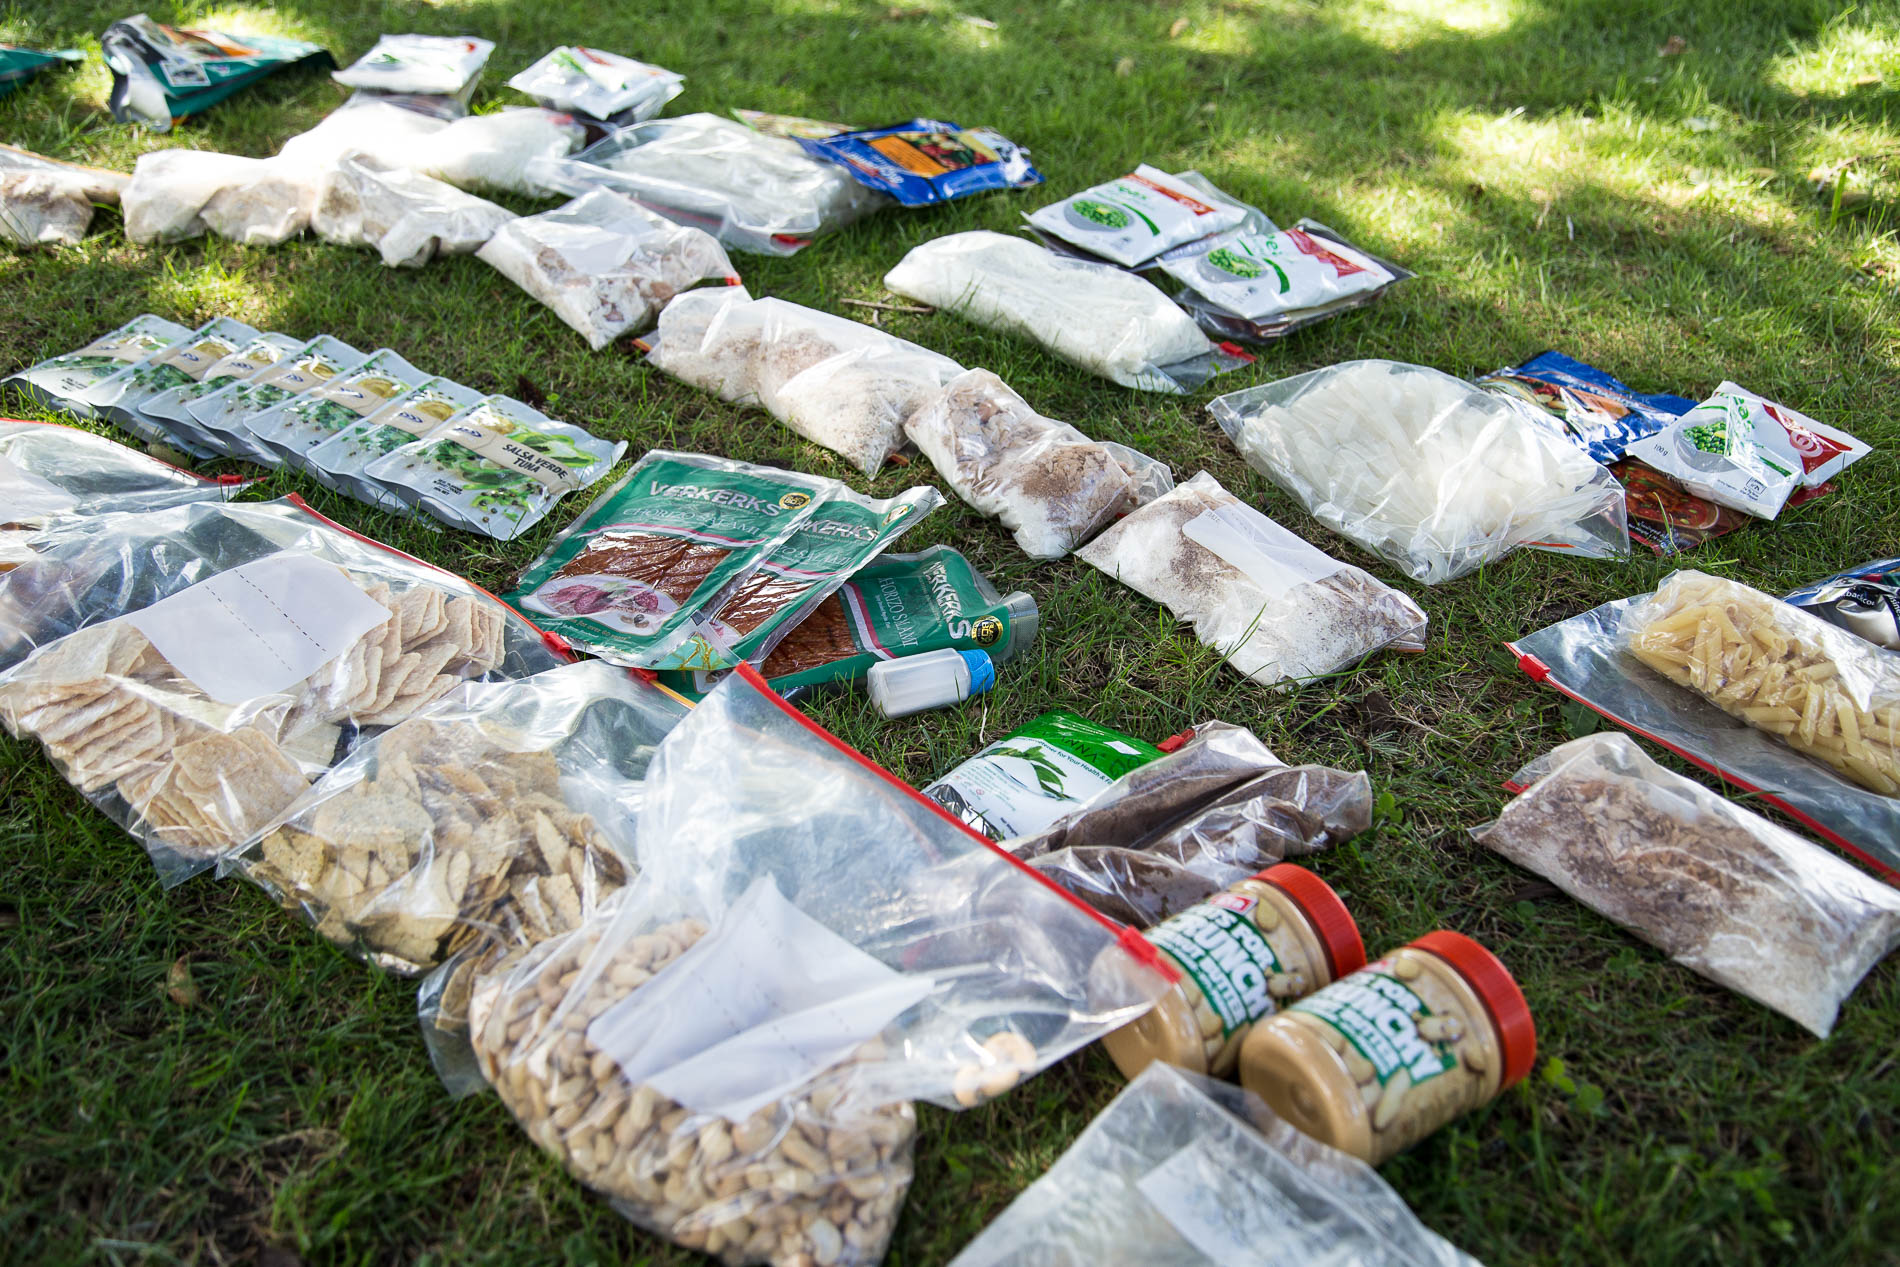
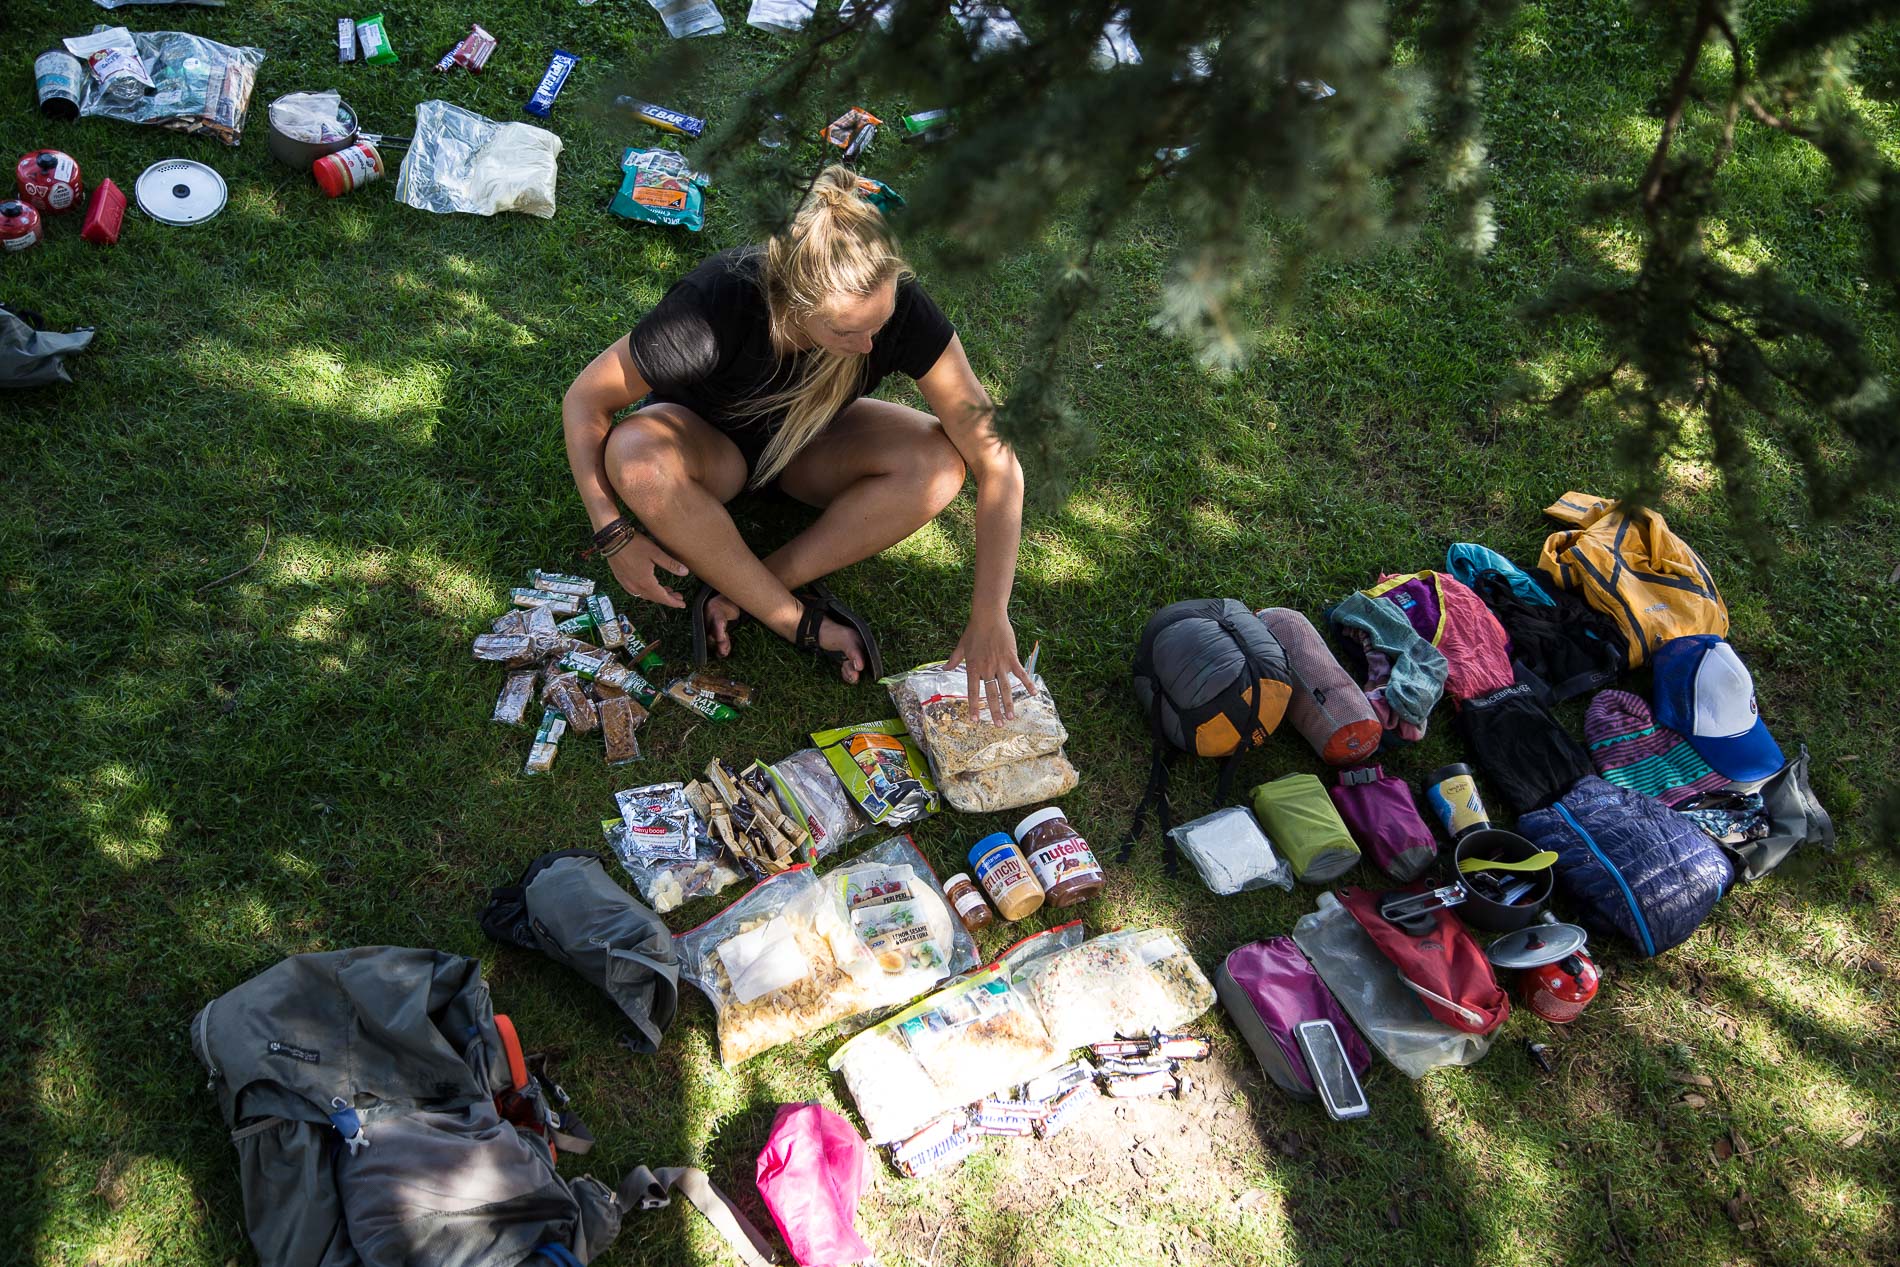
Once we assess the resupply stores, I usually make a list of my favorite items to purchase. Muesli and powdered milk/yogurt for breakfast, peanut butter/Nutella or tuna/cheese/chip tortillas for lunch, and 3-minute pasta packets with tuna or Backcountry Cuisine for dinner. I like these foods because they’re inexpensive, have a great calorie-to-weight ratio, and are readily available.
My favorite bars are local to New Zealand—Bumper Bars. They’re dense and dessert-y, which makes them perfect to snack on if I need something to hold me over for my next meal.
As for coffee, in my opinion the most important meal of the day, we have done a lot of trial and error to finally come up with a bulletproof system. New Zealand has an incredible freeze-dried coffee selection, my favorite being Jed’s that ranks the bean boldness from 1-5. Then I will add in a packet of Nescafe’s Cappuccino or Flat White (New Zealand’s version of a latte but with less milk). It’s enough flavoring to satisfy and enough caffeine to get you going. We recently discovered dehydrated cacao butter chunks at a health food store. It’s all about the little things…
Resupply Strategy
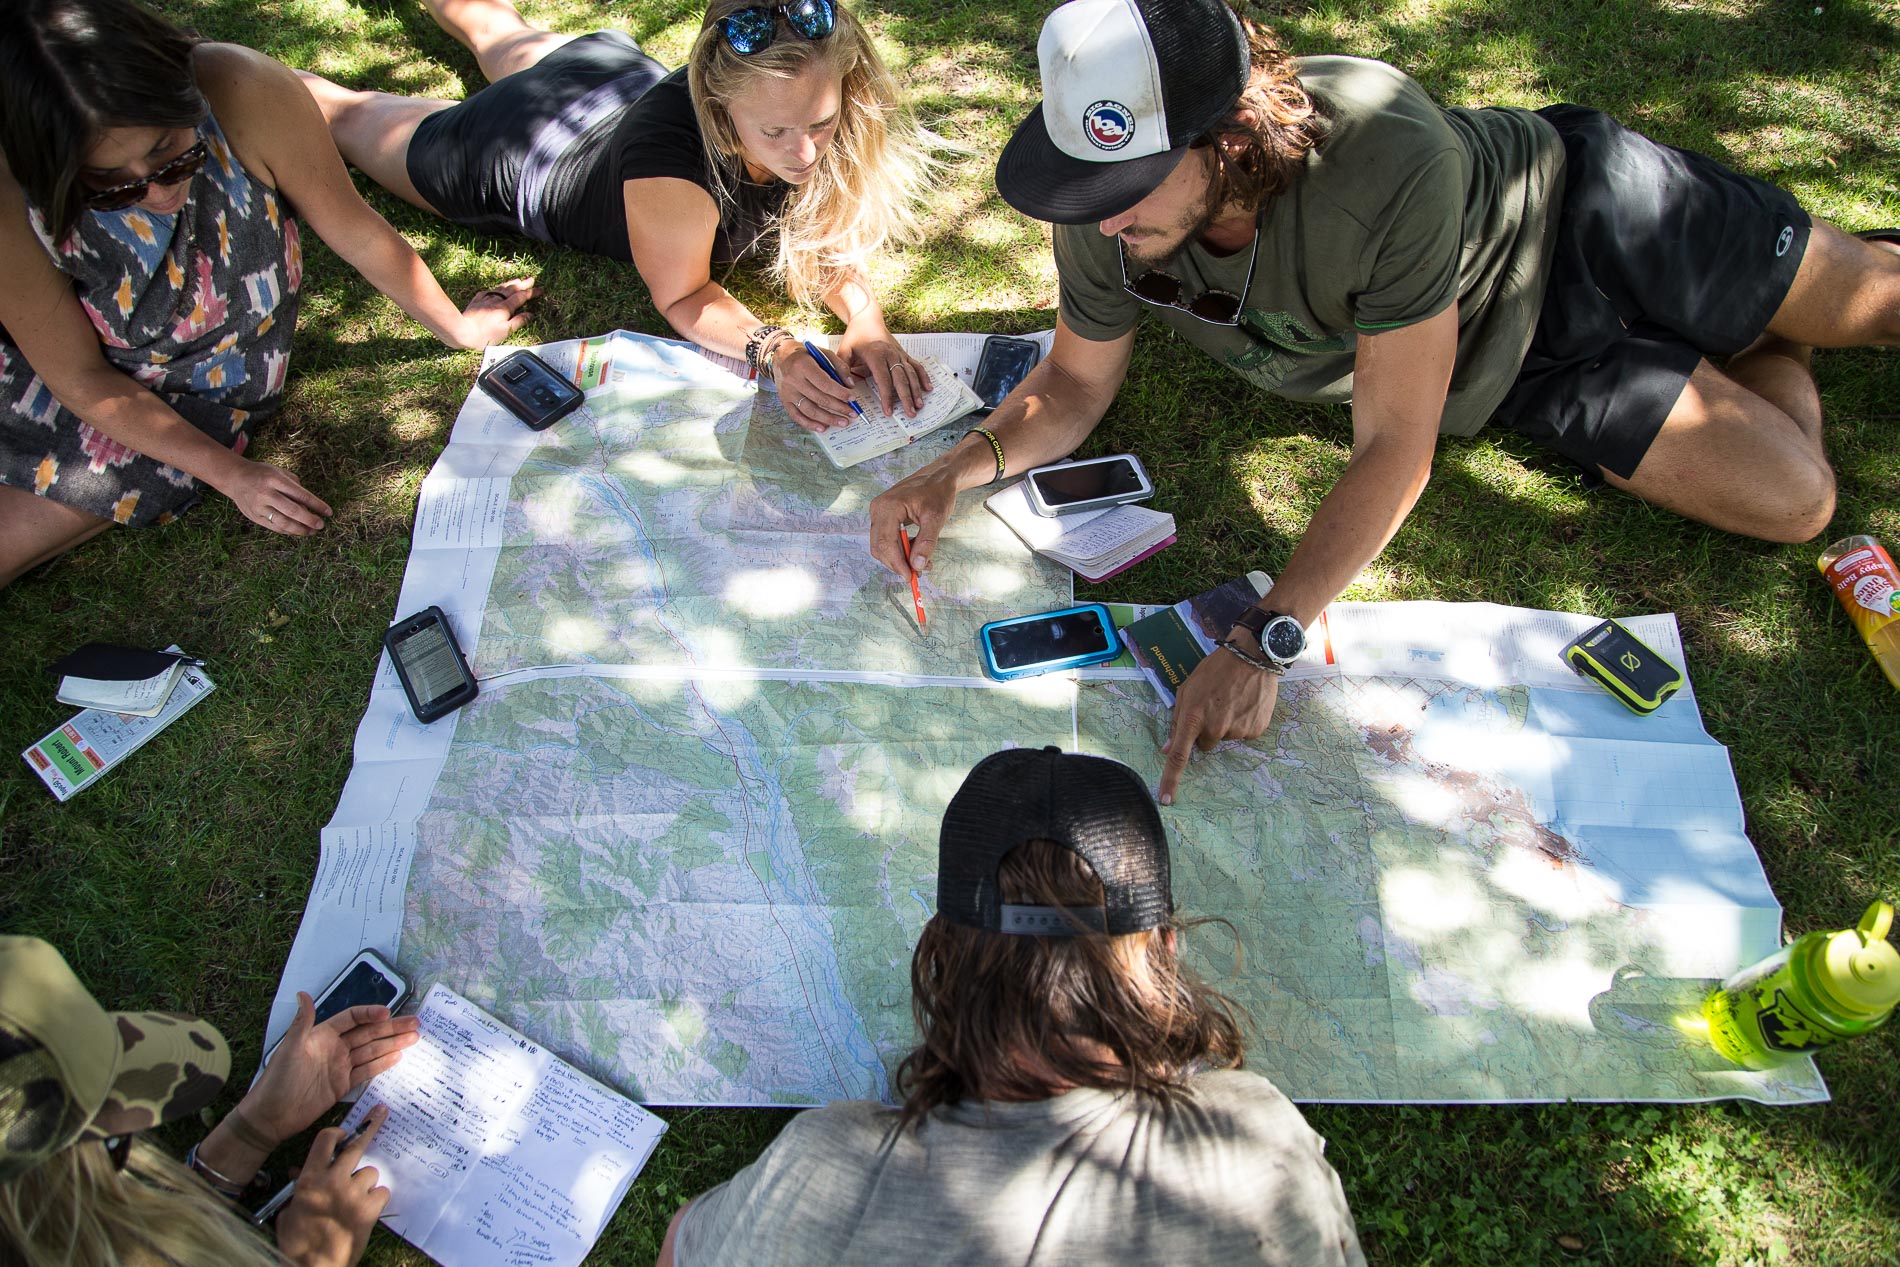
When we get to a town the first thing we do is sit down with our Te Araroa trail notes/maps and talk about the length of the next stretch. In the North Island the typical stretch in between resupply towns would be 3-5 days. The South Island is far more desolate, with stretches ranging from 7-10 days. There are a lot of small towns with limited resources where we will need to ship food ahead to ourselves.
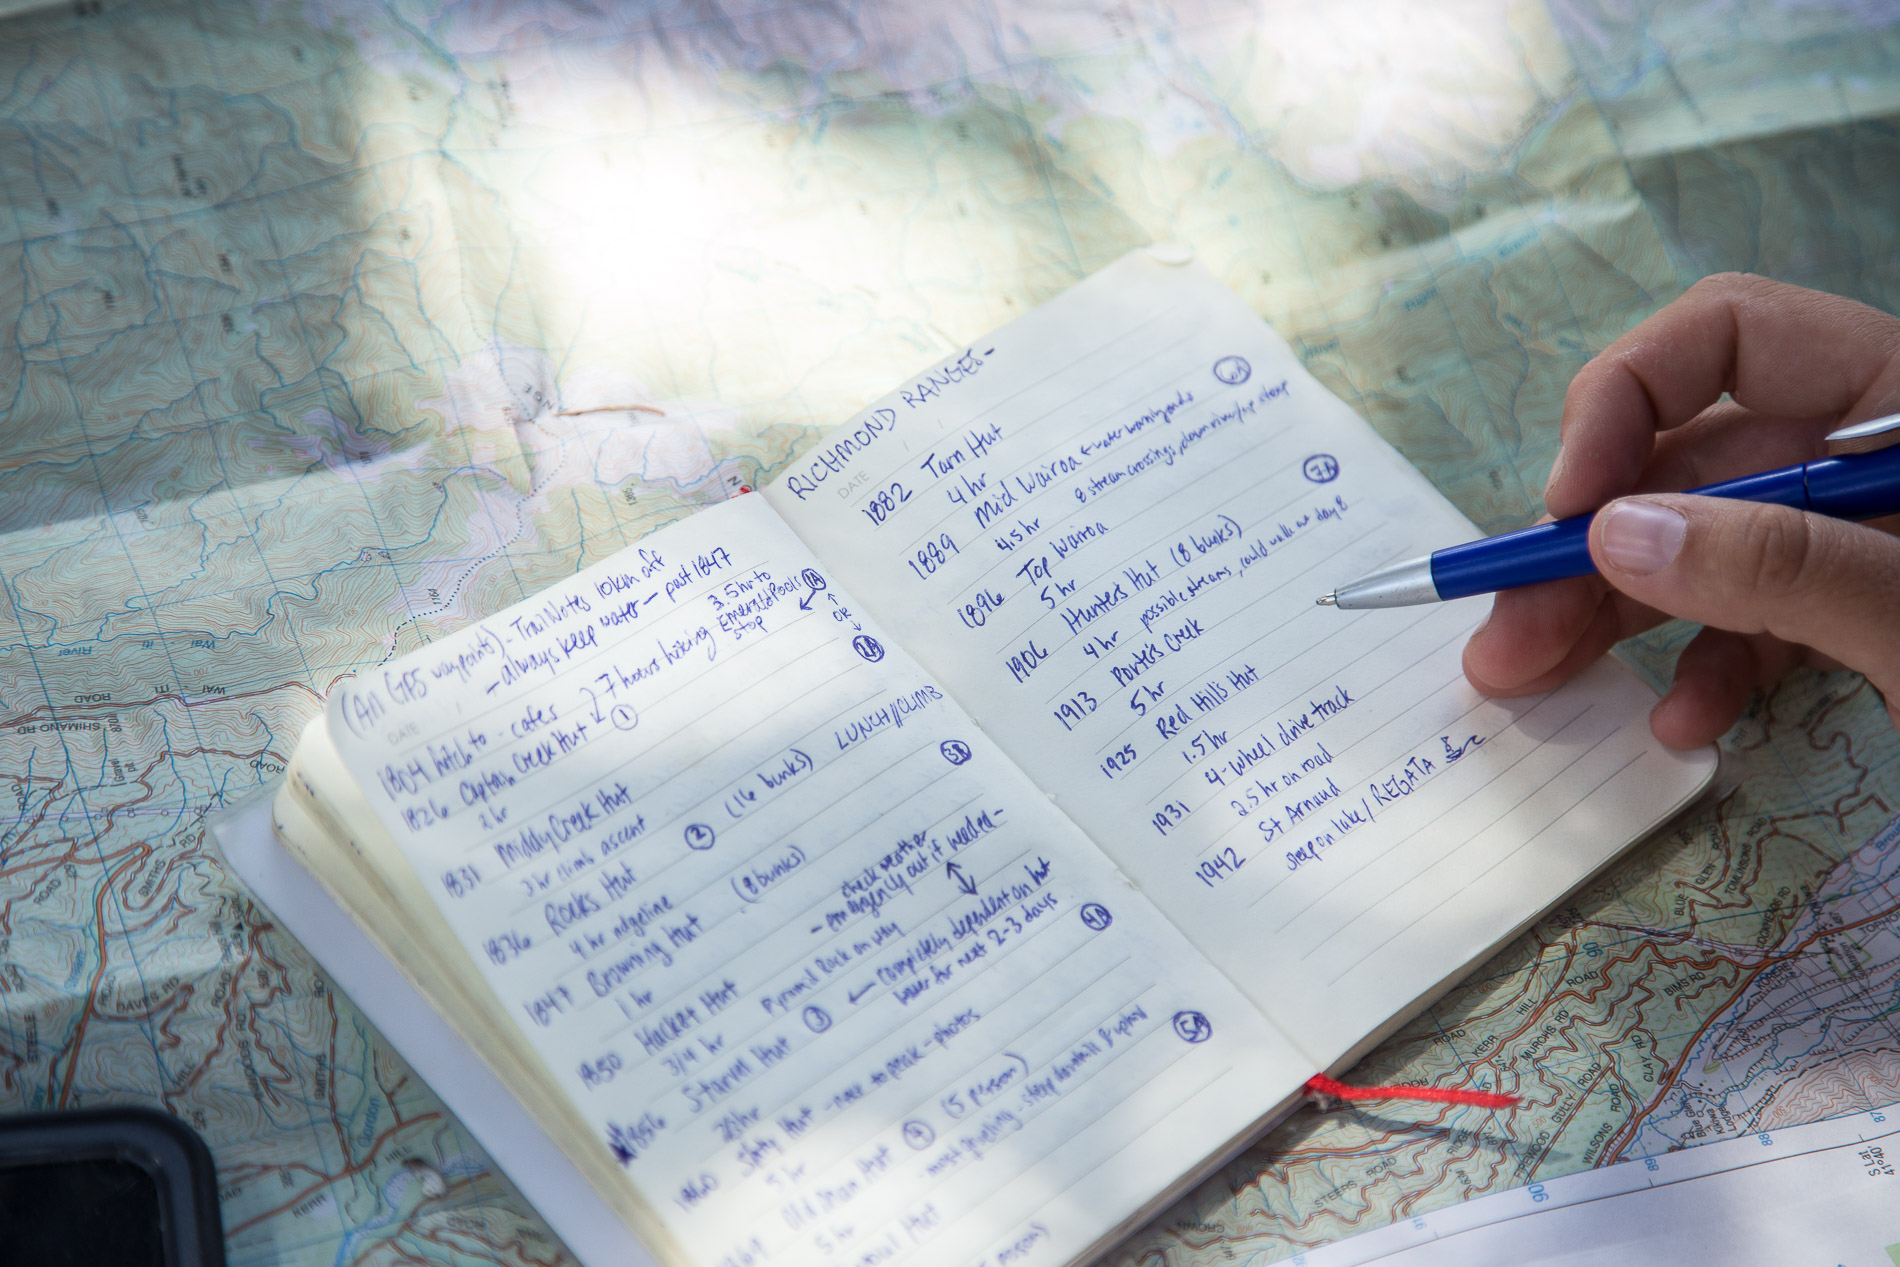
The Te Araroa trail notes are very helpful in planning this food strategy because they list the type of stores available in each town. If we’ll need food at a point in the trail where stores aren’t available, we’ll buy food prior and ship it via New Zealand post. The post office will often hold packages titled “post restante.” In addition, some business will hold TA packages. After the first stretch on the South Island (Queen Charlotte’s Track), we knew from the trail notes that the next three stretches would end in very small towns not suitable for a full re-supply. Thus, we hitched to Nelson and bought enough food for those three stretches. The trail notes helped us identify where to ship it.
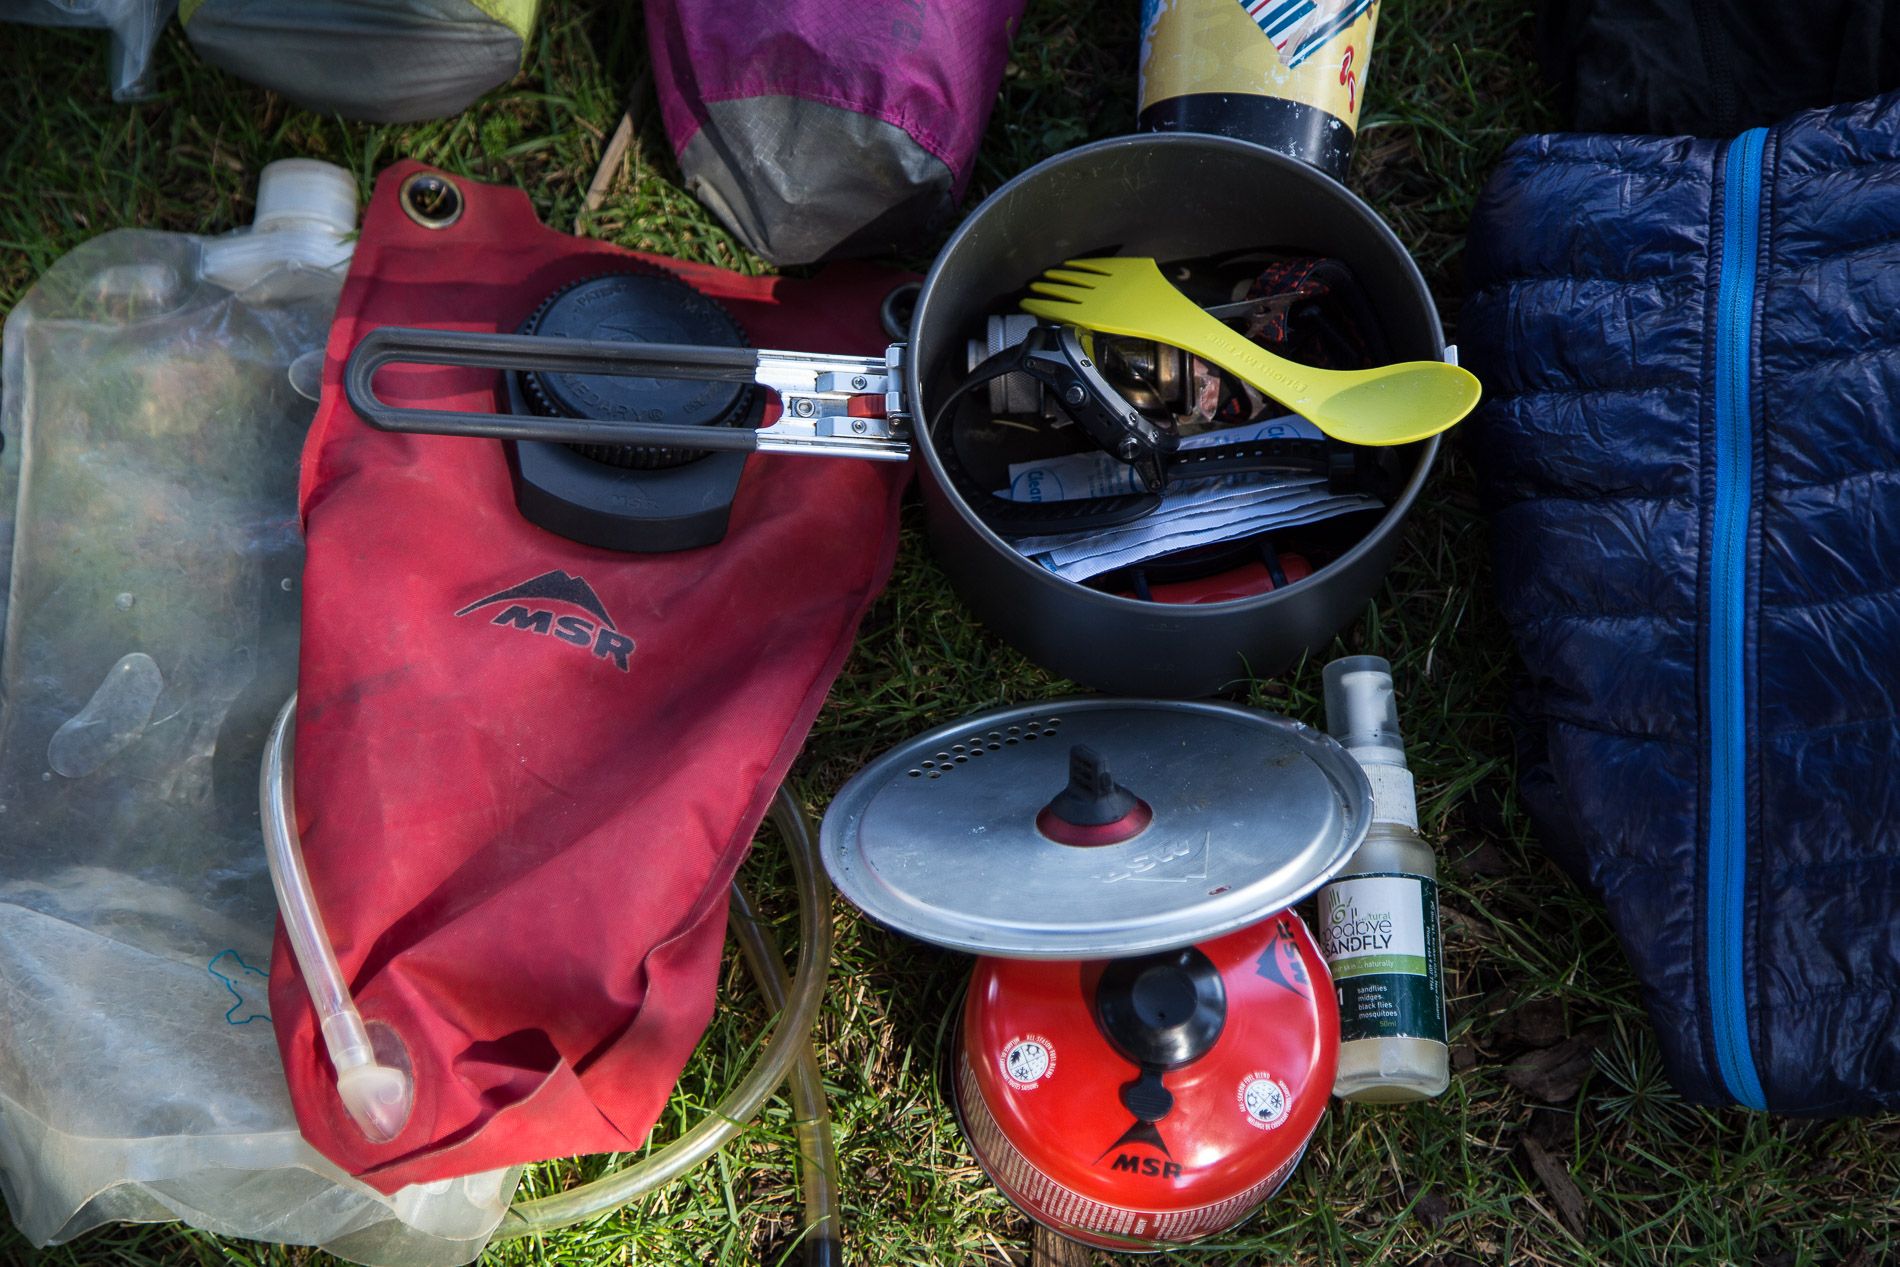
The length of the stretch also dictates fuel. For shorter stretches, I will carry a small 4 oz. MSR IsoPro fuel canister (available in NZ). It will usually last me up to 5 days and fits snuggly inside of my MSR pot. But for longer stretches or mountain ranges, I will carry an 8 oz. canister. I try to limit myself to only cooking for coffee in the morning, and dinner, both of which only need boiling water, so that I can prolong the gas life.
Important Considerations
Depending on the terrain we’re about to tackle, we always bring extra food for safety. In mountain ranges, I typically bring two extra days of food in case a storm comes in and sidelines us in a hut. If we’ll be by the road or small villages along the upcoming route, I usually bring just one extra day of food.
Water is the most important element to factor into cooking each day. For the most part, every 15 or so kilometers there is usually a stream, river, hut, or village/town where we have been able to access water. I always make sure to camp near a water source to be able to have plenty to cook dinner, drink coffee, and have breakfast in the morning. Then I refill 2-3 liters for the day ahead to last me until lunchtime.
Just like anything in life, the hard work of planning a resupply pays off when you’re able to hike with plenty of energy. Sticking to each day’s ration can also mean being able to stop at a mind-blowing vista to take an unexpected zero day. Living life one step at a time, we always appreciate the moments when we get to stop breathe it in.
Follow along with www.comforttheory.com.