Building Your Backcountry Kitchen, Part 1: Storing, Stashing & Stocking
Even if you’re content to subsist primarily on reconstituted meals in the backcountry, there’s always room for improvement (it’s amazing what a dash of soy sauce or a dollop of peanut butter can do, for example). If you genuinely enjoy the challenge of creating healthy, delicious fare while out in the back of beyond, having a well-stocked portable kitchen will serve you well.
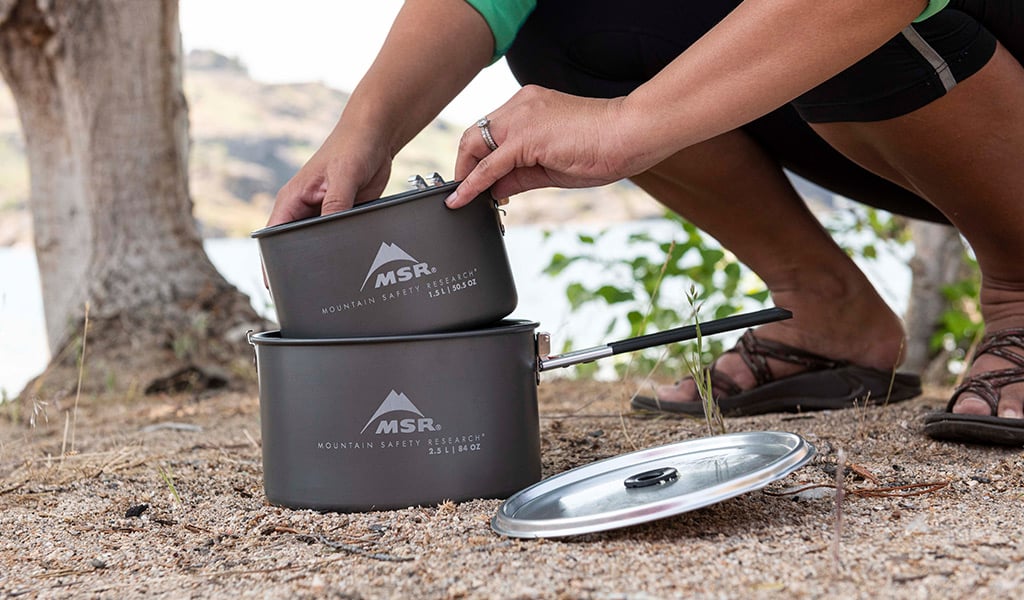
The following are tips on storing, stashing, and stocking your backcountry kitchen. I’m not going to address cookware here, as what you carry depends upon the type of trip, destination, and your personal preference/weight-bearing capabilities. (See Part 3: Cookware and Stove Pairings.) One of the main considerations is keeping your kitchen kit lightweight and compact. If you’re going to be on the river or in a clime with high humidity or rainfall, stashing your kit in a dry bag is a good extra precautionary step.
Storing & Stashing
- Collect trial-size food product bottles and containers. They’ll come in handy when you need just enough olive oil or vinegar to see you through a few meals. I’ve procured mine from places like Cost Plus World Market, which has bins of mini specialty foods (think hot sauce, mustards, walnut and infused oils, etc.), and trade shows (a side-benefit of being a food professional). You can also find trial sizes being given away at grocery store food demos and in specialty shops. Beauty product samples are also good—look for those little pots filled with face cream.
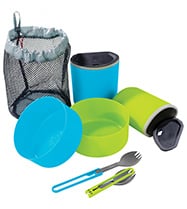
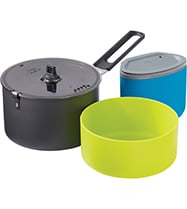
- “Invest” in the aforementioned Tupperware (I swear I don’t get kickbacks from the company). I use relatively flat, square containers, which take up little space and nest when empty. Of course, when you buy camping cookware, it already has that built-in advantage, but it’s also worth investing in specially-designed nesting plates and bowls.
- Ziploc® bags. You can never be too careful about preventing leakage or spillage. I stash small jars (I like to use things like tapenade, capers, or pesto to liven up grain dishes or pasta) in my socks. Be sure to seal them in a Ziploc bag, first.
- Before you toss or recycle containers, examine them for their backpack-ability. Most are too fragile, but every so often I’ll keep something that I know will come in handy. Examples: mini jam or honey jars (fairly shatterproof due to their squat size, and great for liquid or seasoning storage). With regard to plastic containers, eventually they get brittle and will absorb odors and/or oil, and will need to be tossed.
Stocking
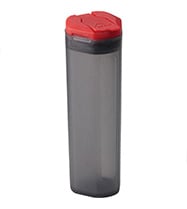
- I pack things like salt (I recommend kosher, which is free of iodine and other additives, and has larger, flat grains that make it easier to grab a pinch) in small Ziploc baggies, adding just enough to see me through my trip. I do the same with other spices, like chili flakes or freshly ground black pepper (the pre-ground stuff is generally old and has all the flavor of sawdust), etc. Seal out the air, and tuck them into the aforementioned mini-Tupperware. The same technique with coffee or tea will maximize freshness. MSR makes moisture-resistant, BPA-free salt, pepper, and spice shakers, which are great for longer trips or adventures in damp weather.
- Get a taste of place. I love trying regional foods, and when I’m traveling abroad, I explore open-air markets for staples like spices, cheese, bread, olives, dried or fresh fruit—anything that can add to my portable pantry as well as make a great souvenir.
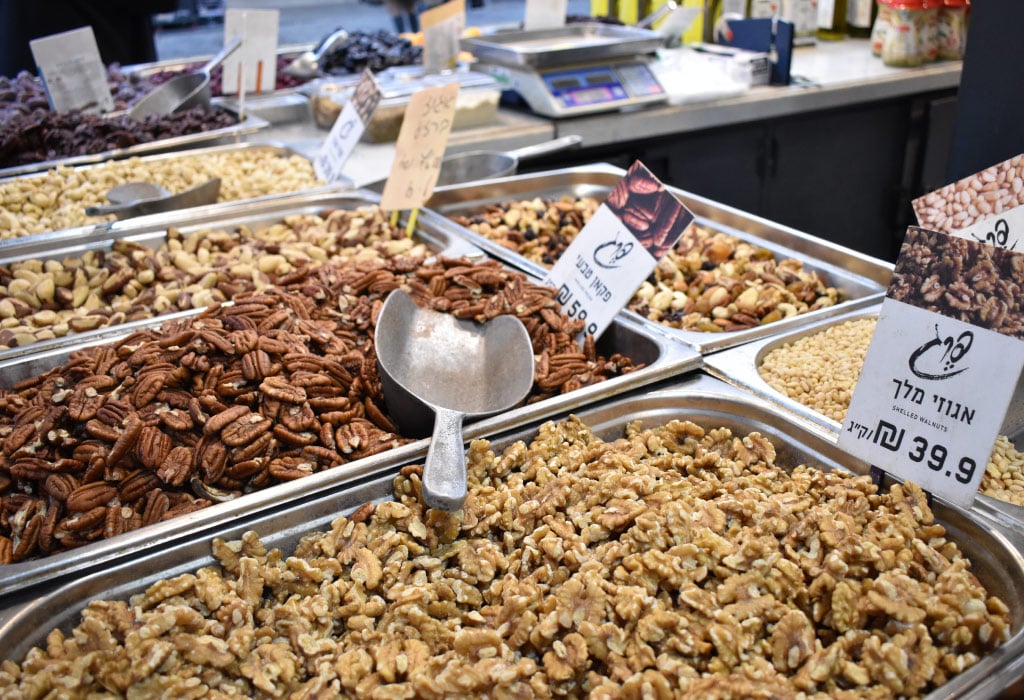
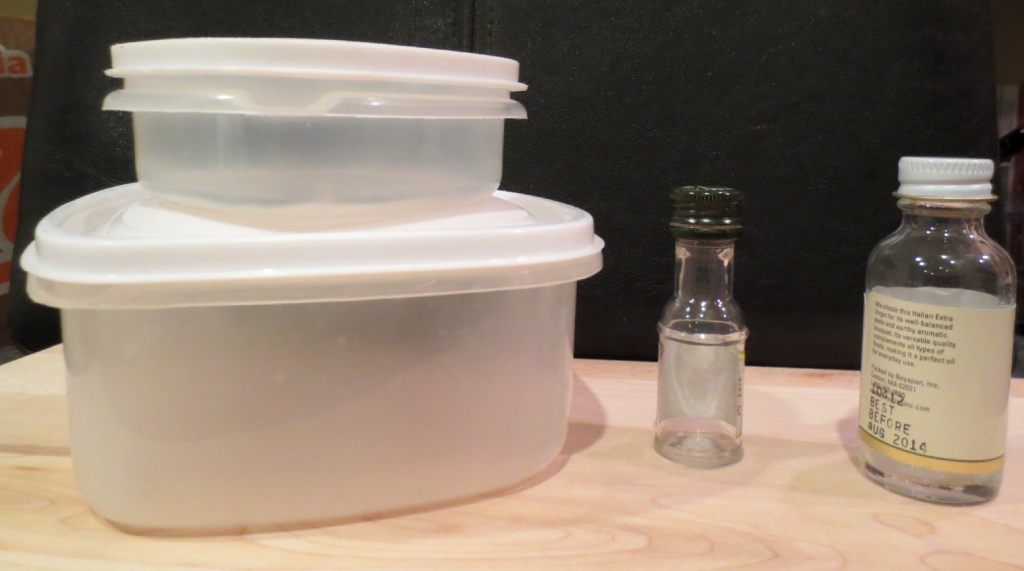
Photo by Ilanit Ohana - I always pre-plan menus, calculate approximately how much cooking oil or other liquid ingredients I’ll need, and fill up my trial-size containers accordingly. A little extra is always a good idea, but note that oils and other fats go rancid after six months of shelf-life, and they’ll also absorb petroleum flavor/odor from plastic bottles. That’s another reason why it’s good to adopt a fill-as-needed philosophy. At home, store oils, unless you use them frequently, in the refrigerator to extend shelf life. If you keep them at room temp, store them in an area away from sunlight, which breaks down the oil, causing it to oxidize and release free radicals.
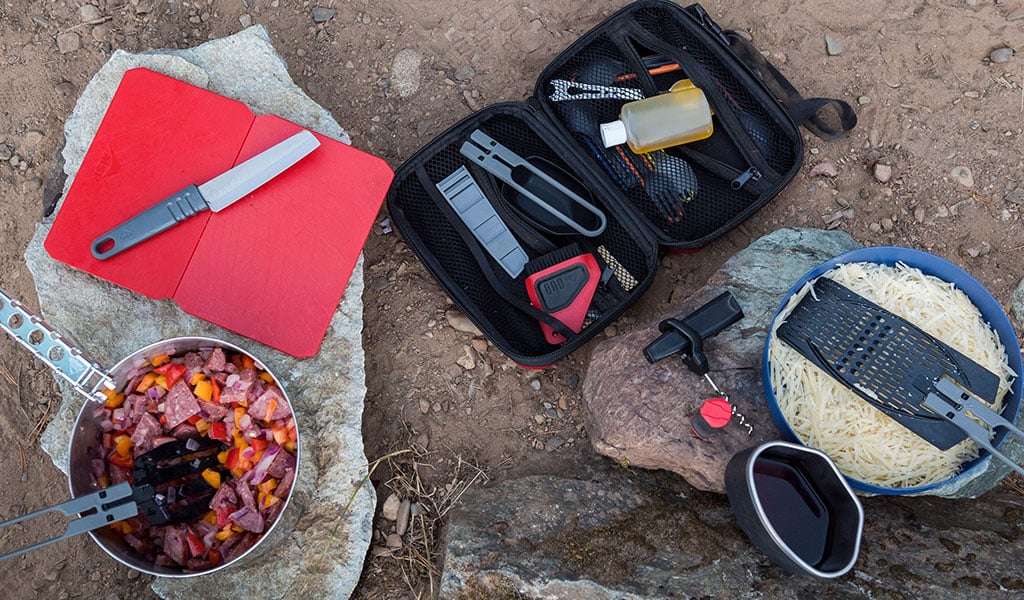
Photo by Scott Rinckenberger - Bouillon cubes are one of the most convenient, easiest ways to make a meal taste better.
- I try to avoid planning meals that require unnecessary bulky canned goods, but stores like Whole Foods and ethnic markets do sell items like small cans of coconut milk and curry paste, as well as shelf-stable tofu. On the first night out, it’s always nice to bust out these heavier/squashable items and prepare a special meal. Think stir-fry, curry, or soup.
Read More:
- Building Your Backcountry Kitchen, Part 2: The Essential Ingredients
- Building Your Backcountry Kitchen, Part 3: Cookware & Stove Pairings
ABOUT THE AUTHOR
Laurel Miller is a Colorado-based food and travel writer and cheese consultant, the co-author of Cheese for Dummies, and a contributing editor at culture: the word on cheese. She hoards trial-size packaging. Read more from Laurel.
Updated. Originally published April 2nd, 2014.