Gear Modifications and Care Mistakes to Avoid
Over the years, the staff in our repair department has seen a lot of oddball things come across the workbench. They have fielded thousands of calls about “custom” gear modifications and the unfortunate results, seen perfectly good gear become the victim of neglect, and had to explain to people why their great “gear improvement” idea might have been best left as just an idea.
Look, we know you’re brilliant. Honestly, we do. But some things are just best left to the engineers that are here every day, putting in countless hours to make sure that the stuff they’re designing is the best possible solution for the task at hand. In fact, there‘s a good chance we tried your idea and, if it didn’t make it into the final product, there’s a good reason for it. Let’s face it though—we’re all simple creatures and not easily deterred from our brilliance. We know the temptation is high, but there are two really, really good reasons not to modify your gear.
1. It Will Void Your Warranty
One of the biggest reasons not to modify your gear is that doing so voids your warranty. That’s not because we’re hurt that you tried to one-up us; it’s because modifications change the original nature of the gear, and we simply can’t work on something we didn’t design. That’s not safe for you or us, and you might have just messed up perfectly good gear. Unfortunately, you’re on your own once you modify your gear beyond its original specifications, even if you have other, unrelated problems down the road.
2. In Certain Situations, It Could Kill You
The other big reason is that you might end up changing things for the worse. While you can generally alter a utensil or mug without too much worry, changing how a stove or a water filter is intended to work can be downright dangerous. As our lawyers like to remind you in those owner’s manuals you may or may not have read, you can die a pretty horrible death from a stove modification or spend a fair chunk of that coveted vacation time on the toilet with the wrong DIY water filter modifications. Suffice to say, there are some fabulous reasons to leave the engineering to the (MSR) engineers.
With those things in mind, let’s have a quick look at some common modifications that we’ve seen or heard about and specifically why they are bad ideas. In addition, we’ll offer some general care guidelines that get frequently overlooked, causing gear to end up in the repair shop or recycling bin. If you really want to get the most out of your gear for the long haul, the single most important thing you can do is to simply take care of it, as it was designed.
STOVES AND COOKWARE
So, you fancy yourself a combustion expert, eh? Well, tinkering with a stove or cookware can drastically alter its performance for the worse and introduce all sorts of dangerous variables into the equation. Here are some common things to avoid:
Using Over-Sized Pots
Each stove comes with a maximum recommended pot size, and stability is just a part of the equation. The other is that a pot larger than the recommended maximum can reflect too much heat back onto the stove. This is especially dangerous with a canister stove, where the canister itself can be overheated. Even an armchair combustion expert doesn’t need to think too hard to imagine the implications of heating up a pressurized fuel canister. More subtly, you could also melt the self-sealing gasket that’s embedded in the top of the canister, causing a fuel leak that would lead to the aforementioned catastrophe. Even liquid fuel stoves have been melted under overly large crock pots, so heed the recommendations in your stove’s instructions.
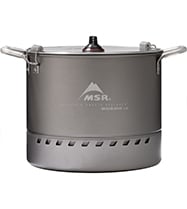
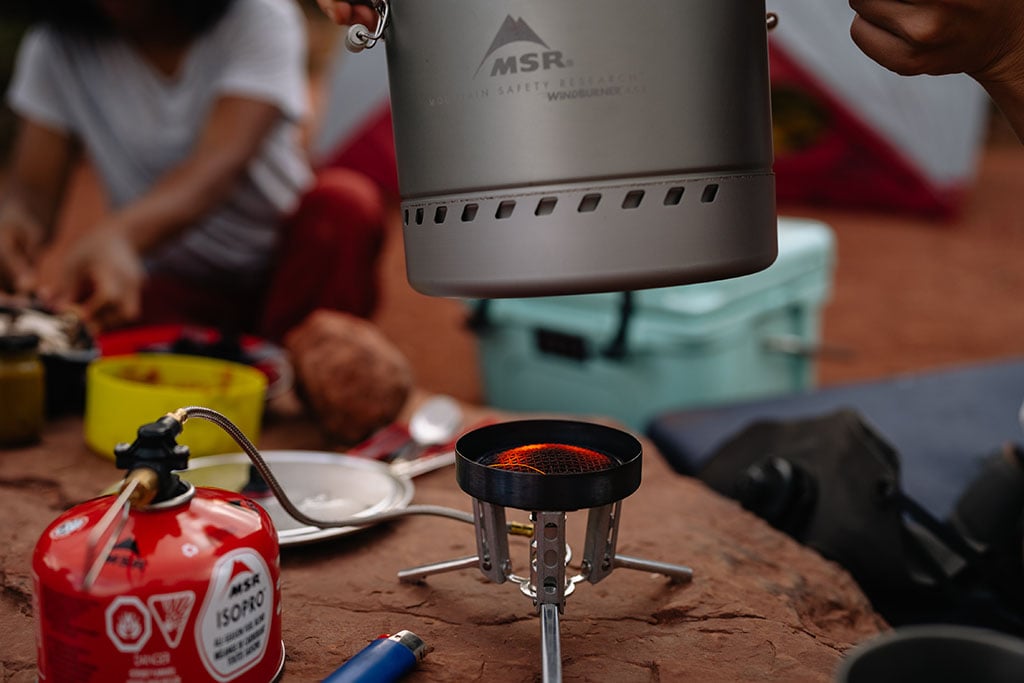
Using Non-System Cookware with Stove Systems
Our WindBurner™ and Reactor® stove systems are a few of our proudest engineering achievements. Each threads the needle of combustion perfection through the ideal synergy of primary air combustion and cookware integration. Of course, we’ve seen people try to modify flat-bottomed cookware and hack “adapters” aimed at making regular pots and pans work with these stoves. Newsflash: it doesn’t work. In fact, without proper heat dissipation, these powerhouse stoves will likely trigger their embedded thermal trip switches, designed to shut the stoves down in an overheating emergency. While you may be able to reset the WindBurner if that happens, you might have irreversibly damaged other components. On the Reactor stove, the thermal trip is a one-way street to eating cold food the rest of your trip and replacing your now-cooked (ba-dum-tss) stove. if you do trip your WindBurner, here are the quick steps to reset it:
- Wait 5 minutes for stove to cool (Mandatory!). Disconnect fuel canister from stove.
- Open the Flame Adjuster counterclockwise 2 full turns.
- Insert one leg of the Fuel Canister Stand into the hole in the stove’s mixer tube. (It should stop against the mixer tube.)
- Rotate the leg clockwise to press the brass jet downward until a click is heard.
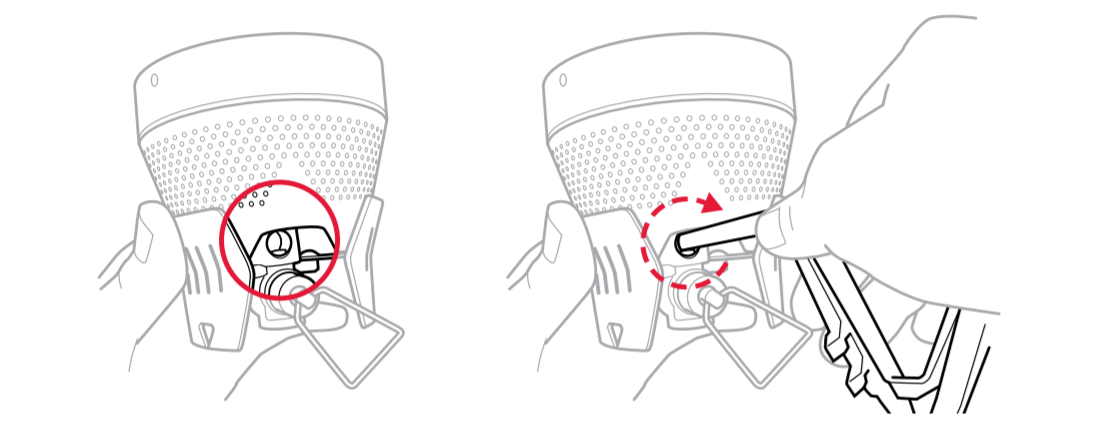
- Close the Flame Adjuster before reconnecting fuel canister. Stove is now ready for use.
Note that repeated tripping of the stove might mean something more is wrong inside and our lawyers would like to remind you that this could cause fuel to leak, which could, in turn, cause fire, burns, severe injury or death. If the stove’s Thermal Trip continues to activate, discontinue use of the stove and contact us.
Adapting Canister Stoves to Run on LP Tanks
While we commend your efforts to be green and reduce waste, this is an otherwise horrible idea. It introduces variables in pressure that some stoves were not designed for and can result in unpredictable flame output. It also introduces additional points for potential leaks and that’s just never a good thing around gas and fire. Further, many components that people try to use are from unknown sources and of unknown quality, so trusting them with your life around fire is simply a risk not worth taking.
While these are by no means a finite list of bad ideas, hopefully they illustrate the seriousness of tampering with a stove and the cookware that goes with it. As our engineers are fond of saying, “Respect fire”. It deserves it.
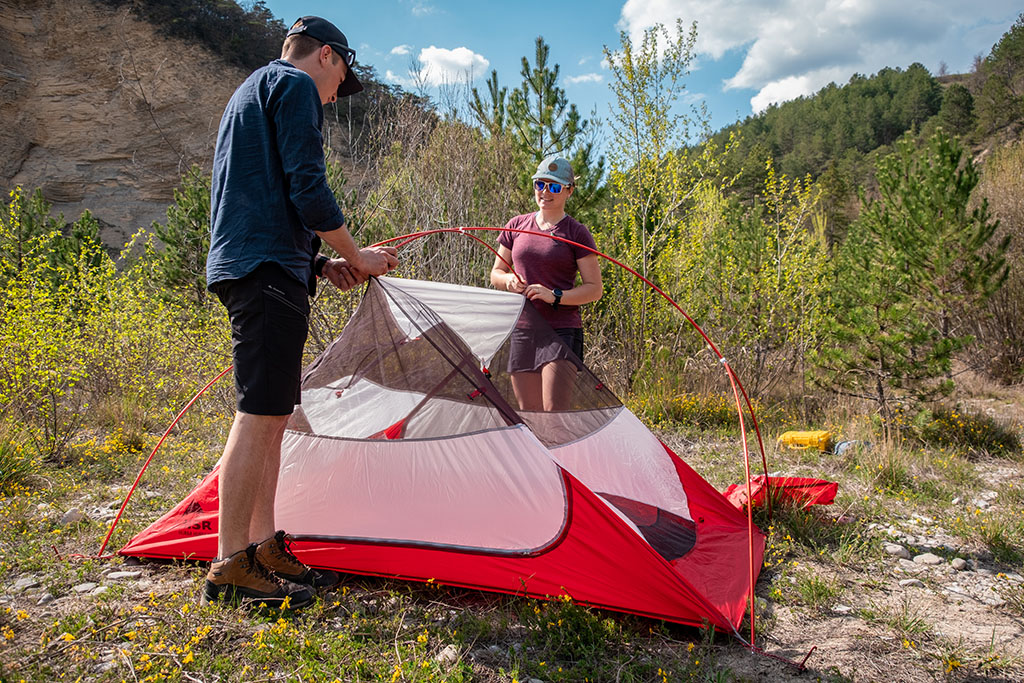
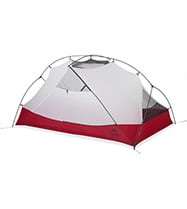
TENTS
While we don’t see a lot of weird tent modifications, we do see a fair number of tent care failures. The two primary ones, paradoxically, involve over-cleaning and neglect.
Keep It Clean
Yes—keeping your tent clean is essential for long-term performance. However, DO NOT put your tent in a washing machine. Ever. This is horrible for it. No matter how stanky it might be or how dirty it got, submerging and aggressively agitating your tent in detergent-soaked water can drastically shorten its lifespan, especially in a top-loading washing machine. The key takeaways to proper care are keeping it out of the washing machine and using the right soap. Even better, take care not to get it so dirty that a simple spot cleaning or quick rinse with a hose won’t do the trick. After washing your tent, dry your tent completely before storage and heed the next point.
Keep It Dry
Another big one we see is tents that were stored wet. This can speed up the breakdown of your tent’s waterproof coatings and cause mold and mildew to grow, which not only make your tent smell bad but can also drastically shorten its lifespan. Now, we’re not talking about a week of rain in the backcountry; we’re talking about packing away a wet tent at home or even storing your tent in a very humid environment like a damp basement. You will be utterly shocked at how quickly mold and mildew can grow on a wet tent stuffed away in your closet, or even while baking in your roof box on a long road trip.
When it comes to moisture, it pays to be paranoid and ensure your tent is completely dry before packing it. In the field, flip it over before packing it up and let the sun bake the floor. Invert the fly and dry out the inside and the outside as much as possible before you stuff it away. It doesn’t have to be perfectly dry in the field, but as moisture accumulates, it gets harder to mitigate, so dry it at every opportunity. If you had to pack it up a bit wet in the morning, pull it out to dry on your lunch break if weather allows.
When you get home, set it up in the garage or hang it out to dry in the backyard for at least 24 hours, flipping it around occasionally to make sure no moisture lingers in any fabric folds. This is where you want your tent 100% dry before you even think of packing it up for a few weeks or until spring. Get a dehumidifier if you store your gear in the basement and, to be really safe for long-term storage, keep your tent in an oversized, breathable or mesh sack that will allow for some airflow.
Check out more great tent care tips.

WATER FILTERS AND PURIFIERS
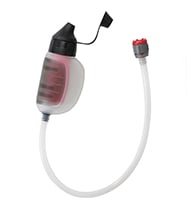
The Perfect Hose Length
The most common hack we see here is changing hose lengths. While this generally will not impact the efficacy of the water treatment device, it will affect efficiency. In the case of making a hose too long, like with a TrailShot microfilter, it may even prevent the generation of sufficient suction to pull water through the filter media at all. Likewise, lengthening the hoses of the AutoFlow™ and Guardian® gravity systems will make them unwieldy to hang (hoses should be completely extended to achieve optimal pressure and speed), and shortening them will reduce head pressure, again resulting in reduced flow rates. All these systems are delivered with optimal hose lengths based on extensive testing. Trust us—leave them as they are.
Store Them Dry
Have you ever forgotten to dry a reservoir and felt that invisible slimy film that grows on the inside? That same slime will grow in the hoses and filter media of your water filters and mechanical purifiers, encapsulating them in goop that can render them useless. Any time you’re storing a filter for more than a couple of weeks, you should flush them with a weak bleach solution to disinfect them (per the instruction manual that came with your filter and can be found on the individual product’s web page) and disassemble them as much as safely possible/instructed to allow them to dry. Leave them on a sunlit windowsill or outside in a breeze for a while to speed the drying process, then pack them up until your next trip. Note that some hollow fiber cartridges cannot be disassembled (and some in fact need moisture to remain functional), making the disinfection step all that more important.
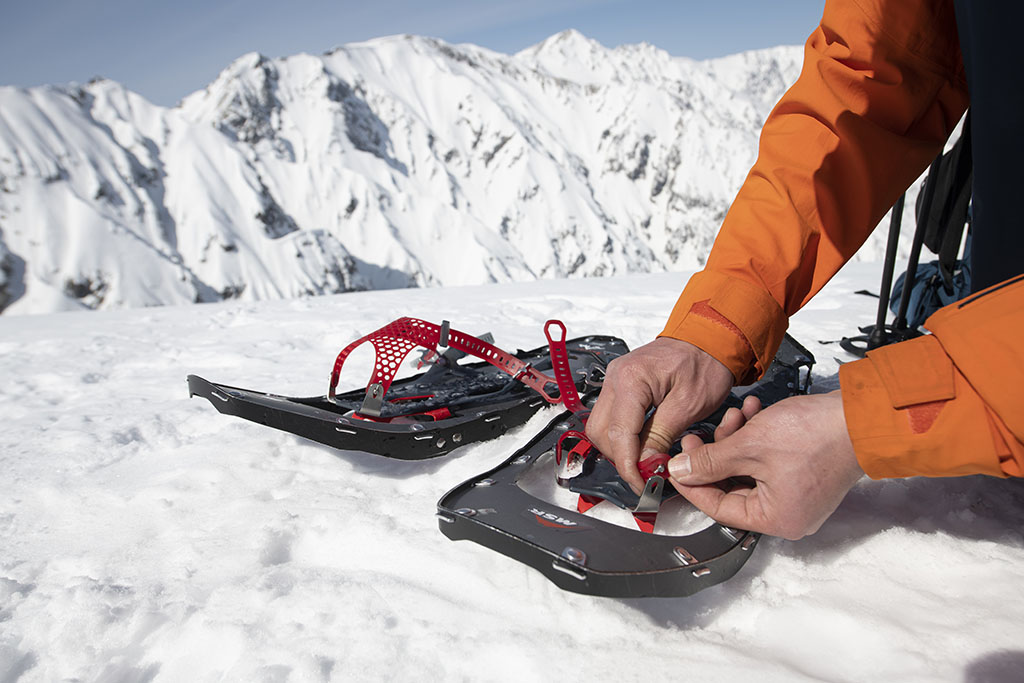
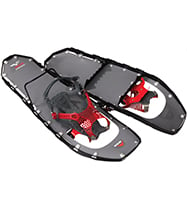
SNOWSHOES
Our snowshoes aren’t typically modified, owing to their best-in-class design, but we do see a lot of beat-down snowshoes come through the shop. Here again, our repair techs beseech you: “PLEASE DRY YOUR GEAR!” Even the awesome, aircraft-grade aluminum of our snowshoe frames and bindings can oxidize with prolonged exposure to water—especially with road salt and other chemicals mixed in from roadside parking spots or parking lots. In those situations, a good rinse and drying when you get back are extra important. And of course, storing them in a protective bag with plenty of ventilation and drainage while traveling is a great idea, as is finding an open, well-ventilated place to hang them when you get home.
If you take away only two things from this post, they should likely be that you should always use your gear as intended, without modifications, and know that water is pretty much the enemy of every piece of gear you own. If you leave the engineering to the engineers and never store your gear wet, you’ll be a much happier camper all around.
Should you ever find yourself needing some help or advice with your gear, please don’t hesitate to reach out to our customer service team. We are here and ready to help!
Related Posts:
- MSR’s Seattle Repair Shop: Keeping Timeless Gear Alive
- Outdoor Gear Field Repair 101: What to Bring and Why
- How to Wash a Tent
- Your Pre-Season Backpacking Gear Checklist
Updated. Originally Published September 27, 2021.