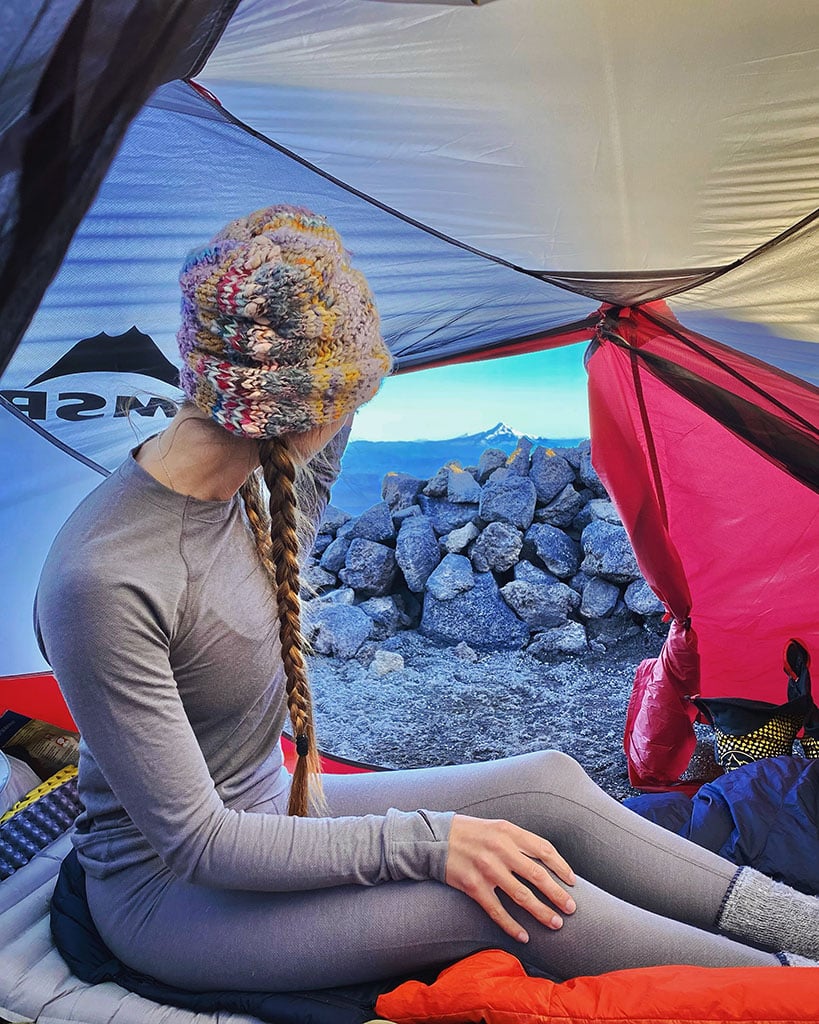
Boiling Snow & Filtering Water in the Alpine
A successful adventure in the alpine requires many working parts. Number one is most certainly stoke! However, there are other aspects that are just as important. When planning a trip that takes you into a remote mountain environment and away from civilization, it is important to know how to take care of yourself in the event something does not go as planned. Familiarity with the 10 Essentials is critical, and of those 10, understanding how to find and prepare safe drinking water is of utmost importance. It’s not just about finding a water source (from ice or a stream)—knowing the steps to follow to prepare water efficiently and effectively is essential. There are important aspects to consider, such as your environment, specific equipment to use and the overall preparation for sufficient quantities of sanitary water.
Preparing Water in an Alpine Environment
1. Choose a Source
Choosing your water source is the first step. Let’s say you are planning a trip on Mount Adams in June or you are preparing for some winter camping. The environment you step into may or may not have active running sources of water (like a river or lake), but it has snow that requires melting. In the event you have both running water and snow to choose from, it is probably best to get your water from the running source to remove the melting step and preserve fuel. Steer clear of the last bits of dirty or discolored snow you see on the surface of the ground because it could be contaminated.
When selecting a water source, it is very important to avoid those with potential contamination from animals and people. Select water that is away from trails, campsites (including busy areas above you) or animal dwellings. Look for water at its fastest point in the stream, like when it is running over rocks. A bend in the stream over a rock bed acts as a pre-filter and contains less silt and other particles.
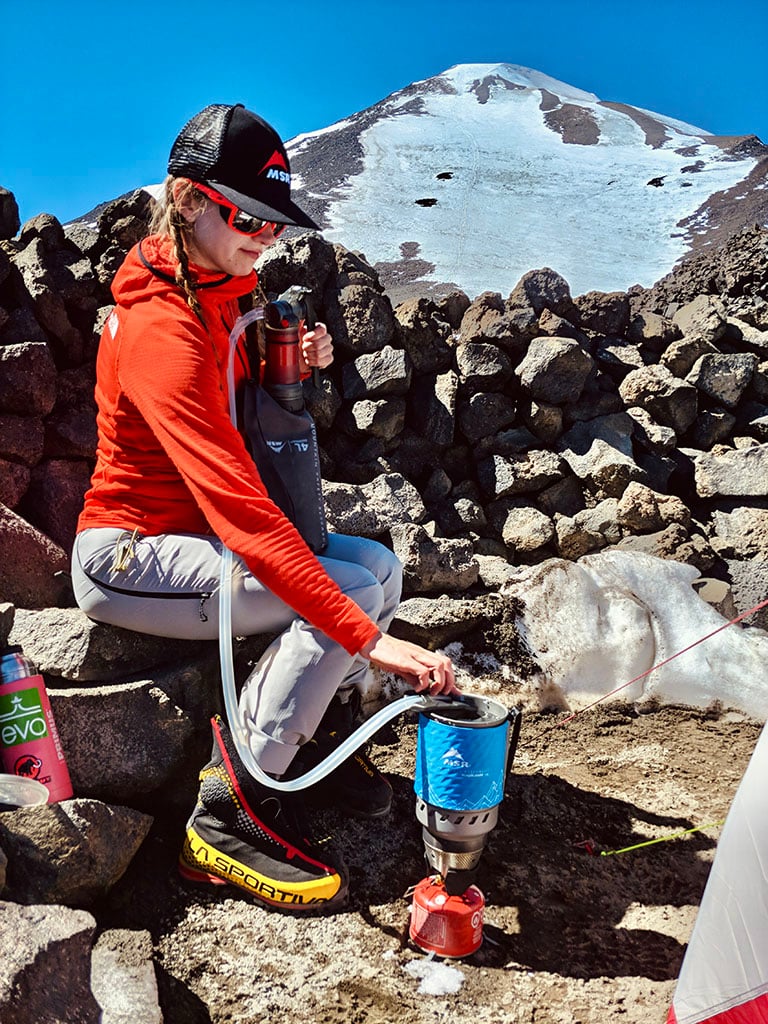
2. Filter Water
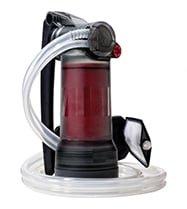
Once you have picked a filtration spot, scoop water from this point with a reservoir or place your pump directly in the stream and begin filtering. My favorite method, the Guardian™ Purifier, does a fast and efficient job of pumping water as well as filtering out viruses, bacteria, protozoa and other sediments with its internal military grade filtration system. Moreover, each time you physically pump the filter it self-cleans so no filter cleaning or scrubbing is needed post-trip!
If you use a water bottle or other reservoir to retrieve your water, or are collecting glacial run-off, consider using a coffee filter to supplement filtration and catch any sediment to minimize potential clogging. Fill a ‘dirty water’ container, place the coffee filter over a ‘clean water’ container and pour the dirty water into the clean bottle.
Preparing Water in a Snowy Environment
Getting potable water from snow requires a similar method, just with some extra steps and a few helpful tricks. The key steps here are selecting your water source, how to melt it, and filtering and sanitizing your water post-melting to make it potable.
1. Source the Snow
Typically, surface-level snow has a higher risk of contamination from hikers or animals, so it’s best to shovel up fresh snow from about one foot below the surface. I recommend MSR’s Operator Backcountry Shovel due to its strong, aggressive serrated blade when cutting through snow (especially if it’s icy). Here’s the first trick: If you happen to be out on a sunny day, I recommend bringing a large black trash bag to assist with melting. The black color of the bag traps the sun’s heat, thus initiating the process of melting the snow. Depending on how long you let the snow sit in the sun, the majority of it will melt and you will just need to filter the water, no stove required.
2. Create a Melting Station
The next thing I do is step up is a melting station that can double as a kitchen (particularly helpful if you’re doing an overnight trip). I really enjoy making a snow bench and snow table, assuming I have enough snow to make them. After setting up my melting station, I like to place a full-length Therm-a-rest® pad like the Z-Lite™ Sol on the bench side to protect my bum from getting cold while I’m melting water. I enjoy my creature comforts!
I also use an additional smaller Therm-a-rest pad, like the Z Seat™, to place under the fuel canister of the stove to ensure that the fuel canister doesn’t get frostbitten. I highly recommend doing this because if the canister gets too cold it burns slower or even dies out, due to the colder external temperatures diminishing the internal pressure of the canister, thus slowing the melting process down significantly.
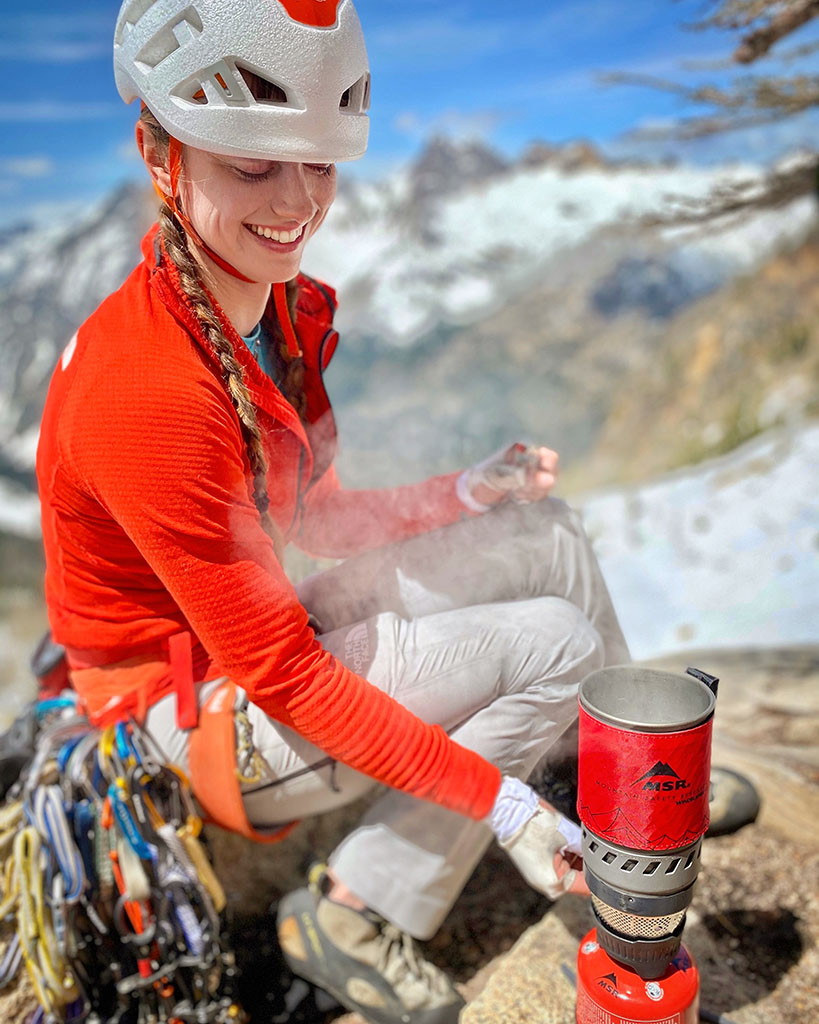
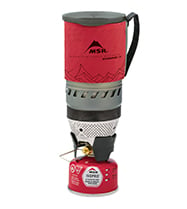
3. Windburner for the Win
After building my snow bench and table, I gather the remaining necessary equipment to finish the setup: my stove, fuel canister, Guardian™ Pump purifier and a long spoon to help break up the snow as it’s melting in the stove. I find this trick of using a spoon helps significantly speed up the melting process and recommend the MSR Alpine™ Long Tool Spoon.
As far as stove preferences, the MSR Windburner® takes home the gold medal in terms of how fast it heats as well as its fuel efficiency. During a trip on Mount Rainier, I melted about 14 liters of snow with one 8 oz. fuel canister. The conditions were not freezing, but it was a typical late June/early July weather day on the mountain. Additionally, I really prefer and highly recommend using the 1.8-liter Accessory Pot to melt the snow. The additional 0.8 liters that the accessory pot provides, in my opinion, helps filter and pump more water faster.
4. My Preferred Clean Water Reservoir
Once the stove and pump are set up, I make sure the bag of snow or shovel holding the fresh snow is close to me so I can easily transport the snow into the pot of the stove. Then I attach the Guardian Pump filter’s clean water outlet to the clean water reservoir. I recommend the burly MSR Dromedary Bags because you can easily screw the pump itself to the lid of the Dromedary—I use the 10L size.
In addition to the snow, I add about an inch of water to the bottom of the pot before igniting my stove. If I added only snow without some water, I could scorch the bottom of my pot. That little bit of water helps break down the snow, in addition to swirling and breaking the chunks of snow down with the Alpine Long Spoon. When all this is set, I am ready to begin melting! Before starting to pump, I make sure that about half the snow melts. I only pump out about 85% of the melted snow (water) that’s in the pot into the reservoir. If 100% of the water is pumped and the pot is empty, again, the pot could get scorched. Continue this method until you’ve melted your desired amount of water.
Alternately, simply allow the water to boil for a few minutes to kill anything in it. It takes more fuel, but you don’t have to pack a filter.
Practice Makes Perfect
Staying hydrated in the alpine is critical to overall function and wellbeing. The methods for creating enough water can seem daunting, but when you practice and refine your technique the process can be fun and fulfilling! Melting water for large groups of people is fun for me because I have practiced and perfected my skills. I have tried and tested different pieces of equipment, and now have set pieces that consistently help me execute efficiently. Combining the Windburner and the Guardian Purifier makes the melting process quick, easy and effective. I can adventure confidently knowing I can always have the clean and safe water I need.
Related Posts:
- Tips for Your First Alpine Climbing Trip
- Real Food for Mountaineering
- Camping Cookware – 10 Essentials for Your Camp Kitchen
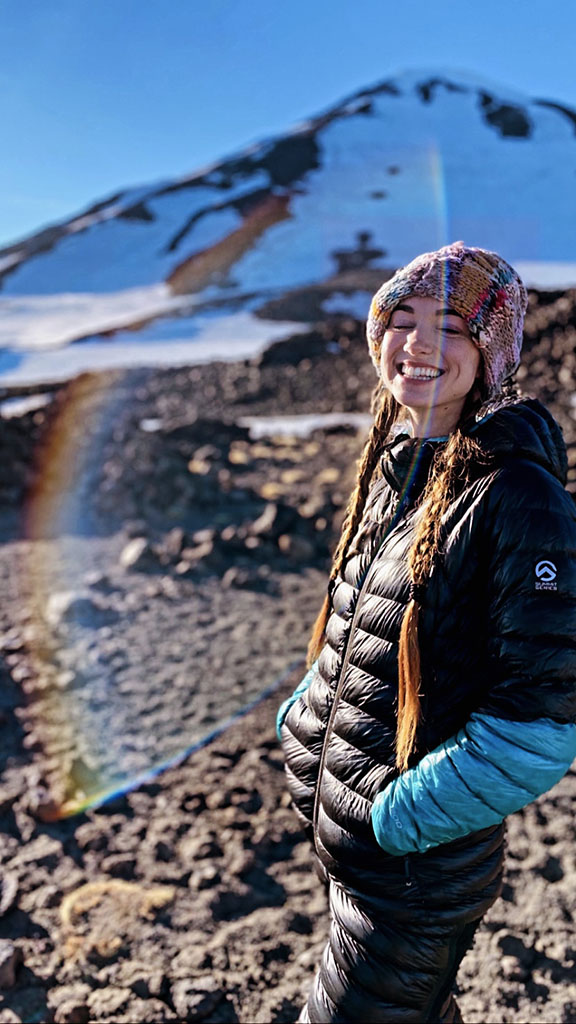
ABOUT THE AUTHOR
Deanna Molenda is an avid mountaineer, climber, skier and route developer, with a number of first ascents already under her belt on routes she developed herself or assisted on. She travels around the United States for climbing, Maple Canyon being a favorite area she frequents. Before the pandemic she would travel to Argentina to tackle mountains above 5000m and climb; she hopes to get back on that track once travel restrictions are lifted. She continues to focus on growing herself with those near and dear to her, becoming the best version of herself, and enjoying every step of The Journey. Follow her on Instagram @deannamolenda.
Updated. Originally Published January 7, 2022.