How to Choose the Best Backpacking Tent
All your outdoor gear is important; that’s why honing a perfect kit tuned to your adventure style is what it’s all about. However, the value of a good backpacking tent can’t be overstated in the unpredictable—and sometimes unforgiving—backcountry.
Whether you’re looking to upgrade your current backpacking tent or are picking out your first, choosing the best tent for your needs is a big decision. There are a lot of factors, features and technology that go into each tent, all with the intention and purpose to best suit a specific range of conditions. Below, we break down the critical aspects of backpacking shelters to help you make an informed decision.
Step 1: Be Honest with Yourself
The question of choosing the best backpacking tent means choosing the right tent–for YOU.
Think about how and where you will use your tent most. Will you be throwing down weekenders relatively close to home with fewer trail miles? Will you be thru-hiking for several months and need the lightest pack possible? Are you a desert dweller, backpacking in a hot and dry climate? Are you a winter warrior in need of warmth and protection from volatile winter conditions?
We understand that no one’s adventure calendar is homogeneous. It’s likely that the best backpacking tent for you needs to be versatile and perform well in a variety of settings and conditions. Don’t worry, quiver killers exist that cover a wide range of uses, but by understanding the features and technologies of a tent you can better match them to your style. And with that, you’ll enjoy safer and more confident adventures that let you focus on the fun part.
Step 2: Assessing the Key Features of a Backpacking Tent
Let’s start with a set of questions based on key tent features to get you thinking about why they matter, and how they fit together, then break each down into more detail.
- Weight & Packed Size: How many ounces will you be carrying? How will it fit in or on your pack with all your other gear?
- Capacity: How many sleepers (two-legged or four) will use the tent?
- Seasonality & Warmth: Three-season or four-season? Are you a fair-weather camper? How likely are high winds, snow loads, and cold temps?
- Livable Space: How much internal and vestibule space do you have to sleep, store gear or wait out foul weather—you know, live?
- Structure Type: Freestanding, semi-freestanding or non-freestanding? Double-wall or single-wall? Do you need the lightest or strongest tent? Where will you pitch it?
- Materials: What are the poles made out of? What fabrics are used, how heavy are they, and how durable are they?
Weight & Packed Size
Backpacking tents are lightweight by necessity. But within this categorization of light, they come in a range of weights. Let’s just say the range is Light to Ultralight. When assessing the weight of a backpacking tent, you’ll encounter two primary listed weight metrics: Minimum Weight and Packaged Weight.
Minimum Weight
Minimum weight refers to the bare essentials: rainfly, body and poles. It is an informative spec when looked at in context. However, if you were to purchase a FreeLite™ 2 for example, it’s unlikely that its listed minimum weight of 2 lb 8 oz is what you’d be putting in your pack. Typically, you’d add common things like stakes, a ground cloth and guy lines to arrive at your actual trail weight.
Packaged Weight
Packaged weight is the total of all the components in the package. In addition to the rainfly, body and poles, the stakes, stuff sack and instructions are factored in. Some tents, like our Elixir Series, include a footprint; most do not. If you intend to carry a footprint, be sure to add its weight to the packaged weight for a more accurate number.
Cost per Ounce
When buying a tent, perhaps the very first info you compare between models is the price. Always go back to Step 1. Be honest about how much weight you are willing to carry. Be honest about how much you are willing to spend to carry less. Generally, the lighter a backpacking tent becomes, the pricier it gets. Maybe carrying a few extra ounces all summer is fine if you’re on a budget.
Packed Size
Weight is only one metric that affects your pack. The other key metric is the packed size.
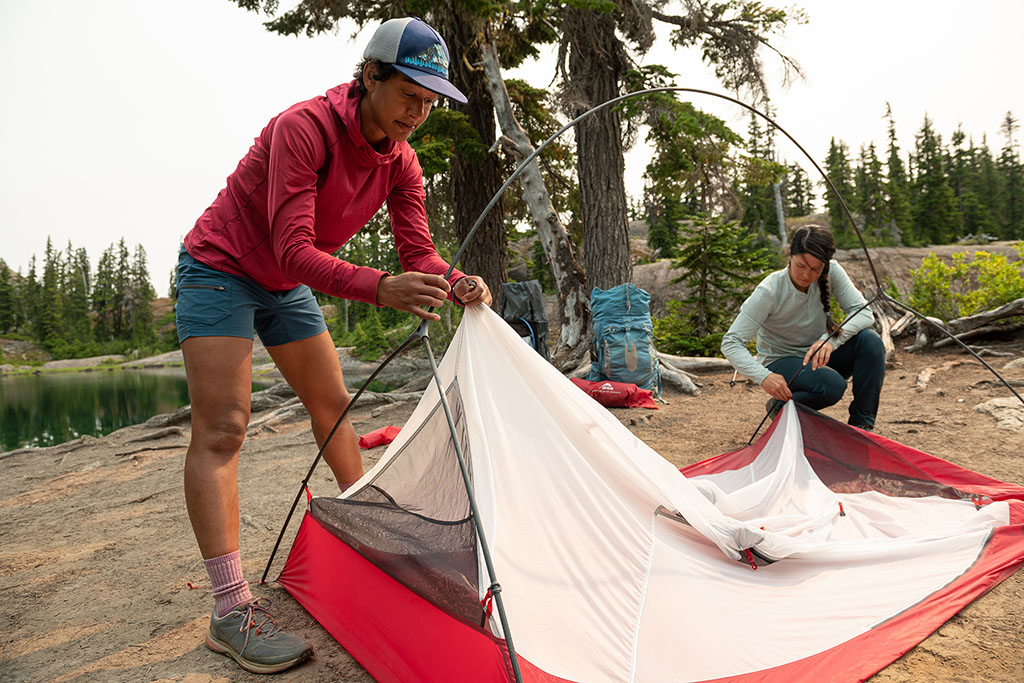
Packed size gives you a relative idea of how much space the tent will take up in your backpack. Again, be sure to account for any potential add-ons like a footprint when analyzing this number. Tents are one of the bulkiest items that you carry into the backcountry. A common strategy for making them easier to carry is splitting up the components between group members. You take the fly and the poles, and your partner takes the stakes and the body—or something like that.
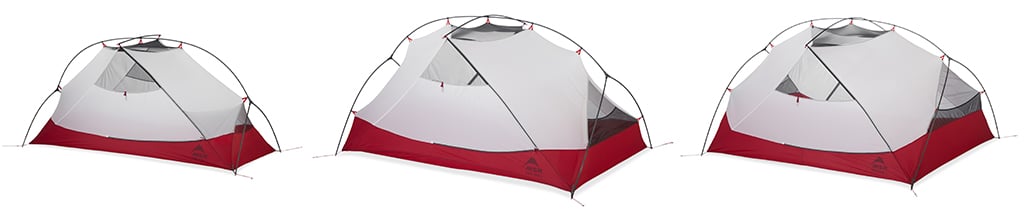
Capacity
Backpacking tents generally come in 1- to 4-person models. The numbers in tent names denote their capacity. For example, the FreeLite™ 3 is a 3-person tent.
To determine which size is best for you, go back to Step 1: Be honest with yourself! If you expect significant solo use out of a tent, then a 1-person tent is a strong idea. They are lighter, more compact and still suited to withstand plenty of use.
Alternatively, a common strategy is to size up by one (a 2-person tent for solo endeavors, or a 3-person for a couple). Some people like having that extra livable space for what is usually a small weight penalty. Having room to store gear and get organized can mean a lot when you’re living off what you can carry in a pack. We find this strategy most commonly with groups of two. When you can distribute the weight of a 3-person tent between two people, the extra ounces seem well worth it when you have ample room to get organized, rest or wait out a storm.
Of course, more room in a tent means there’s more space to heat up if the temperatures drop. This brings us to seasonality and warmth.
Seasonality & Warmth
All our backpacking tents are 3-season tents, but we make solid 4-season options too. Generally, when you type “backpacking tent” into your search engine, you’ll see 3-season tents, with 4-season tents found under terms like “mountaineering” and “winter” tents. 3-season tents tend to be lighter and more versatile. In most places, a 3-season tent is going to be useful from spring through fall, while a 4-season tent has key advantages in harsher conditions and cold climates.
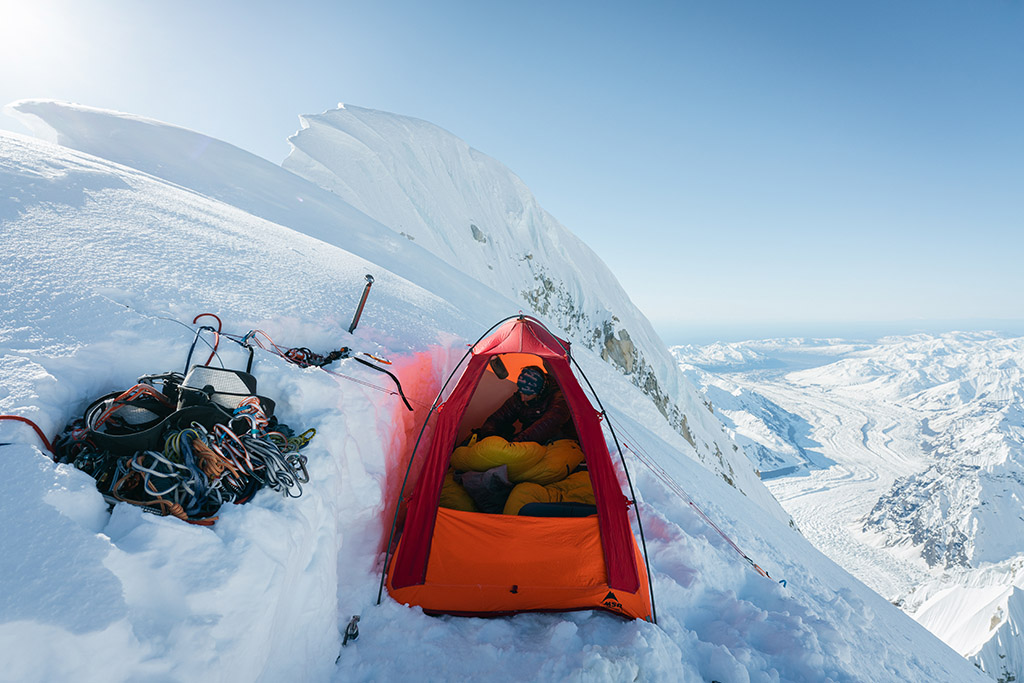
4-season tents are designed to keep snow and cold air out, while also being strong enough to stand up to heavy snow and high winds. This means they are more challenging to ventilate, making internal moisture management difficult, and they typically weigh more. Single-wall tents like our Advance Pro™ 2 are yet another variety of 4-season tent. Rather than a fly and body, they have a single, solid waterproof/breathable wall. While these help solve the weight problem, it complicates ventilation. Bottom line: If you need a four-season tent, you probably know it. For everyone else, a 3-season tent is a far more versatile choice.

Living Space & Features
A key question when choosing a backpacking tent is, “How livable is the tent?” Of course, the scale of livability is subjective, and the answer will depend on what you need to be comfortable.
To cut weight, backpacking tents give up significant internal space compared to frontcountry models. Key metrics to look at are tent volume, floor area, vestibule area and interior peak height. Analyzing these specs will give you a spatial understanding of a tent.
If possible, it’s a good idea to set up a tent before you purchase it. Lay inside and get a feel for what it might be like to live in it. And remember that not all tents with the same floor dimensions are created equal. Look for tents with steep (more vertical) sidewalls so you can sit close to a wall without being hunched over. All else being equal, tents that slant in aggressively rob you of valuable space that steep walls maximize with little weight difference. Get a sense of your storage area, vestibule coverage, number of doors and available gear pockets as well. Check zippers for tight spots when pitched and assess how complicated the tent is to set up. Ease of use is a big livability factor.
Structure Type
Structure type refers to whether or not a tent is freestanding, semi-freestanding or non-freestanding. It also often refers to whether or not the tent is double-wall, meaning two layers of fabric (usually the mesh body and the waterproof fly, and the most common design for three-season tents) or single-wall (one fabric layer, often with vents for airflow; mostly found in mountaineering and tarp-style shelters). Here’s a rundown of definitions and which category each MSR backpacking tent is in.
Freestanding
The poles alone support the structure of the tent—it doesn’t need any guy lines or staked-out tension to achieve its pitch. That said, staking out a freestanding tent and adding support with guy lines is always a good idea since you can pull it tight, get more room inside, and not worry about your tent blowing away while you’re gone. All freestanding MSR tents are double-wall.
Freestanding MSR backpacking tents:
Semi-Freestanding
Relies on both the pole structure and staked-out tension points or guy lines to achieve its pitch. All semi-freestanding MSR tents are double-wall.
Semi-freestanding MSR backcountry tents:
Non-Freestanding Tarp Shelters
Built to offer the lightest protection possible, tarp shelters are made with a single wall of fabric, and a floor may or may not be included. They require an accessory pole or trekking poles and staked-out guy lines to be pitched. Some can be paired together to create a non-freestanding double-wall shelter that has a mesh body and a solid fly (see the Note below). They are generally best in fair weather and warm temps, but the Front Range Tarp, with its great coverage and inherent strength, is just as at home in the Alaskan Range as it is in Rocky Mountain National Park in July.
MSR tarp shelters:
- Front Range™ 4 Person Tarp
- Thru-Hiker Mesh House Series*
- Thru-Hiker 70 Wing and 100 Wing Shelters*
- Rendezvous™ Sun Shield 120 and 200 Shelters
*Note: As the name suggests, the Thru-Hiker Mesh House shelters are essentially tent bodies, sold without a rainfly. They pair with the Thru-Hiker 70 Wing and 100 Wing Shelters for weather protection. Used together they would be a double-wall system, however, they can be used independently of one another as ultralight options which is why we classify the Thru-Hiker Mesh House series, the 70 Wing and the 100 Wing Shelters as single-wall.
Tent Fabrics
Understanding tent fabrics is key to choosing the best backpacking tent (read more in our in-depth tent fabrics blog). Tents are built mostly of fabrics after all. There are two key aspects when comparing tent fabrics: denier and waterproof coating.
Denier
Let’s dive in with an example. With a minimum weight of 2 lb 14 oz (1.30 kg), our bestselling Hubba Hubba™ 2 occupies the grey area between light and ultralight. Let’s take a look at the fabric:
- Rainfly: 20D ripstop nylon
- Floor: 20D ripstop nylon
- Mesh: 10D polyester
The “D” stands for denier. Denier indicates the thickness of the fibers in the fabric. It’s a unit of density based on the length and weight of a yarn or fiber. A single strand of silk is considered 1 denier. The denser 20-denier ripstop nylon of the Hubba Hubba 2 is heavier and bulkier than some, but it’s also more durable. Very often, choosing a backpacking tent based on its weight and bulk is also choosing it based on its expected durability.
The fabrics are a key feature that make the Hubba Hubba 2 highly versatile and one of the best all-around tents on the market. It’s designed to stand up to three-season elements and the rigors of backpacking season after season.
When shopping for backpacking tents—especially online—it’s a lot of looking at specs. In this format, it can be difficult to become attuned to the subtleties that make each model right, or not, for what you need. Pairing the Minimum Weight, Packaged Weight and Packed Size with denier information gives you a more informed evaluation from a webpage.
Denier also provides insight into the cost of a tent. Advanced fabrics cost more, which is why specialist ultralight tents will typically be more expensive than heavier backpacking tents.
Waterproofness
A backpacking tent’s waterproofing is typically achieved in two ways: coating the rainfly and sealing the seams. Not all waterproof coatings are the same and not all seams are sealed the same way. When selecting a backpacking tent, understanding what goes into its waterproofness will provide a more accurate perspective on its performance.
Waterproof Coatings
Waterproof tent coatings are a layer of polyurethane or silicone applied to the fabrics. Essentially, the tent’s fabrics are laid flat and sent through a long conveyor belt while the coating is sprayed on. When checking out tent specs you will see the coating rated by a number.
Example: The fabric spec on the Front Range™ 4 Person Ultralight Tarp Shelter is listed as 20D ripstop nylon 1200mm Xtreme Shield™ polyurethane & silicone.
But what does that “1200mm” mean? It can be easy to assume this is a measurement of the coating’s thickness, similar to denier, but really it’s a way to measure the literal water resistance.
The coatings are subjected to a hydrostatic head test, in which a water column is forced against the fabric until three drops pass through. In the case of the Front Range 4, it means the fabric can withstand water pressure of 1200mm before it leaks.
A higher rating can withstand more water pressure, but that doesn’t mean higher waterproof ratings are universally better. To achieve higher ratings, more coating has to be applied. Thicker coatings are heavier and make a fabric stiffer, impacting their overall size and packability. Thicker coatings do, however, increase a tent’s durability and abrasion resistance. This is why tent floors typically have a thicker coating than the rainfly.
Hydrolysis
One critical thing to understand is that coatings generally adhere better to thicker fabrics, meaning coatings last longer on higher-denier tents.
One common issue across the backpacking tent industry is the breaking down of a tent’s waterproof coating. The combination of time, moisture, heat and humidity cause the coating to chemically break down, become sticky and render a tent not waterproof and unusable. This natural process is called hydrolysis.
Loosely speaking, the coating on a tent with a higher denier (such as an Elixir 2, rainfly: 68D ripstop polyester 1500mm polyurethane) will last longer than a lighter tent (such as the FreeLite 2, rainfly: 15D ripstop nylon 1200mm DuraShield polyurethane & silicone).
Another important aspect affecting the longevity of a tent’s coating is how the tent is cared for. Storing a tent wet, or damp at all, will significantly increase the chance of the coating breaking down. Always make sure your tent is dry before storing it, and if possible, store the tent loose so it can breathe rather than in its small nylon stuff sack (much like a sleeping bag storage stuff sack).
Seam Taping
Many backpacking tents use seam tape, which is quite effective at keeping water from penetrating stitch holes. However, it suffers from the same potential longevity issues as the coatings. Seam tape tends to flake and lose its waterproof properties like coatings do with hydrolysis.
Some of our tents feature Xtreme Shield™ technology to improve longevity and durability. Rather than taping, Xtreme Shield finishes tent seams with precise lap-felled stitching using a poly-cotton blend thread. When exposed to water, the thread absorbs it, expands and seals off the seam. For additional security, a seam sealant is applied to each tent off the line. The application of seam sealant can easily be done at home to maintain a tent’s performance over time. This ensures a much longer usable life than relying on seam tape and can also be used effectively on tents whose seam tape has peeled away.
Step 3: Choosing a Backpacking Tent
With a solid understanding of the key features of backpacking tents and how they affect performance, it becomes easier to analyze feature lists, scan spec sheets and understand the differences between tent models.
The following is our lineup of backpacking tents. For our complete tent lineup, check out The Ultimate Guide to MSR Tents.
Models
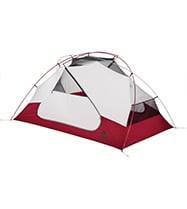
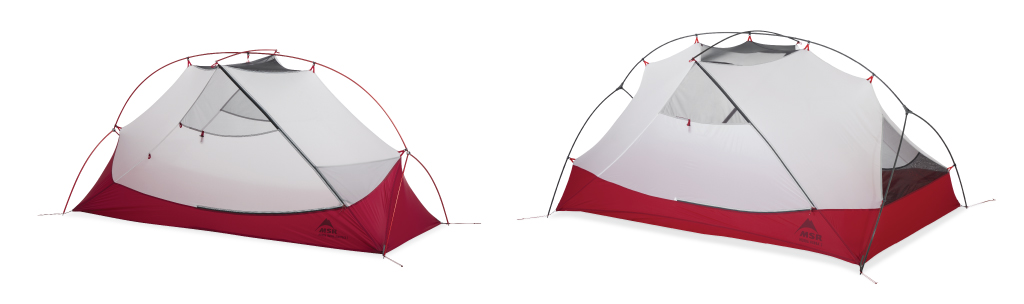
Hubba Hubba™ 1, 2, 3
If you have room for just one tent in your busy life (or condo), and you like to do it all, the Hubba Hubba should be at the top of your list. Our Hubba Series tents are legendary for their all-round performance, taking on everything from high-mileage backpacks to car camping adventures. They feature the added versatility of a fabric canopy for more privacy and added warmth in shoulder-season conditions, a setup-friendly, freestanding design and tougher fabrics that will handle the frequent use typical for a tent so versatile. If you love this tent and need even more room, add a Gear Shed for a giant boost in covered space for added gear.
Hubba Hubba™ Bikepack 1, 2
Though technically not a ‘backpacking’ tent, the Hubba Hubba Bikepack is still a viable choice for backpackers who want poles that fold up even shorter than conventional tent poles. Designed to fit on the handlebars of a bike, the packed size of the Hubba BP is quite condensed. With slightly different features than the ‘standard’ Hubba Hubba including a built-in clothesline, it’s worth a look, especially if you participate in both bikepacking and backpacking.
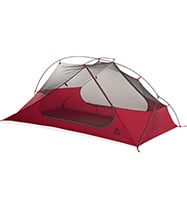
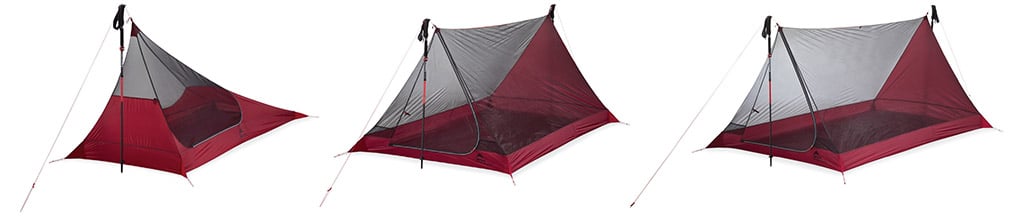
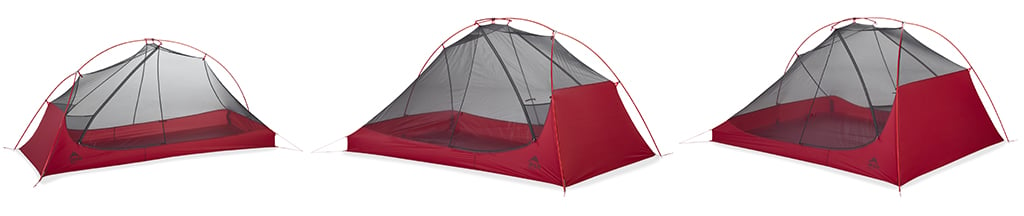 FreeLite™ 1, 2, 3
If you like the idea of a smaller, ultralight tent, check out the ultralight FreeLite Series. DAC NFL aluminum poles and slightly tougher fabrics add durability while still keeping things ultralight. The semi-freestanding Freelite tents also feature extra room inside, plus added vestibule space so you can make the most of it when waiting out a summer storm or escaping a cloud of mosquitoes.
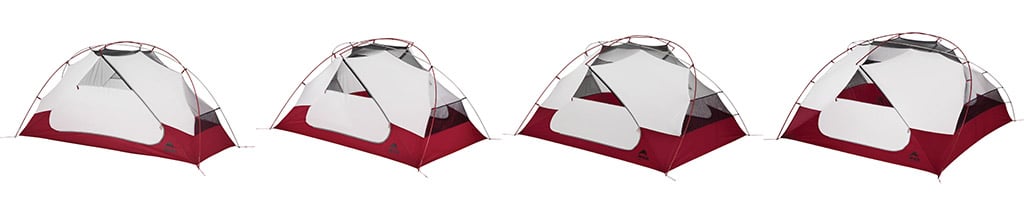
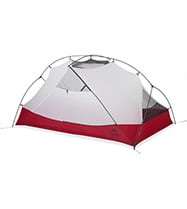
Elixir™ 1, 2, 3, 4
Are shorter backpacks with more creature comforts your thing, or you do a mix of backpacking and car camping? Maybe you’d rather sacrifice some weight savings for the added durability and space needed for spending a lot of time in your tent. The Elixir tents deliver just that with a little more of everything: space, protection and durability. The Elixirs are built with reliable 70D nylon floors, while a fabric canopy adds warmth and privacy with just enough mesh for great ventilation and visibility when not using the rainfly. Just like the Hubba Hubba tents, the Gear Shed works with the Elixir 1, 2 and 3 tents, adding nearly 27 square feet of added vestibule coverage for gear, bikes and more.
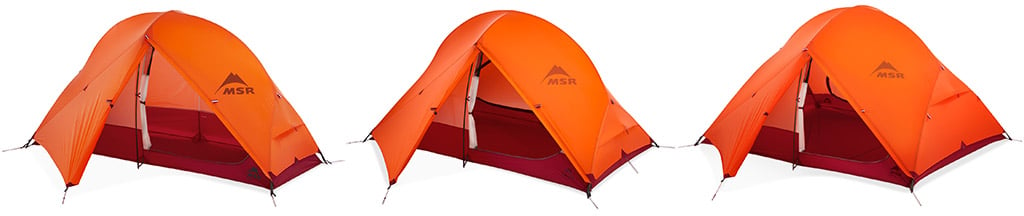
Access™ 1, 2, 3
Technically a winter shelter, the Access tents strike a critical balance between weather protection and lightweight packability for high-mileage ski tours, snowshoeing and weekend winter camping. While still plenty robust for high winds and snow loads, their intended use is ratcheted back slightly to camping in relatively protected areas at or below treeline. This focused design intention allowed us to shave some weight, keeping your pack lighter so you can enjoy turns with a full pack a bit more. Limited mesh in the tent canopy retains warmth inside and works with a vented fly to maintain excellent ventilation.
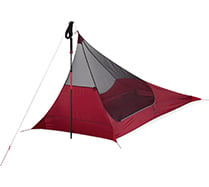
Thru-Hiker Mesh House 1, 2, 3
Weighing as little as 10 oz., the Thru-Hiker Mesh House Series shelters add essential bug protection for thru-hikers committed to using ultralight tarps for weather protection. Aside from the zipper, there’s zero hardware and they pitch with trekking poles to save even more weight. A bathtub floor keeps out mud and moisture and there’s enough internal space for comfortable living months at a time. Of course, the sun doesn’t shine every day, so pair a Thu-Hiker Mesh House with a Thru-Hiker Wing (below) for minimalist, overhead protection when the skies don’t cooperate with your plans.
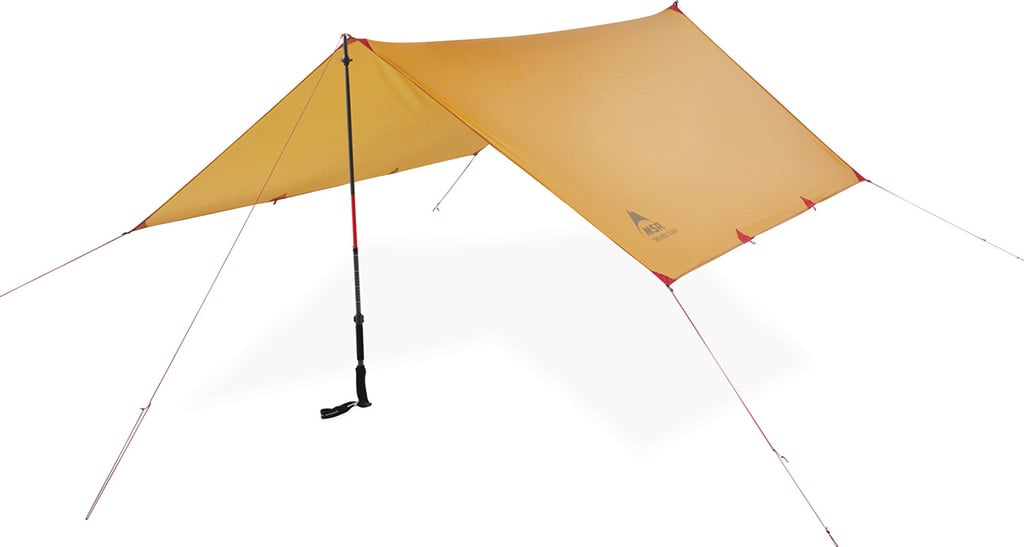
Thru-Hiker Wing 70/100
Protection for four at just over a pound? That’s what the Thru-Hiker Wings provide, packing ultra-small and ultralight for anyone committed to small packs, low weight and big trail days. Gossamer 20D nylon features our finest Xtreme Shield coating for maximum weatherproof reliability and they pitch with just a pair of trekking poles to keep things simple. Alternatively, pair them with a Thru-Hiker Mesh House 2 or 3 to create minimalist protection from rain, wind and bugs on the AT, PCT, CDT or whatever “T” you’re dreaming of.
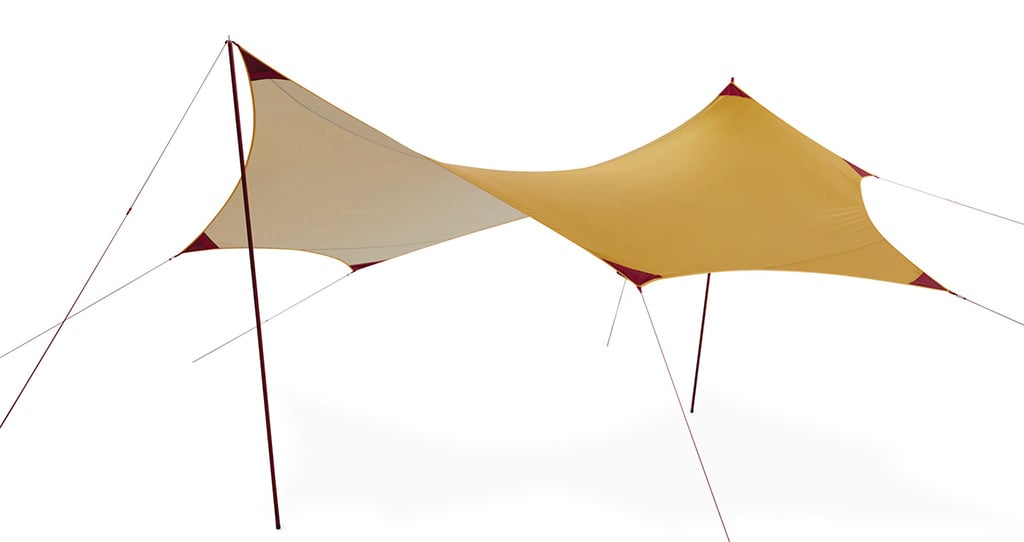
Rendezvous Sunshield 120 & 200
The most-asked question when we deploy our sun and weather-shielding Rendezvous™ Sun Shield tarps is, “Where’d you get that?” Their relatively giant size seems anything but minimalist, but they become essential basecamp tools for anyone who has one, serving up protection that can be viewed as minimalist or decadent. It just depends on how you use them.
At just 3 lb 4 oz, the 120 makes a minimalist, backcountry-friendly refuge for up to four. Alternately, bring it along to create a covered cooking area or sunshade; on a short backpack, you’ll be getting decadent vibes all day long.
The 200 easily covers a full-size picnic table with its 200 square feet of protection and is minimalist only relative to the enormous coverage it provides. At six pounds, its lightweight fabric packs efficiently in a car, van or riverboat and is just what you need to protect you and a small army of friends from sun and rain, anywhere you like.
They feature polyurethane and silicone-coated nylon fabric for reliable protection and come with two poles for setup. You can add more poles to increase the standing height area or create any number of configurations that suit your needs. And a pro tip: follow the simple directions for a much faster setup.
Final Thoughts
Even for gearheads, shopping for tents can be dizzying. With so many worthy options, it can be mind-numbing to sift through the specs, the photos, the marketing materials and the hype to arrive at a tent that is best for you. We hope this information gives you the honest framework you need to pick the backpacking tent that will serve you best on your adventures. As always, let us know if you have any questions.
Related Posts:
- The Ultimate Guide to MSR Tents
- 3-Season vs. 4-Season Tent: Which is Right for You?
- Designing MSR Tents — What We Stand For
Updated. Originally Published August 24, 2021.