A Guide to Thru-Hiking New Zealand’s Te Araroa Trail
Written by: McKenzie Barney
New Zealand’s Te Araroa Trail is the world’s newest long-distance thru-hike. Stretching 3,000 km from Cape Reinga, at the top of the North Island, to Bluff, at the bottom of the South Island, the TA is defined by its challenging terrain, unpredictable weather and navigational obstacles, and just may be the toughest of the world’s major thru-hikes. For me, that was exactly its allure.
Now, planning a thru-hike is no easy task, whether or not you’ve completed one. The extent of my backpacking before the TA was short multi-day trips. Six months of hiking seemed absolutely intimidating, which is why it felt right. Now, my crew is out here and we’re sending this dispatch from the trail.
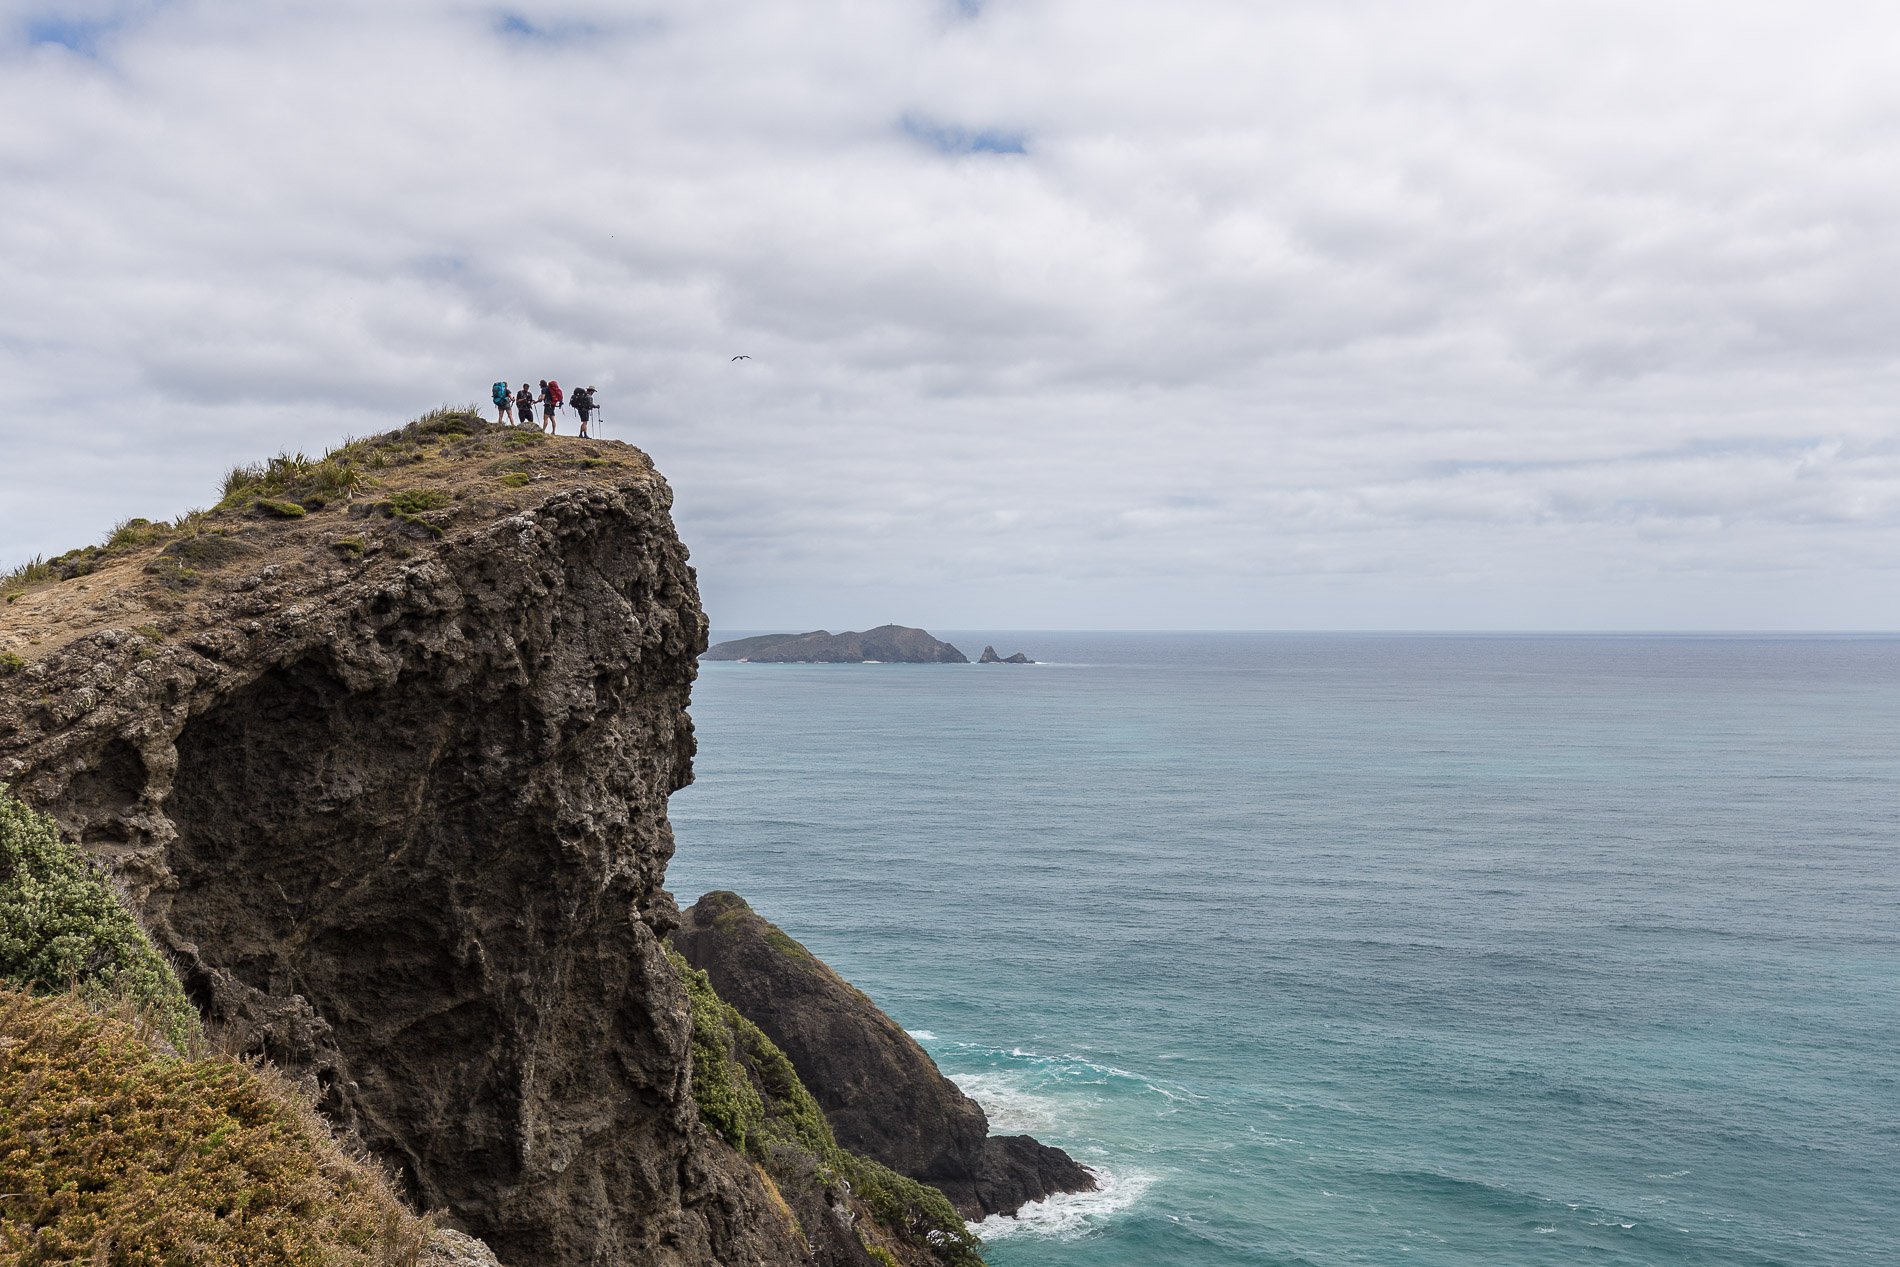
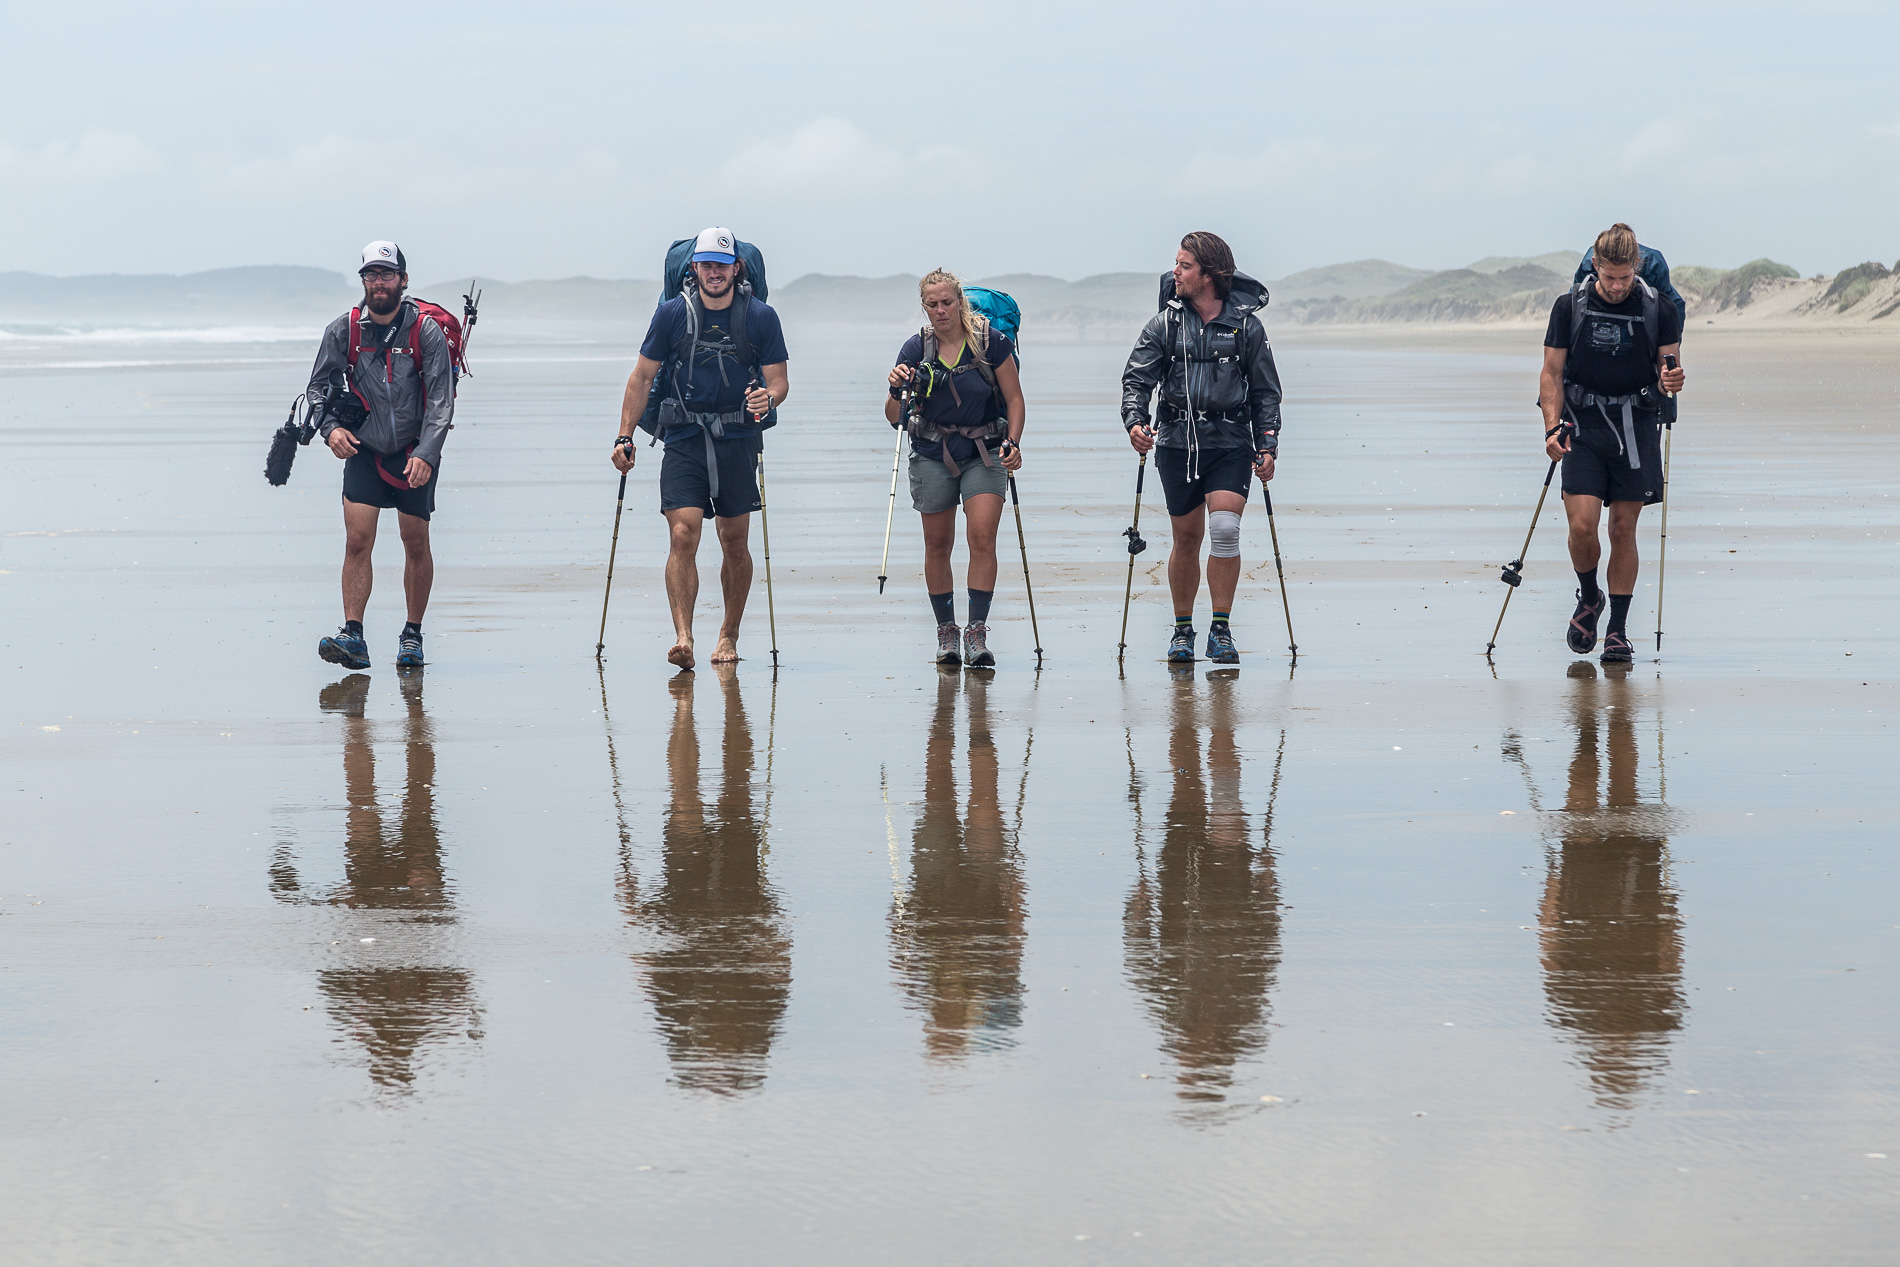
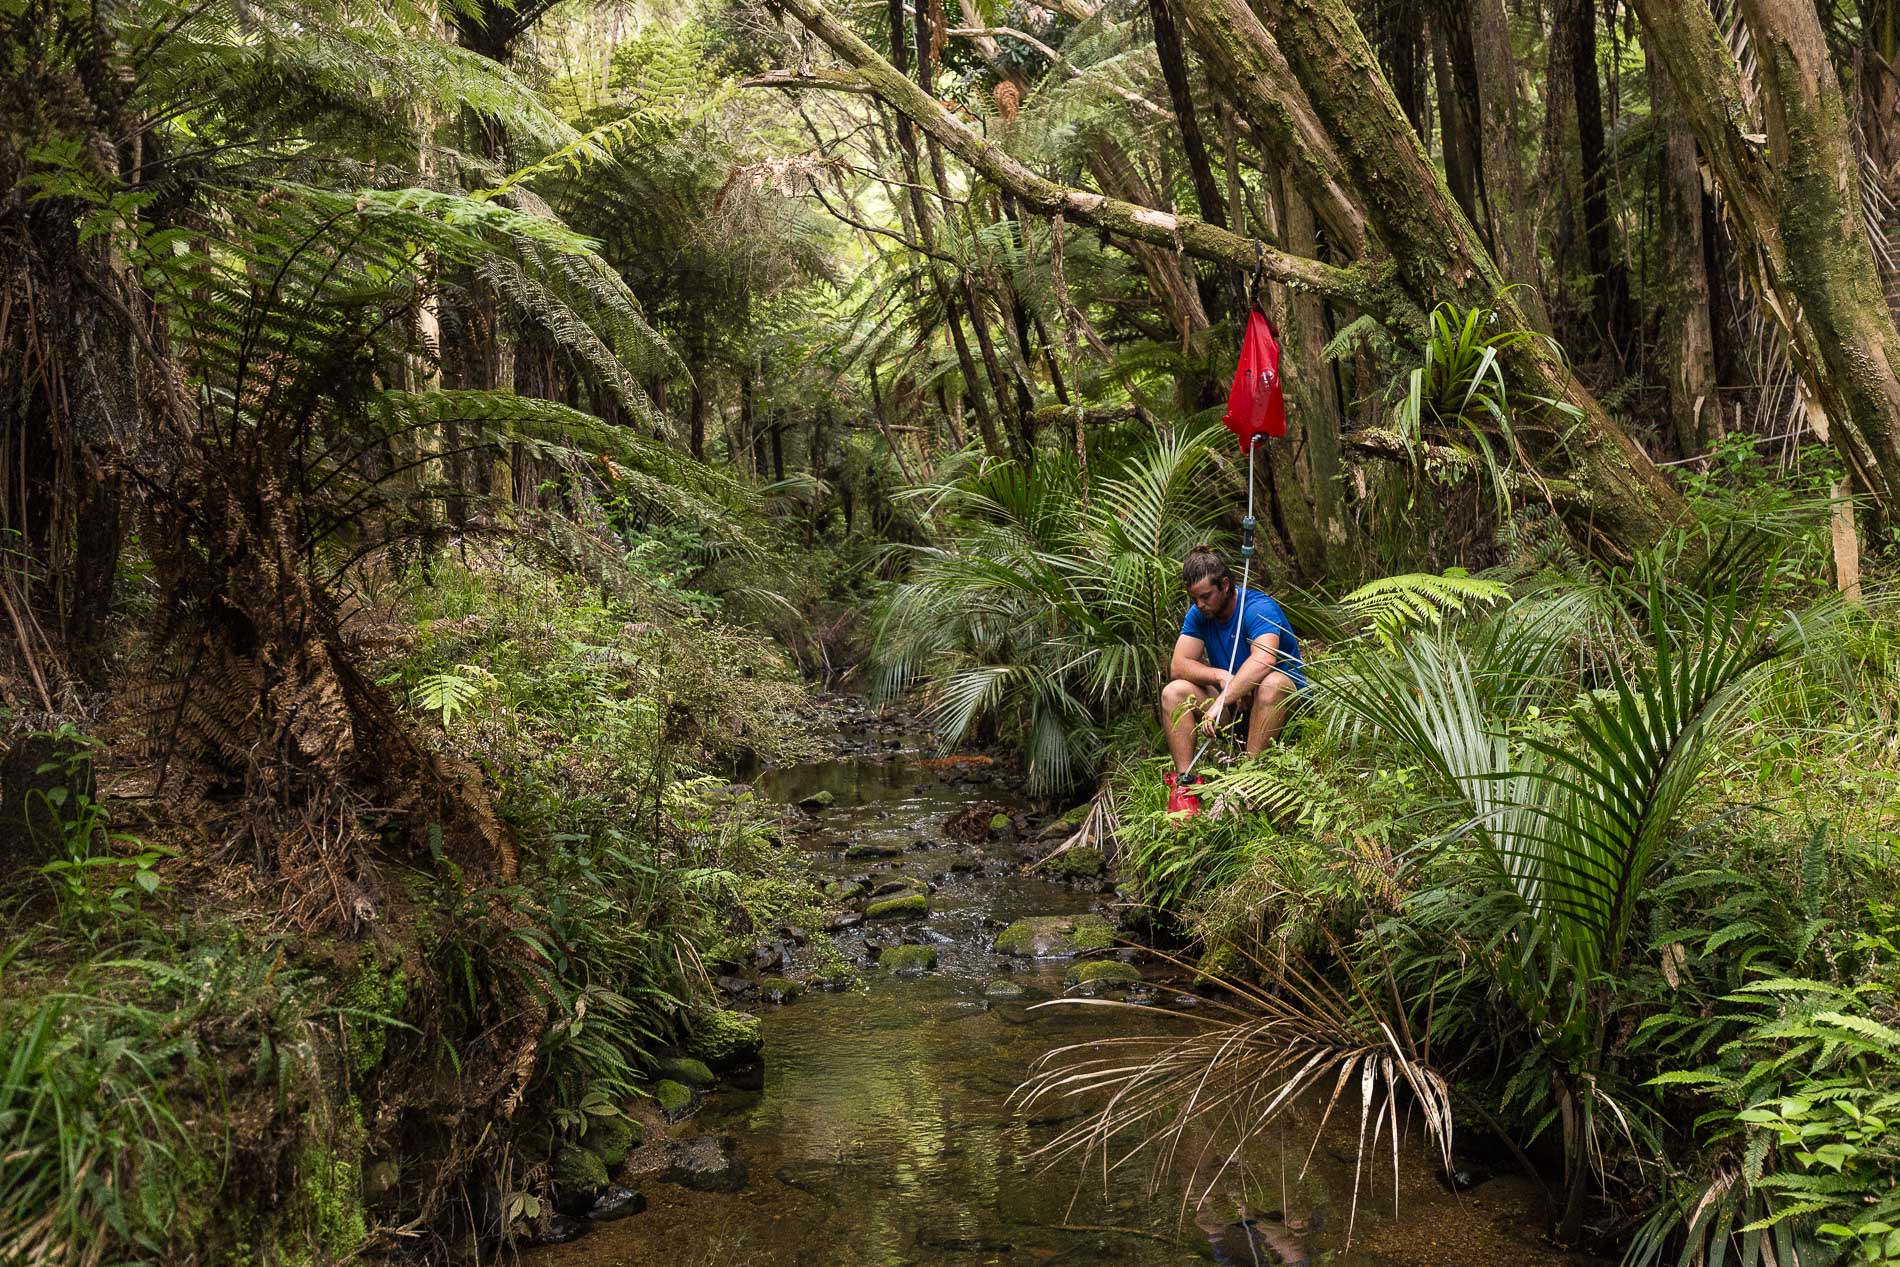
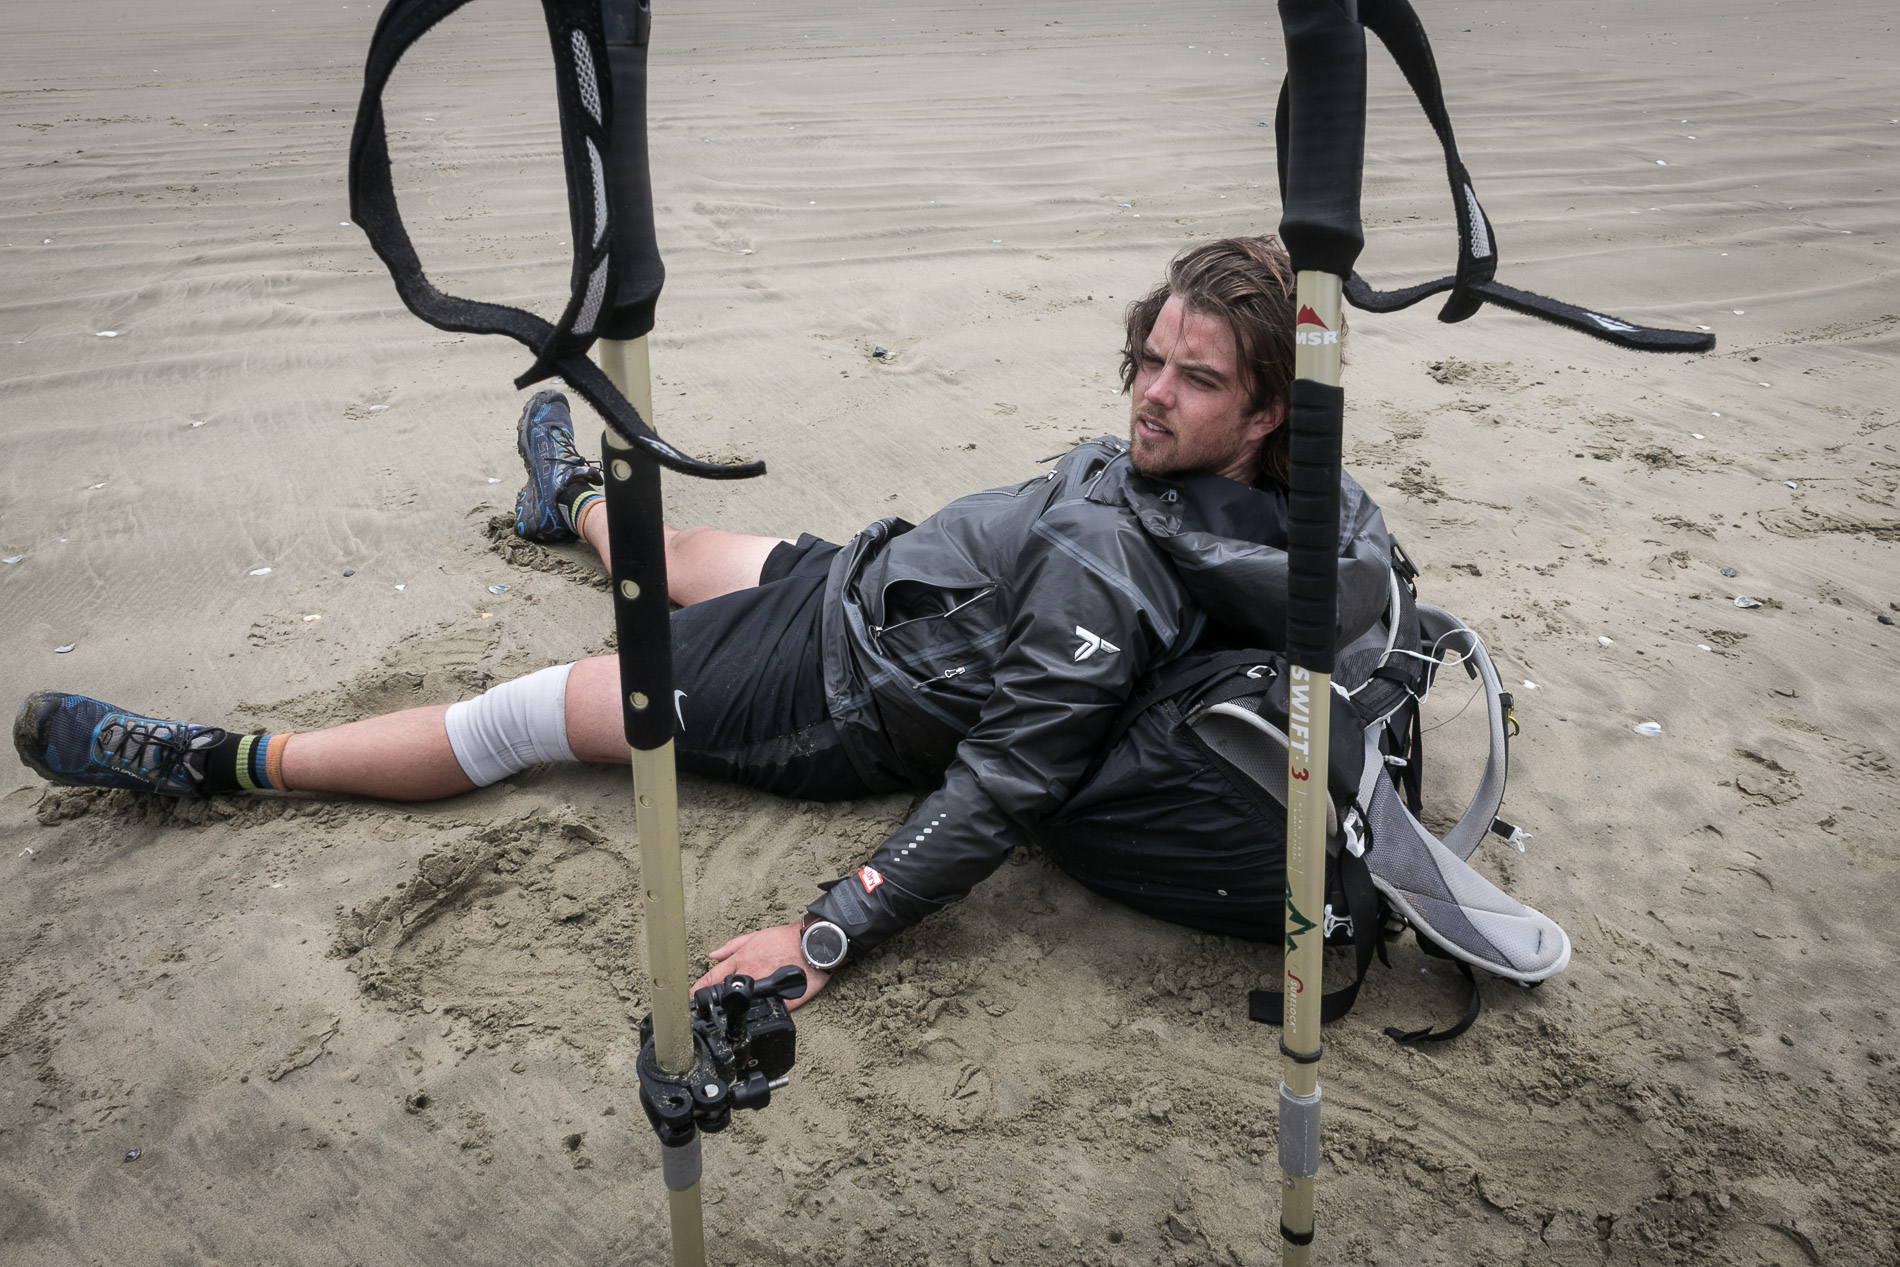
The Te Araroa is unique in its rapidly changing landscapes. Starting in the North Island, the trail begins where the Tasman Sea and Pacific Ocean meet. Contrary to the cliché “a walk on the beach,” the first stretch is no easy task—the sand packs like concrete, and limited coverage from the blazing New Zealand sun provides a harsh welcome to all TA hikers. Immediately after the ocean, the trail enters the thick, steep, and infamously challenging Herekino and Raetaea Forests. These forests challenge hikers with gnarly roots, up-to-your knees mud and unforgiving trailside cliffs. According to TA legend, if you make it past these forests in once piece, the odds of completing the entire trail are in your favor.
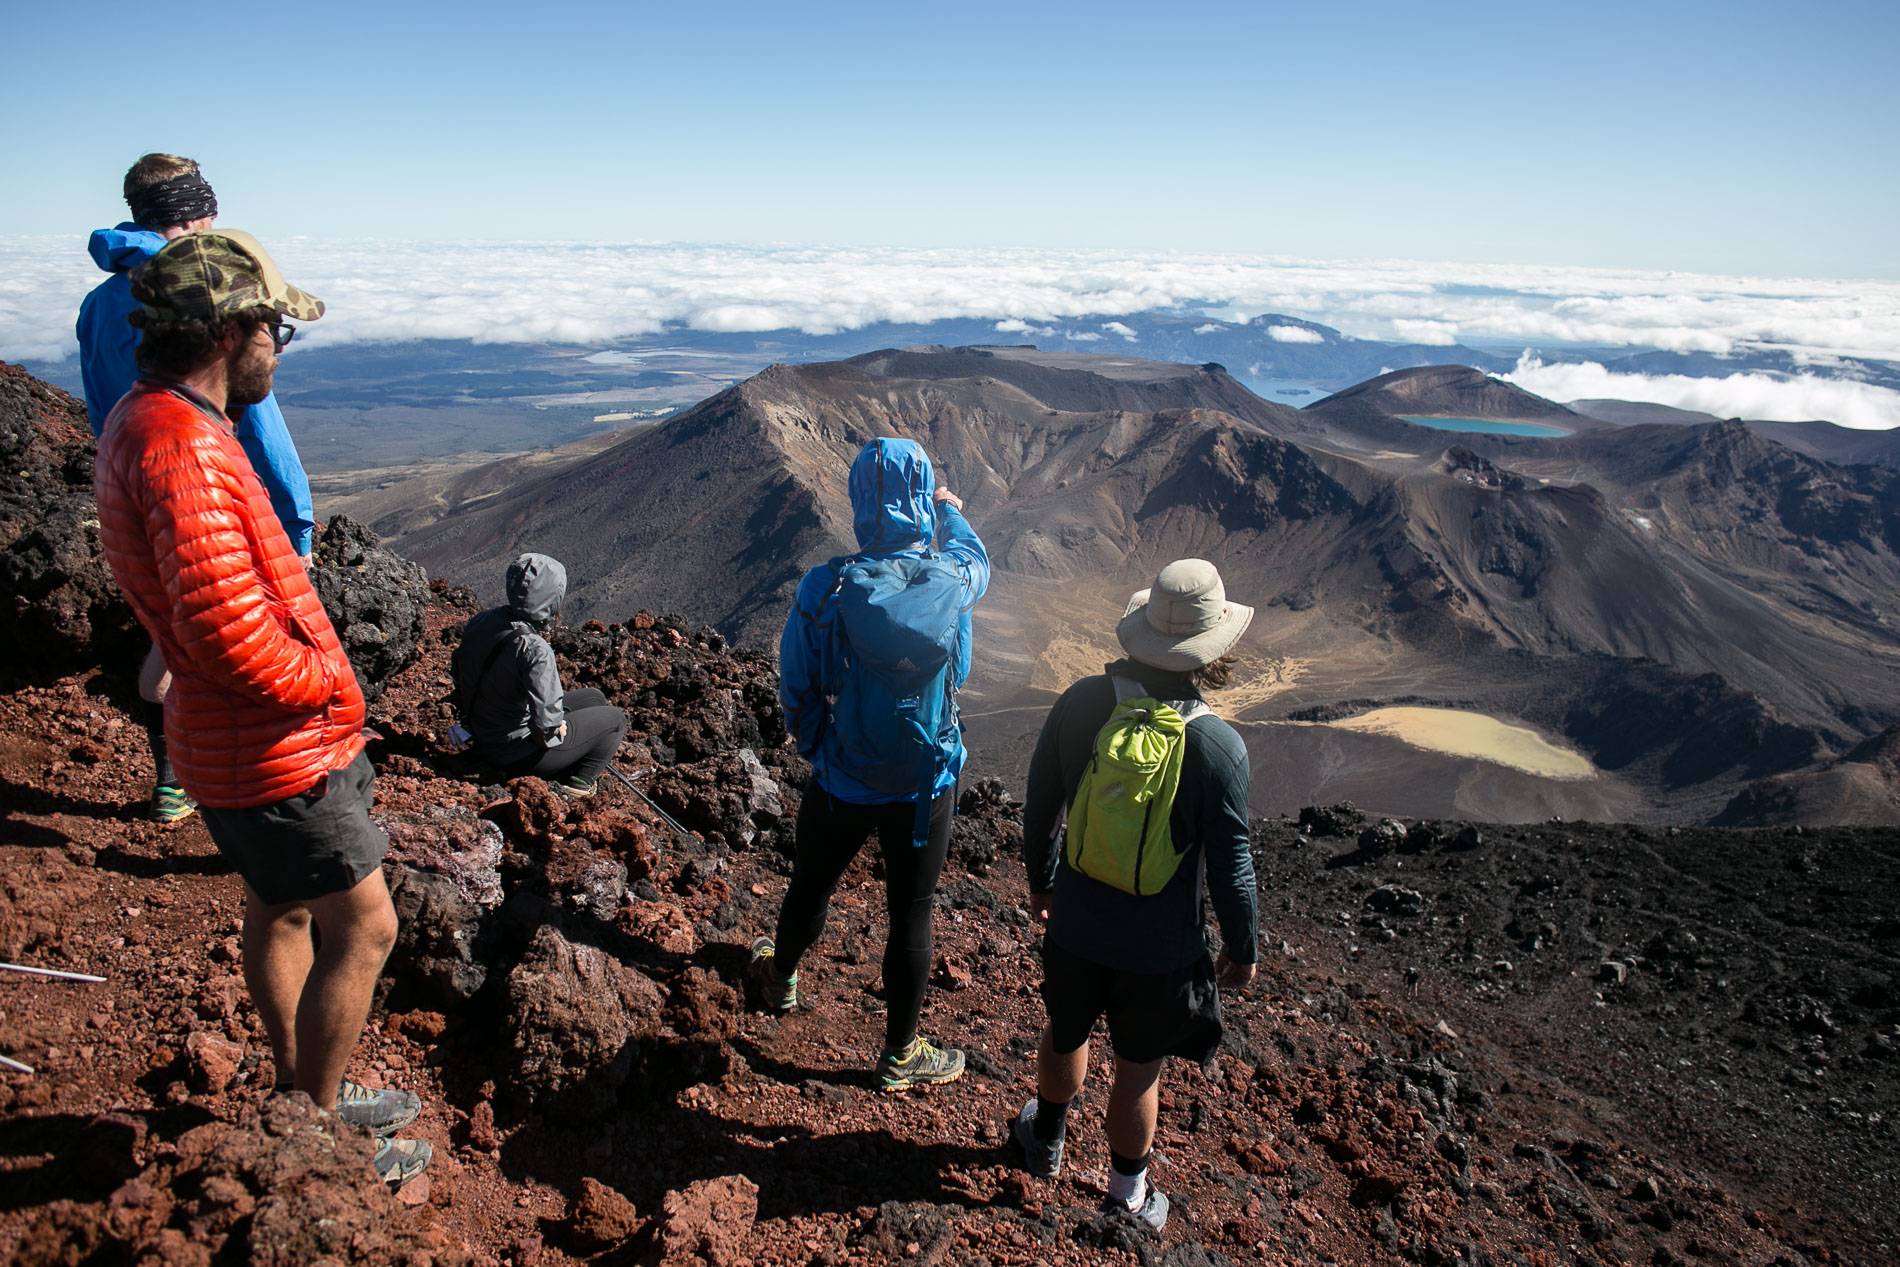
After these beginning stages of the Northland, the TA travels through turbulent farmland, rugged mountains, and lush rainforests; sometimes crossing all of these landscapes in one day. You’ll find yourself knee-deep fording rivers, hiking alongside sailboats in a bright blue bay, climbing volcanoes made famous by Lord of the Rings, and who can forget the occasional, and much-dreaded, road walking. That’s just the North Island.
The trail in the South Island runs down the spine of the Southern Alps, sending hikers along rugged, high-elevation ridgeline trails and scrambles. It crosses rivers up to three kilometers wide, traces alpine lakes and, if weather is with you, presents you with night skies eliciting the famous Southern lights and landscapes that are far beyond our wildest imagination. The unpredictable weather doesn’t help with the trail conditions. Rain, heat, wind, and possibly snow all threaten a TA hiker’s journey, but it’s up to you how you let it affect your hike.
The AT, PCT, CDT, and Camino are all world-renown, but, here in NZ, the extremely unpredictable weather and variety of challenging terrain made the TA the perfect storm of a trail for my crew. Since the TA is so new, it has attracted a lot of the thru-hiking community. We have hiked alongside trail veterans who recently completed the AT or PCT, and when asked about the level of difficulty relative to what we’re facing out here, they all answer that they’ve never been around so many physical terrain challenges and “sketchy” rock falls or cliff drops on their other hikes. Though the jury is still out as to which thru-hike is the toughest, according to these vets, New Zealand takes the cake.
As a relatively new trail, the Te Araroa is still in flux. It’s rough, raw, and undeveloped in a lot of parts. But that’s why we’re here. We are some of the first thousand people to complete this trail. If you’re itching for a life-changing international experience where locals value giving back to this world and the land we inhabit, then New Zealand is the place for you. 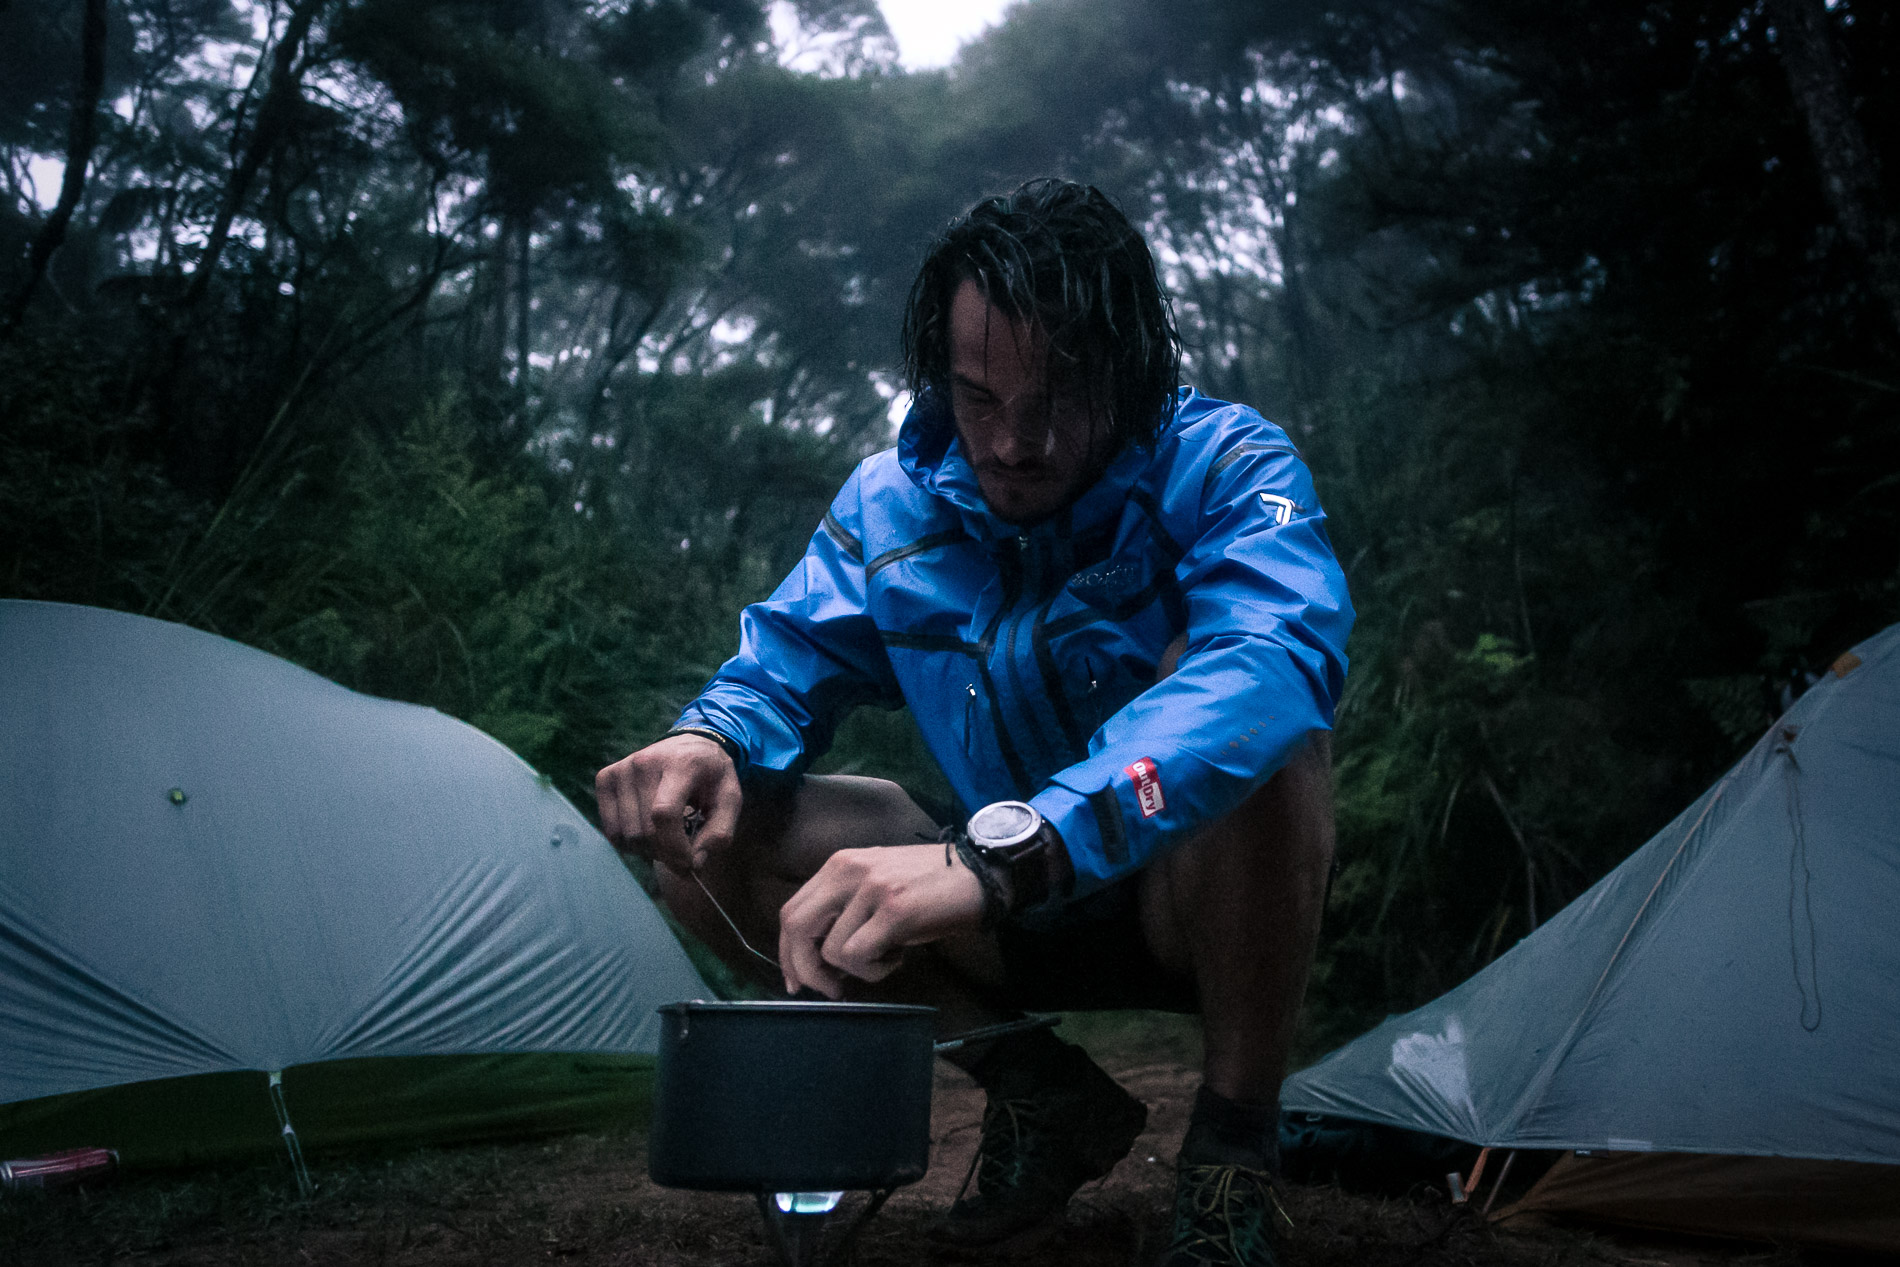
The hiking season:
Most TA hikers choose to go SOBO, or South Bound, based on the weather. Depending on how fast you want to hike the trail—it can be completed in as short as 4 months or as long as 6 months—most start in the beginning of November and arrive in down in Bluff around the end of April.
Traveling in New Zealand:
Our group applied for a variety of Visas that can be applied for on New Zealand’s government site – most received a 12 month Working Holiday Visa. You also could choose to not apply for a Visa and come over as a visitor for 90 days, but you have to show proof of an onward flight out of New Zealand. We all purchased a yearly DOC Hut Pass for around $90 USD that allows us to stay at any DOC hut in New Zealand. This is crucial, especially for the mountain stretches, as we stay in huts as often as possible.
Navigation and communication:
For maps, we use iHike GPS app that works offline. This app is a life-saver, especially in times when we lose the trail markers. Make sure to download all of the TA way points, and download all of the North and South Island maps, otherwise the app won’t be useful. At every resupply city we will also look at the Trail Notes on the TA website for the latest trail updates and suggestions. These Trail Notes will list helpful accommodations and trail angel stops that we would otherwise miss by hiking only with GPS, so we highly recommend checking these out.
Cell phone coverage is prevalent on the North Island since you hit a town every 3-4 days, but very limited on the South Island. We all unlocked our phones in the US so that we could purchase SIM cards here in NZ and communicate with each other on our NZ numbers. The best way to keep in touch with people back home is to hop on wifi in each resupply town at a local café. If you choose Spark as a provider they also have wifi phone booths that allow you up to 2GB of free daily wifi if you’re nearby.
Getting to the trailhead:
When starting the trail, most TA hikers hitch-hike from Keri Keri, the closest town to Cape Reinga. This can be a 5-6 hour ride, so be prepared to find multiple hitches. Hitch-hiking in New Zealand, for the most part, is widely accepted. We have had some of our favorite conversations and met some of the most inspiring people in hitches, so we highly recommend choosing to experience the Kiwi people as opposed to spending money on buses or taxis. As always, use your best judgment.
Drinking water & camping spots:
The Te Araroa Trail Notes lists multiple spots to camp every night, so we usually stick to that for planning out each night’s “home.” When camping in the forest, we always look at our GPS for the closest river so that we can filter endless water for dinner, breakfast, coffee, and the next day’s water supply. In the North Island water is, for the most part, plentiful—you pass a lot of Dairies (combination of market/gas station) where you can buy water along the way; each day you pass streams and rivers; and if all else fails you could knock on a local’s door and ask them to fill up your water (most of the time this leads to an invitation to pitch your tent on their lawn too!). Toward the bottom of the North Island you begin to hit mountain ranges, where there are backcountry huts that have running water. It’s advised to still filter this water. The South Island’s hut system is even more plentiful and developed, but there are less towns and longer stretches in between resupply towns.
Dangers:
Water crossings and weather are the most dangerous elements to have on your radar while hiking the TA.
Fording rivers is nothing to take lightly, especially since the currents move quickly under your feet. If the Trail Notes say to not cross when the river is high, it’s best to respect the advice and walk around. We have forded multiple rivers when the water is at knee-height, but anything above that we would hop off and take the detour. The TA crosses multiple estuaries in the North Island. It’s important to not cross those at high tide, or you can easily be swept out to sea.
When approaching a mountain range stretch, we always check the weather report for any storms that may hit. It’s always safe to bring an extra day of food on each stretch, and in the mountains we sometimes bring 2-3 extra days of food incase we have to wait out a storm in a hut. The exposed mountain faces, high summits, and quick-moving weather can make a beautiful day dangerous in a matter of minutes.
Food, fuel & resupplies
In our next dispatch we’ll take a closer look at how to tackle your food and fuel strategy for months on the trail, as that’s a whole topic in itself.
Gear List:
- MSR PocketRocket stove
- MSR pot
- MSR fuel canister (depending on how long the stretch is we either carry a large or small canister)
- MSR titanium spoon and fork
- MSR AutoFlow gravity filter
- MSR 2L DromLite Bag (I never carry more than 2L, there is almost always a water source somewhere each day to fill up)
- MSR trekking poles (we found these to be a necessity through the TA terrain)
- Tent with rainfly and footprint
- 15 degree sleeping bag
- Sleeping pad
- Bug spray (the sandflies are awful! I used to get a Deet spray but recently a local told me to combine Detol and Baby Oil—that’s been working well and much cheaper)
- Headlamp
- Clothing: hat (the sun is brutal), 2 merino wool t-shirts, 1 pair shorts, 1 pair leggings, 1 puffy down jacket, 1 rain jacket, 3 pairs merino wool socks, 3 pairs merino wool underwear, hiking shoes/boots, sandals, beanie
- Food dry bag: our favorite food items are tortillas, nutella/pb, Bumper Bars, and freeze dried coffee—preferably Jed’s that is ranked in boldness. For freeze dried food, Backcountry Cuisine is local to NZ- you just add boiling water and they make tasty and caloric breakfasts and dinners. Make sure to get the 2 Servings—hiker hunger is a real problem.
- Electronics dry bag: Canon 6D camera, one lens (we like the 24-105mm) and 2-3 batteries per stretch
- Toiletries: toothbrush, toothpaste, contacts and solution, Dr. Bronners soap
- Sunglasses
- Passport, backcountry hut pass
- Cell phone with iHike GPS map app
- Lifeproof FRE power cases (I will carry 2-3 of these packs at a time and switch them out. They’re light, have a full phone charge on them and you’re also able to listen to your music or podcasts and check maps on your phone in the rain with a Lifeproof case)
- printed TA trail notes maps (can be found on official TA website)
All of the preparation, research, and resupply for each stretch can seem like a lot of work, but the second you hit the trail, the TA makes it all worth it. A six-month thru-hike is a monumental goal; the key is breaking it up and focusing on each stretch until the next resupply town. After all, a thru-hike isn’t about finding yourself, it’s about creating yourself one step at a time.
Follow along with www.comforttheory.com.
Originally Published March 3rd, 2016.