Bikepacking Through Death Valley: A Loose How-To Guide
Something about bikepacking Death Valley drew us in—maybe it was the iconic sand dunes, the deep canyons, salty-dry basins, or moving rocks, but more likely it was just the empty space and lack of cell service. After a year of chaos, we all wanted a break. What better way to get out the angst than to hammer pedals for a week in the middle of the largest National Park in the country?
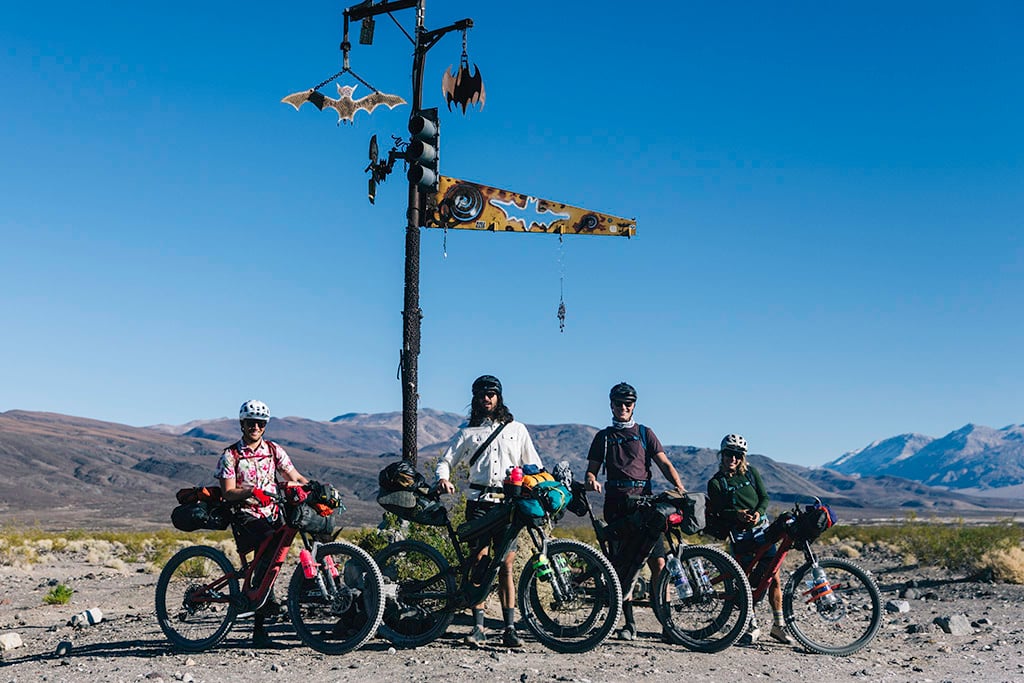
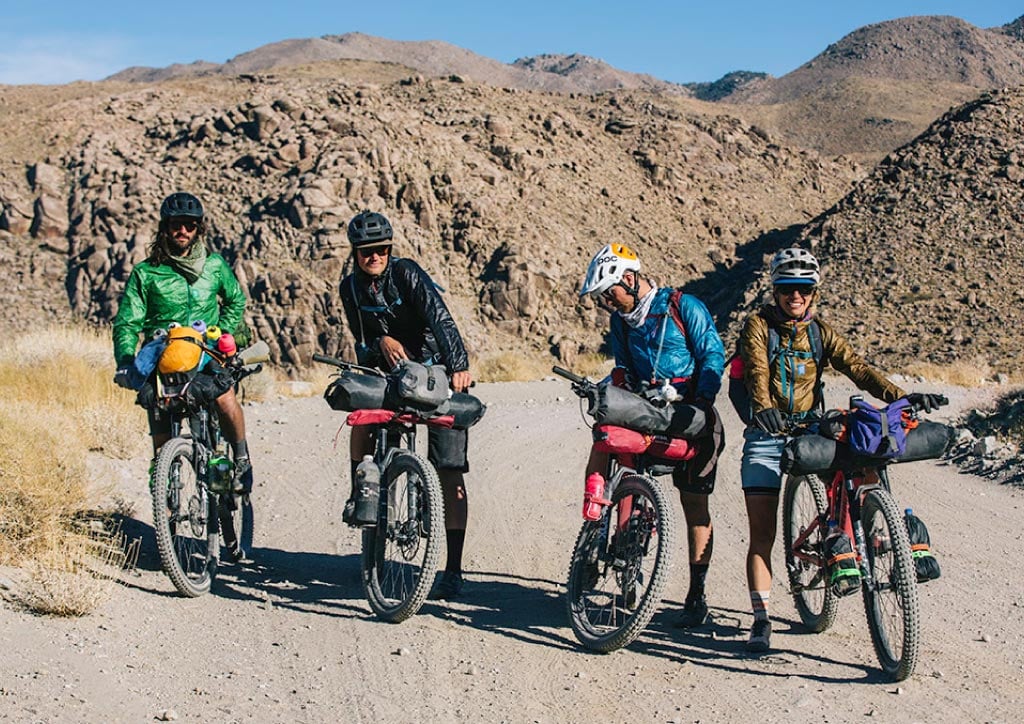
After getting tested for COVID (a qualifier that’s nearly a prerequisite these days), the five of us met at Saline Warm Springs, a hidden gem in the northwest corner of the park. The pools were closed and the wind was gusty, but we had work to do anyway. That afternoon we went through and packed all our food, shuffled group gear, ran through the route one last time, and went for a short “shake out” ride, just to see how the bikes would handle all the weight. The next morning, we would depart on a 300-mile loop.
We had planned a week-long trip connecting some of the most iconic and least visited gems in the park, including the Racetrack, Ubehebe Crater, Titus Canyon, Badwater Basin and the Mesquite Dunes, among others. Our tool of choice was the Turbo Levo SL, a newly launched e-mountain bike from Specialized that we hoped would help unlock this never-before-done route. In theory, it would power us up climbs and add only minor weight to our fully rigged loads. In practice? Well, we were about to find out.
Death Valley 7-Day Bikepacking Trip Report
Day 1: The first morning always takes a little extra time, finding empty pockets for snacks and bike bags for that dehydrated meal you forgot to pack last night. Eventually, maybe around 9:30, we hit the road. A very gradual seven-mile downhill preceded a 19-mile slight uphill washboard just to get across the valley. This is a continuation of Nevada’s basin and range country. For those unfamiliar, that means two things: vast, desolate valleys and steep, rugged ranges between them.
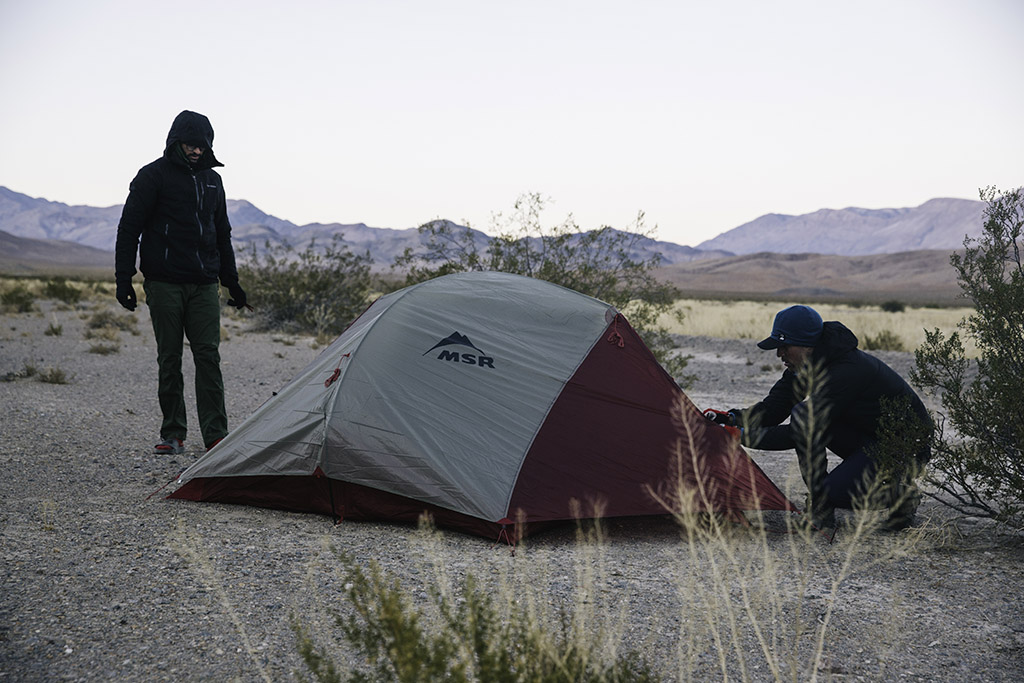
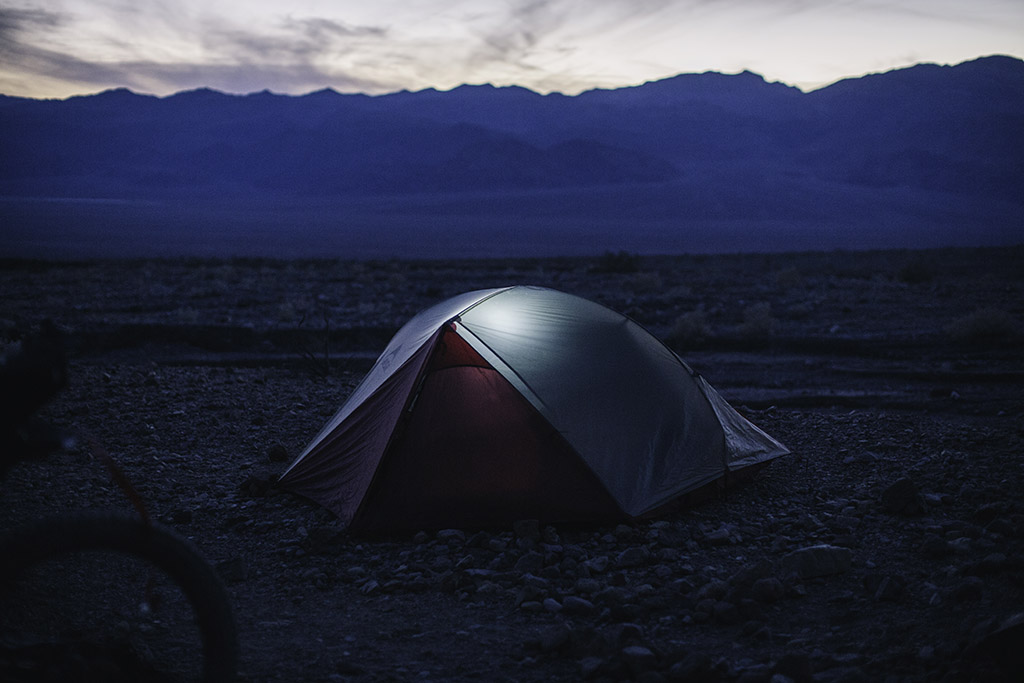
Already a marathon’s distance in we began our climb up Lippincott Pass, one of the more technical and loose sections of riding we did all trip. Up the 2,500 feet of elevation gain, we moved methodically and slowly, working our way through rocks with heavy bikes. Eventually, we turned the motors on, helping us progress a bit faster. But this was a cautious endeavor—we had three full days until our next resupply where we could charge the batteries, so we had to monitor their juice closely. An hour before nightfall we made it to the Grandstand and set up a simple camp just off the side of the road. Luckily the Carbon Reflex 3 Tent takes only a minute or two to assemble and weighs almost nothing.
Day 2: Waking to frozen water bottles and temps in the mid-teens made getting out of our sleeping bags a mental challenge. After making a quick, but more importantly hot, breakfast of coffee and oats with my Pocket Rocket Deluxe, we pushed on, passing Teakettle Junction and dropping into the next valley to Ubehebe. At the crater we would get to our water drop and fill up our water containers. To ensure we always had enough water, I carried a pair of Dromlite Bags stowed in my bike’s seat bag and frame bag.
From there we got a break from the rough dirt and gravel roads, pedaling pavement south towards Titus Canyon. A few miles before the entrance we stopped for the day, cowboy camping on a tarp and eating a quick dehydrated meal from Patagonia Provisions. 4,000-some feet lower than the night before—and just a couple hundred feet above sea level—we knew that we’d sleep much warmer. Death Valley is a surprisingly diverse park, with a variety of ecosystems primarily driven by altitude. Badwater Basin is 270 feet below sea level while nearby Telescope Peak soars over 11,000.
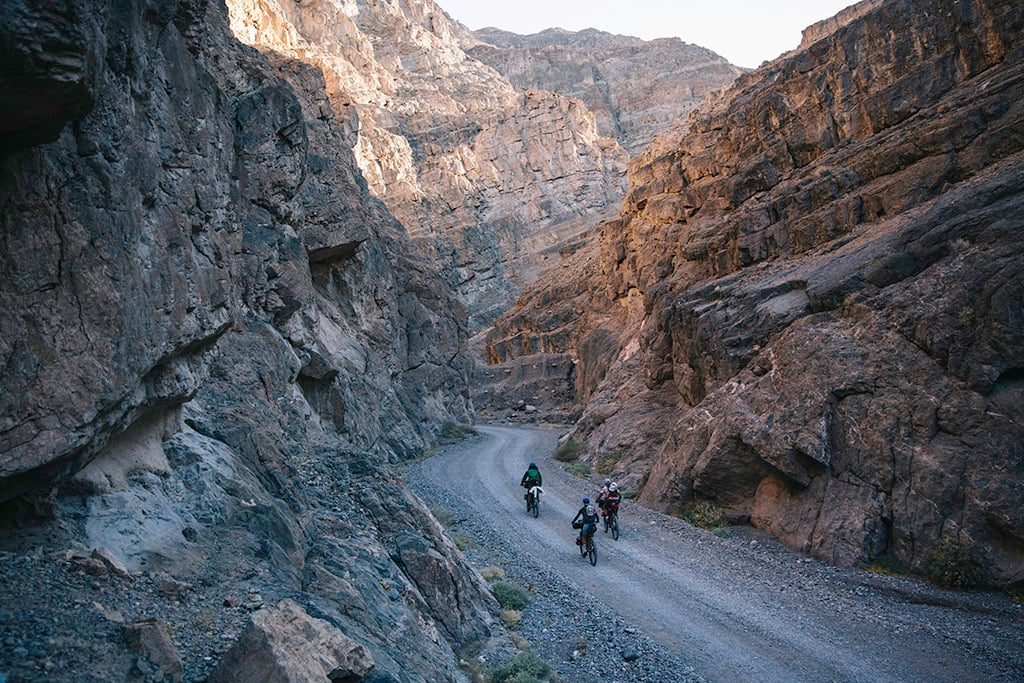
Day 3: We woke early and moved quickly, pedaling our way into the canyon. Titus has steep walls on both sides, often hundreds of feet high. The first few miles were the starkest, making us feel quite small and insignificant. Having saved most of our batteries while pedaling almost 100 miles over the first two days, we could now employ more pedal assist to help us climb over 5,000 feet to the top of the pass. The road here was a steady grade and fairly good quality (relatively speaking), so we made quick work of that part of the route.
Then came a fun descent, finishing on pavement in Beatty just outside the park. Arriving mid-afternoon, we found a store willing to let us charge the bikes for a few hours—in the meantime, we went to Denny’s for a mid-trip celebration meal. Afterward, we loaded up on snacks and extra provisions for the next four days, retrieving our bikes once they were fully charged (including our range extenders, which we each had). Feeling optimistic about the rest of the trip and our ability to find places to recharge the bikes, we crashed for the night.
Day 4: Right when you think you have it all figured out, something goes awry. We did most of our route scouting on Google Maps with satellite view and on Gaia because Trail Forks didn’t have much info on Death Valley. This approach led us to a road that ended up being deserted and almost gone, so we took an early morning break to re-route, pedaling the highway another ten miles south before finding an alternative dirt road to access our next objective, Echo Canyon. The climb back up the ridge (and into the park proper) proved to be the most technical riding of the trip, with lots of loose rocks.
At the top (eventually), we relaxed, knowing that the rest of the day was a huge 5,000-foot descent to Furnace Creek. The first section of this is quite technical and often called a “jeep road”; parts are just an open wash and other parts are dried-up waterfalls that we had to carefully drop into. Only the most serious 4×4 drivers tackle this route—we didn’t see a vehicle until the very end of the road, close to the pavement. Finishing by mid-afternoon, we found a site at the Furnace Creek campground near the visitor center and an RV plug-in for the bikes. Luckily, we had thought to bring along a power strip so we could charge all five with one outlet.
Day 5: After reviewing maps as a group the night before, we choose the northern option to return home. The southern option had a few too many risks, primarily associated with road quality and a total unknown on how fast we would be able to travel. If we had a spare day to burn the decision would have been different, but with all the evidence we had, heading through Stovepipe Wells to Panamint Springs was the safer bet.
The downside: 60 miles of pavement with knobby MTB tires, including a 5,000-foot pass. Moving slow and steady we made it, finally enjoying a steep and fast downhill at 40-some miles an hour. Somehow all the bike bags managed to stay put despite the jouncing and we stopped at a restaurant in Panamint, getting a last bit of battery recharge before pedaling west a bit further and camping near Darwin Falls.
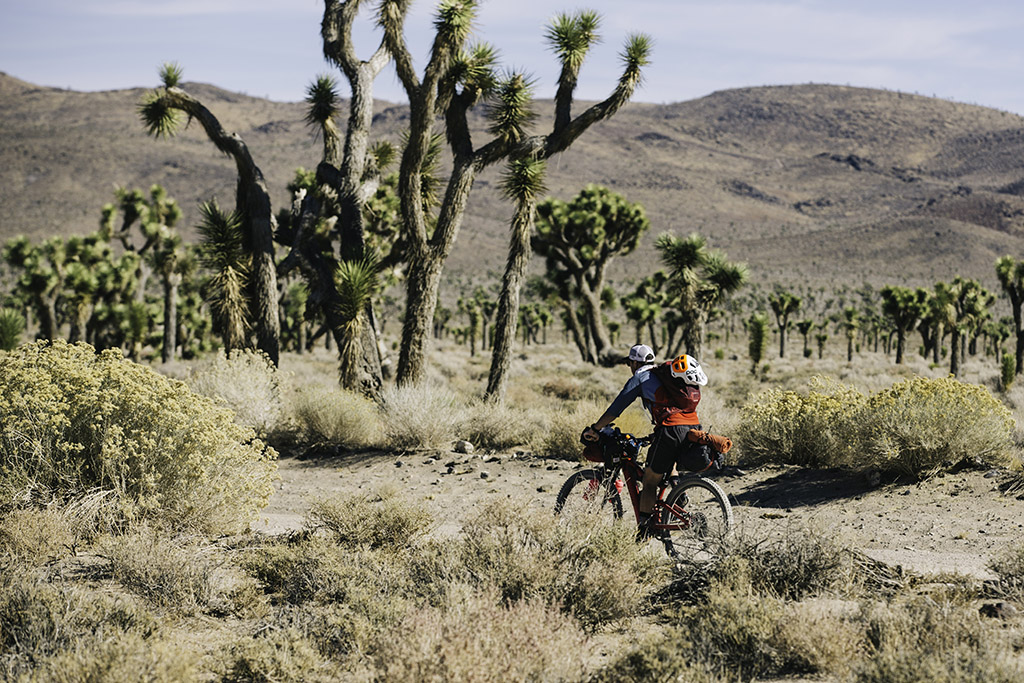
Day 6: After an early morning climb past Father Crowley Overlook we happily returned to dirt, heading north through a beautiful forest of Joshua trees. With considerably less traffic and perfect temps, this was a comfortable 30-mile ride up and over the last pass and down into the start of Saline Valley. Cowboy camping 26 miles from (but somehow still in sight of) the cars, we feasted on the remaining food and stayed up later than normal, watching the stars.
Day 7: After an easy last day we reached the cars at noon, having using the remaining battery we had to fly across the washboard roads. We took quick warm showers (fed by the hot springs), packed up and said our goodbyes, each heading home in our own direction.
4 Tips for Bikepacking Death Valley
If you’re looking to plan your own bikepacking route through Death Valley, here are a few things I’d suggest considering before you go.
- First, the roads are rough. Really rough. I highly recommend full-suspension bikes if at all possible.
- Second, water is sparse to nonexistent. To make our route possible we cached 10 gallons in various locations before we started, allowing us to link routes between small towns.
- You’ll need a National Parks Pass or pay an entrance fee to enter the park.
- And finally, check the temps before visiting and adjust your gear accordingly. Our trip was in November, giving us pretty optimal weather (other than some chilly nights at higher altitudes).
 Andy Cochrane
As the son of two park rangers, Andy built a lot of forts as a kid. He went on to get an MBA and work at software giant Autodesk, then hit a mid-twenties-life crisis that led to five years of living in his Toyota Tacoma. He now resides in Jackson, WY, with his dog Bea and works as a freelance producer, writer and photographer.