Stoves 101: How Much Fuel Should I Carry?
Multiple factors come into play. Learn what they are and how they impact fuel use.
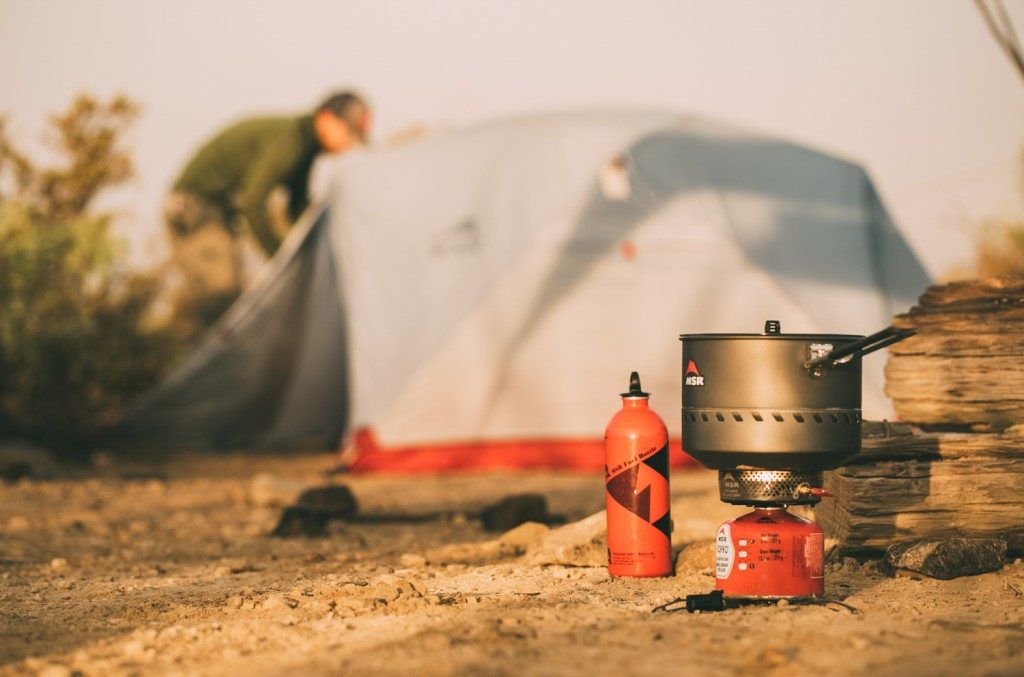
It’s the age-old question answered only by backcountry experience and deep wilderness wisdom: How much backpacking stove fuel do I really need to carry on my next trip? Pack too little and you could go achingly hungry, to say the least. Tote too much and you’ll bear the burden of hauling extra weight, which will only slow you down.
So how do you calculate the right amount? Going beyond number of meals and number of days, we’ll look at the criteria you need to consider when thinking about your trip as a whole. Here’s what to factor into your fuel formula and why, along with some tips from backcountry veteran Drew Keegan.
Trip Criteria
Every adventure is different, but here are a few of the main variables to consider while packing fuel for your upcoming trip.
1. Know your numbers
As a baseline for fuel consumption in the backcountry, it’s important to calculate how many people will be on your trip, and how many hot meals and hot drinks the group will require. If some members take their breakfast cold, you’ll need less fuel, whereas firing up the stove for a morning cup of joe will cut into fuel consumption in the long run. This is easiest to determine by multiplying the amount of people in your party with the amount of hot meals, then adding the number of hot drinks the party is planning on. This number will give you a rough sense of about how many liters of water* you’ll need to boil.
*If you’re cooking a meal that doesn’t require boiled water, still count that as a liter—the stove use time is likely about the same.
Once you’ve made this estimate, use the chart at the bottom to determine how many ounces/grams of fuel your stove uses to boil 1 liter of water. Then do the math for total ounces/grams of fuel. Keep in mind that this is a rough estimate, but it gives you some scope—a place to start.
Adverse factors like low temps, melting snow, and wind can end up requiring 3-4 times as much fuel as your baseline number. So next, we’ll look those criteria and how to adjust our baseline number according to them.
2. Conditions affect consumption
Traditionally stoves are tested at sea level in 70°F (21°C) temperatures with no wind. But these conditions are rarely the case for most of our backpacking expeditions. Seasons (and their fluctuating temperatures), altitude, and wind are big players in a stove’s overall fuel usage. In general, water temperatures reflect air temperatures, meaning the warmer the ambient temperature, the warmer the water and the quicker it can boil—and the less fuel burned.
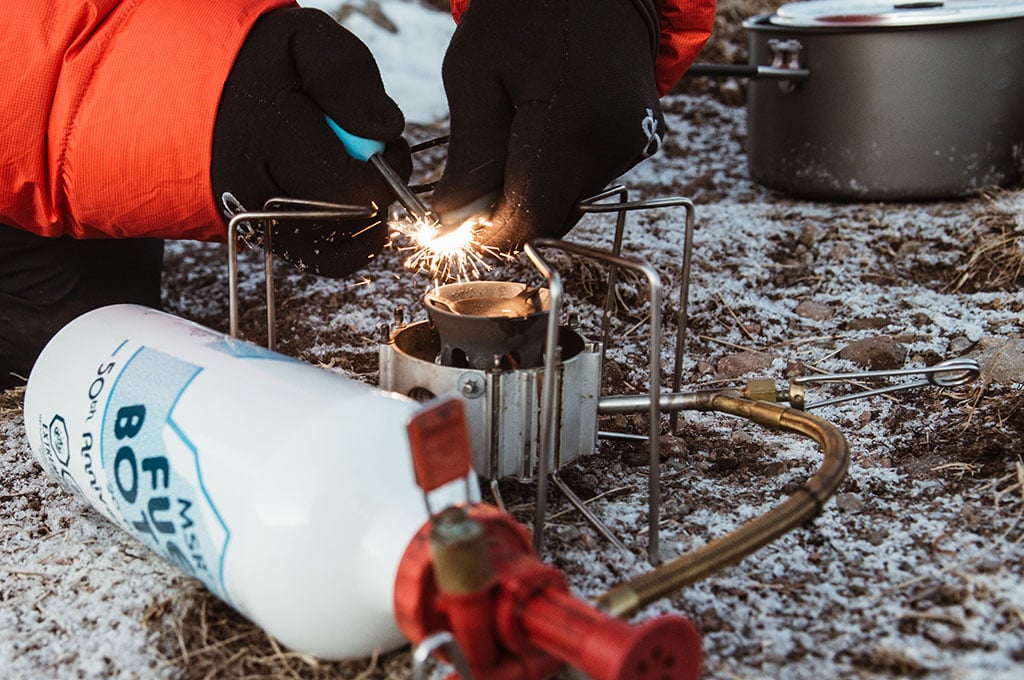
Cold temperatures also affect the fuel canisters by causing their pressure to drop. Upright-canister stoves usually work down to about 20˚F (-6.5°C). But the farther the mercury drops, the more the stove struggles and more fuel used. (For this reason, stove systems and liquid fuel stoves are go-to’s for winter use.)
When it comes to altitude, the higher we go, it turns out, the faster our water will boil, but raw food will actually cook slower—much slower. For every 18°F (-8°C) drop in boiling point (roughly the change from sea level to 10,000 feet / 3,048 meters), cook time will double.
Finally, wind is a major consideration. For open-flame-burner stoves (like the PocketRocket), a 5 mph (8kph) wind can cause as much as three times more fuel use in a given cooking period.
3. Water availability
In the high alpine, melting snow often becomes our main water source. This adds another step to our water boiling process and additional stove time, which increases fuel consumption. Cold water from glacial streams and ponds will also increase boil time, so keep that in mind.
Cooking style
What type of backcountry chef are you? Simple boil-only meals are going to use a lot less fuel, while a multi-step gourmet meal will require more. This is another consideration when planning your number of meals before the trip.
As all these criteria change, so too does the way we approach our trip and ultimately the amount of fuel we need in the backcountry. Remember that every trip is unique and plan accordingly.
Stove Efficiency
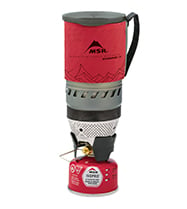
Now that you have a general idea about your environment, conditions and group needs, consider your stove itself. A stove’s efficiency directly impacts how much fuel you’ll need. For instance, the Reactor Stove System boils a liter of water much faster and uses less fuel than the ultralight, minimalist PocketRocket stove.
While MSR offers stoves built to meet the needs of virtually every backcountry user and scenario, there are a few constants when it comes to stove efficiency across the models.
6 Tips for getting the most out of your stove
- Be ready with your supplies—have pouch-cook meals open and the oxygen absorber taken out before the water boils.
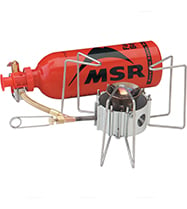
- Always use a windscreen with liquid fuel stoves or the WindPro, and wrap it close to the cookware (about ½” all the way around the cookware diameter) to increase the stove’s efficiency. The screen helps direct hot exhaust gases around the sides of the pot instead of losing that heat to the air, and it protects from even light winds blowing heat away from the pot.
- In cold temperatures, with a WindPro or the WhisperLite Universal using canister fuel, invert the canister so that it runs on “liquid mode.”
- Placing the canister in warm water before using it will also help in cold temps.
- Use a lid, and resist checking the water frequently (you can usually hear a difference in the sound or will see steam).
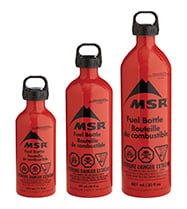
- For sustainability and lower fuel costs long-term, a liquid fuel stove is the way to go. It might be more expensive to purchase but the fuel is more economical over time and often easier to come by if you’re traveling abroad. You also won’t have to deal with empty canister weight on long trips, and you can always top off the fuel in your bottle rather than having partial canisters sitting around.
FUEL FOR THOUGHT
There are many nuances that affect fuel use and the more time you spend in the backcountry, the more you’ll start to recognize how they impact it. Our fuel trip criteria offers a baseline to work from, but part of mastering fuel needs is experience, and a big piece of that process is trial and error.
When Drew first started working at MSR in 1999, he and a coworker embarked on a climbing trip with the then-new SuperFly stove and only one fuel canister (he admits it may not have even been full) for an overnight trip. The pair ended up camping on snow and melting snow for water, using up more fuel than expected. The result?
“Let’s just say I didn’t end up with hot breakfast,” says Drew.
He considers the trip a learning experience and a valuable lesson for anyone traveling in the backcountry.
“Even ‘experts’ can make mistakes. I believe that with fuel it’s better to come home with some extra than to run out. Maybe that’s not fast and light and it could be fine if your food is edible without hot water, but I like to eat and have fuel for going fast, not just being light on the trail.”
| MSR’s Conventional Canister Stoves | Water Boiled (per 1 oz. / 28 g of fuel) |
|---|---|
| MicroRocket | 2L |
| PocketRocket 2 | 2L |
| PocketRocket Deluxe | 2.1L |
| WindPro II | 1.8L |
| MSR’s Liquid Fuel Stoves | Fuel | Water Boiled (per 1 oz. / 28 g of fuel) |
|---|---|---|
| WhisperLite Universal | White Gas |
1.3L
|
| Kerosene |
1.6L
|
|
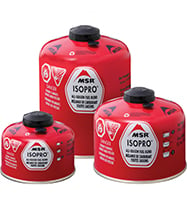
| IsoPro | 1.8L | |
| WhisperLite International | White Gas | 1.3L |
| Kerosene | 1.6L | |
| WhisperLite | White Gas | 1.5L |
| Dragonfly | White Gas | 1.6L |
| Kerosene | 1.7L | |
| Diesel | 1.7L | |
| XGK EX | White Gas | 1.5L |
| Kerosene | 1.7L | |
| Diesel | 1.9L |
| WindBurner Stove Systems | Water Boiled (per 1 oz. / 28 g of fuel) |
|---|---|
| WindBurner 1.0L Personal Pot | 2.3L |
| WindBurner 1.8L Duo Pot | 2.3L |
| WindBurner 2.5L Sauce Pot | 1.7L |
| WindBurner 4.5L Stock Pot | 2.7L |
| Reactor Stove Systems | Water Boiled (per 1 oz. / 28 g of fuel) |
|---|---|
| Reactor 1.0L | 2.3L |
| Reactor 1.7L | 2.8L |
| Reactor 2.5L | 2.8L |
Related Posts:
- A Guide to MSR Backpacking Stoves
- Canister Stoves vs. Liquid Fuel Backpacking Stoves
- The Ins and Outs of Canister Fuels
Author: Kade Krichko
Updated. Originally Published April 2, 2017.